After my postponed birthday party this weekend, I was one microscope richer. A friend of mine hadn’t used his microscope for a while and decided it would be a kick-ass birthday gift. Well he’s right…. it is!
Firstly, I cut off the tiniest bit of a Brassia orchid leaf and stuck it between a glass slide and cover. I found it hard to keep my eye at a steady distance, so I fitted a rubber eye shield which I had left from an old telescope eyepiece. This also improved sight, because it shields light from outside obviously.
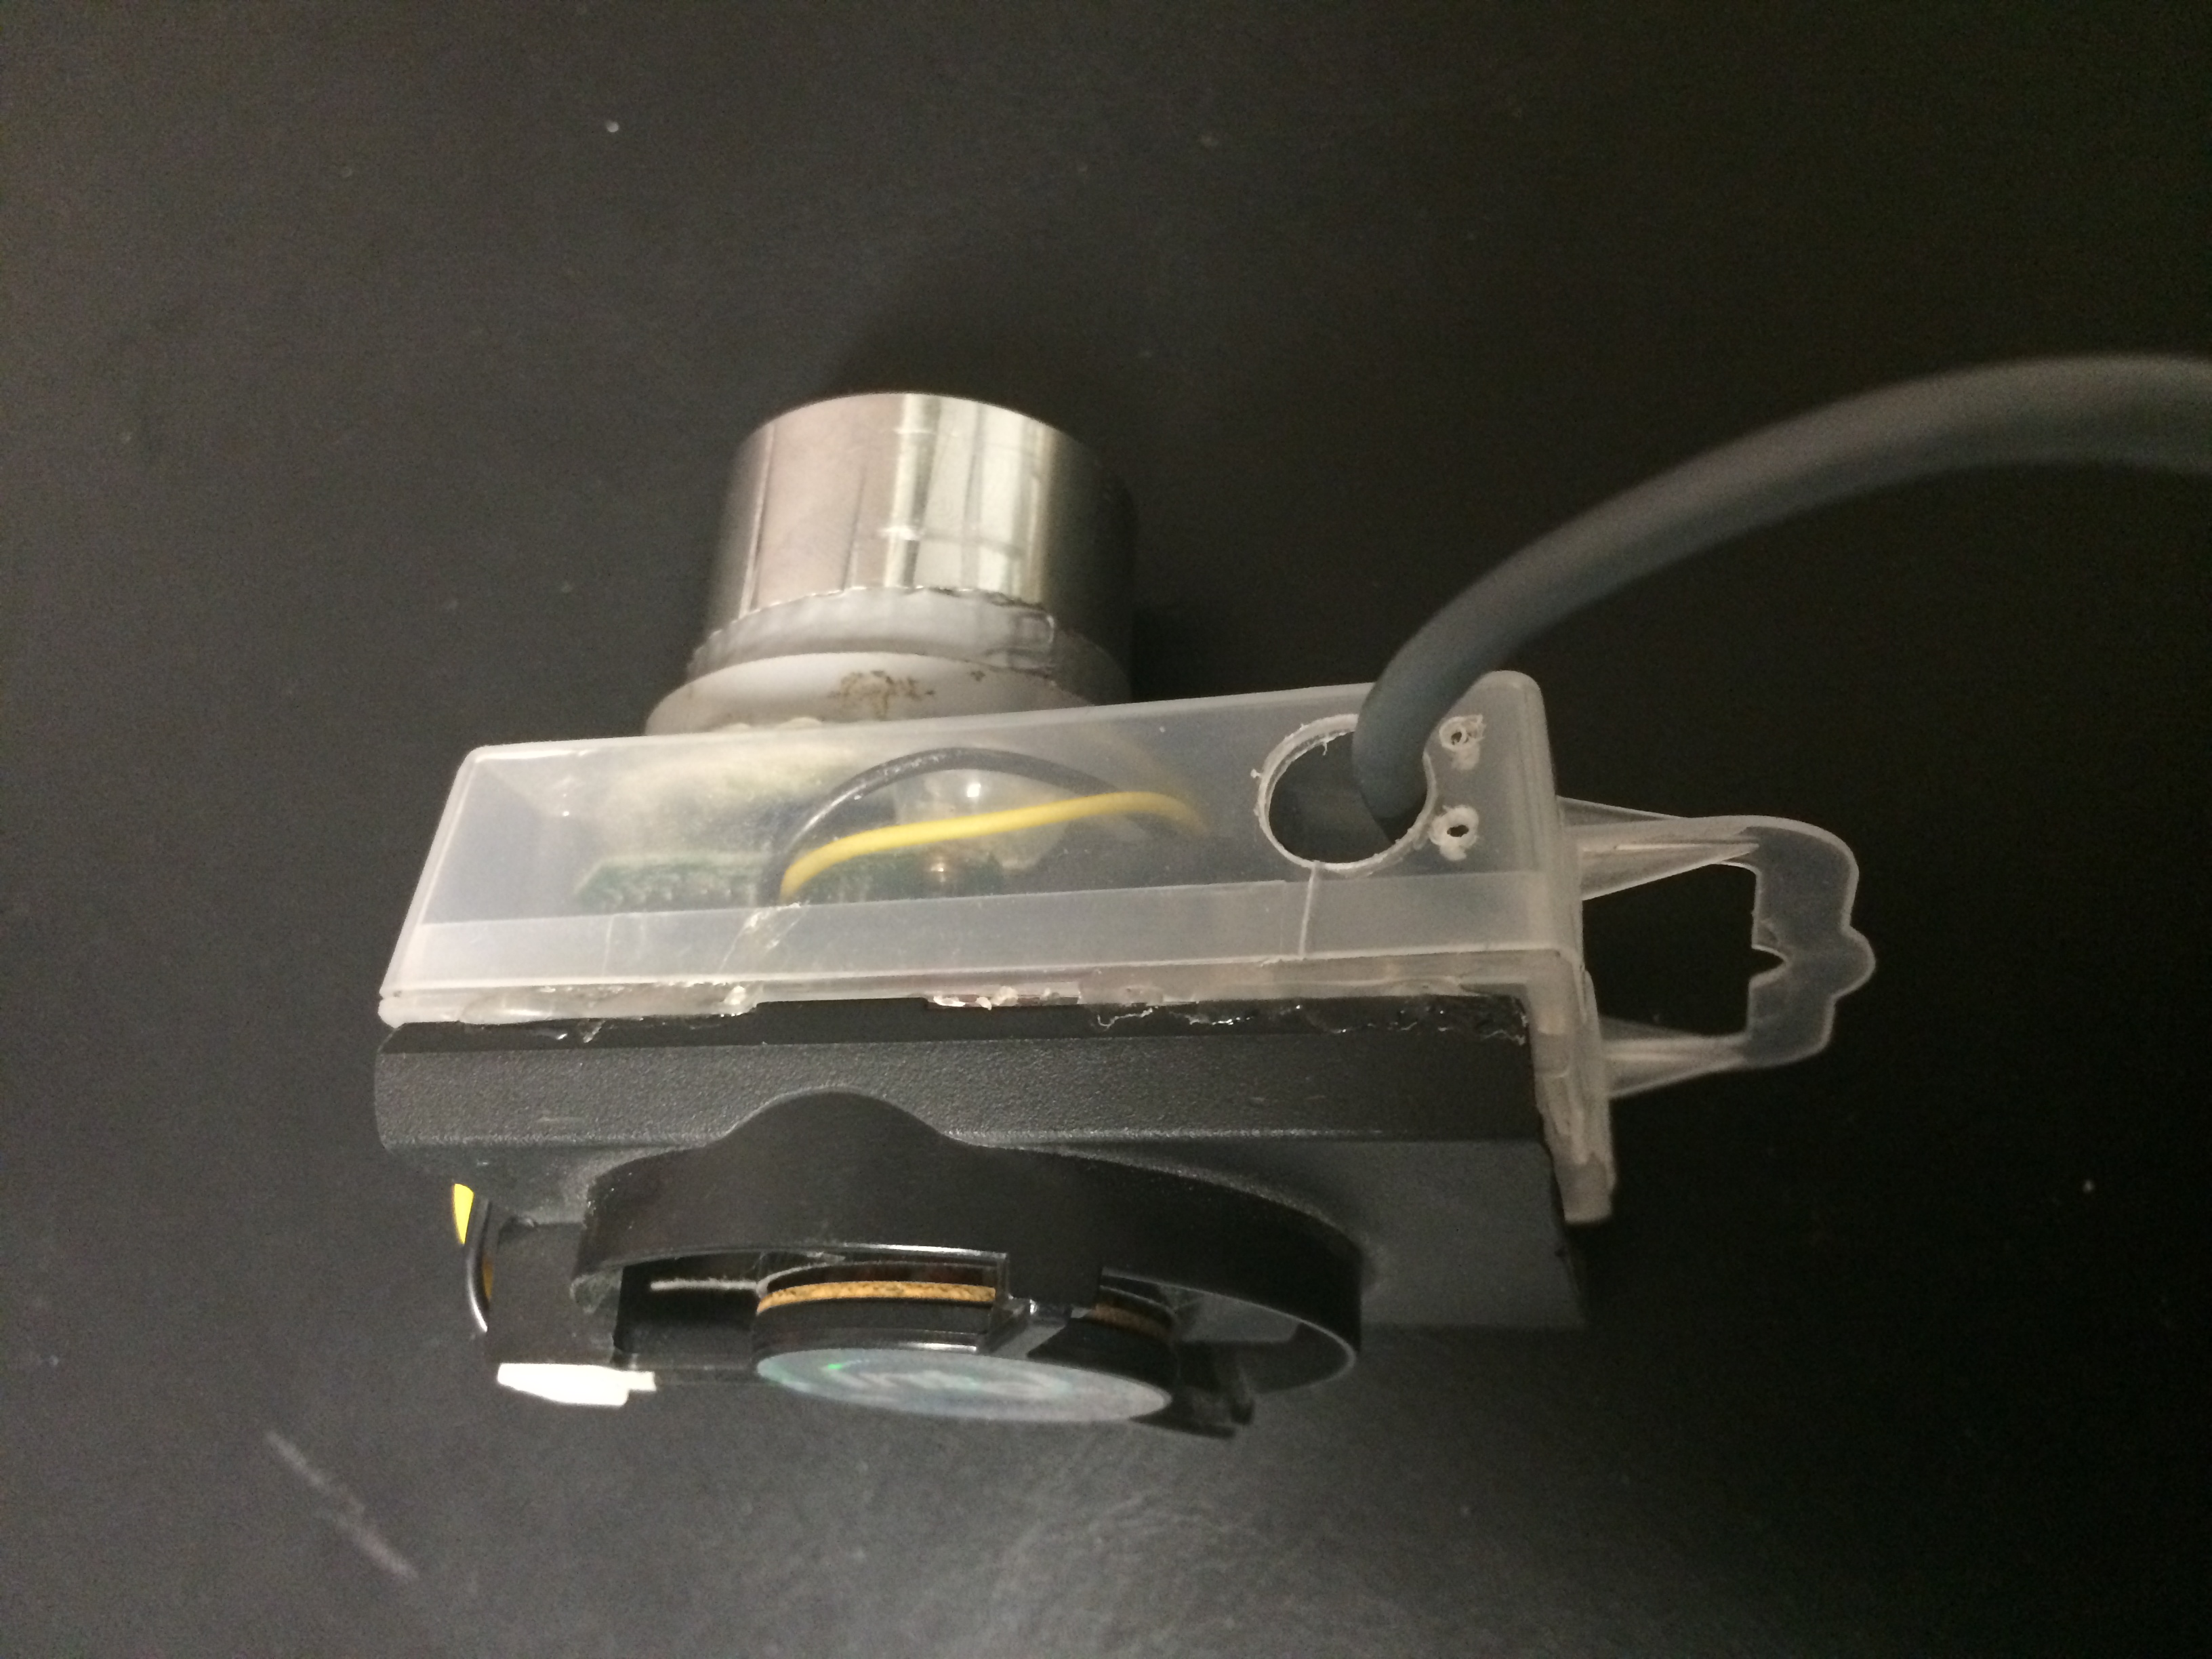
I think you can guess what I fitted to the microscope next…. yep: my camera! My telescope adapter fits almost perfectly.
As the depth of focus of the microscope is not very deep, I have to make multiple photos with different heights of the object in focus and stack them. For this I used photoshop and I was quite surprised with the result.
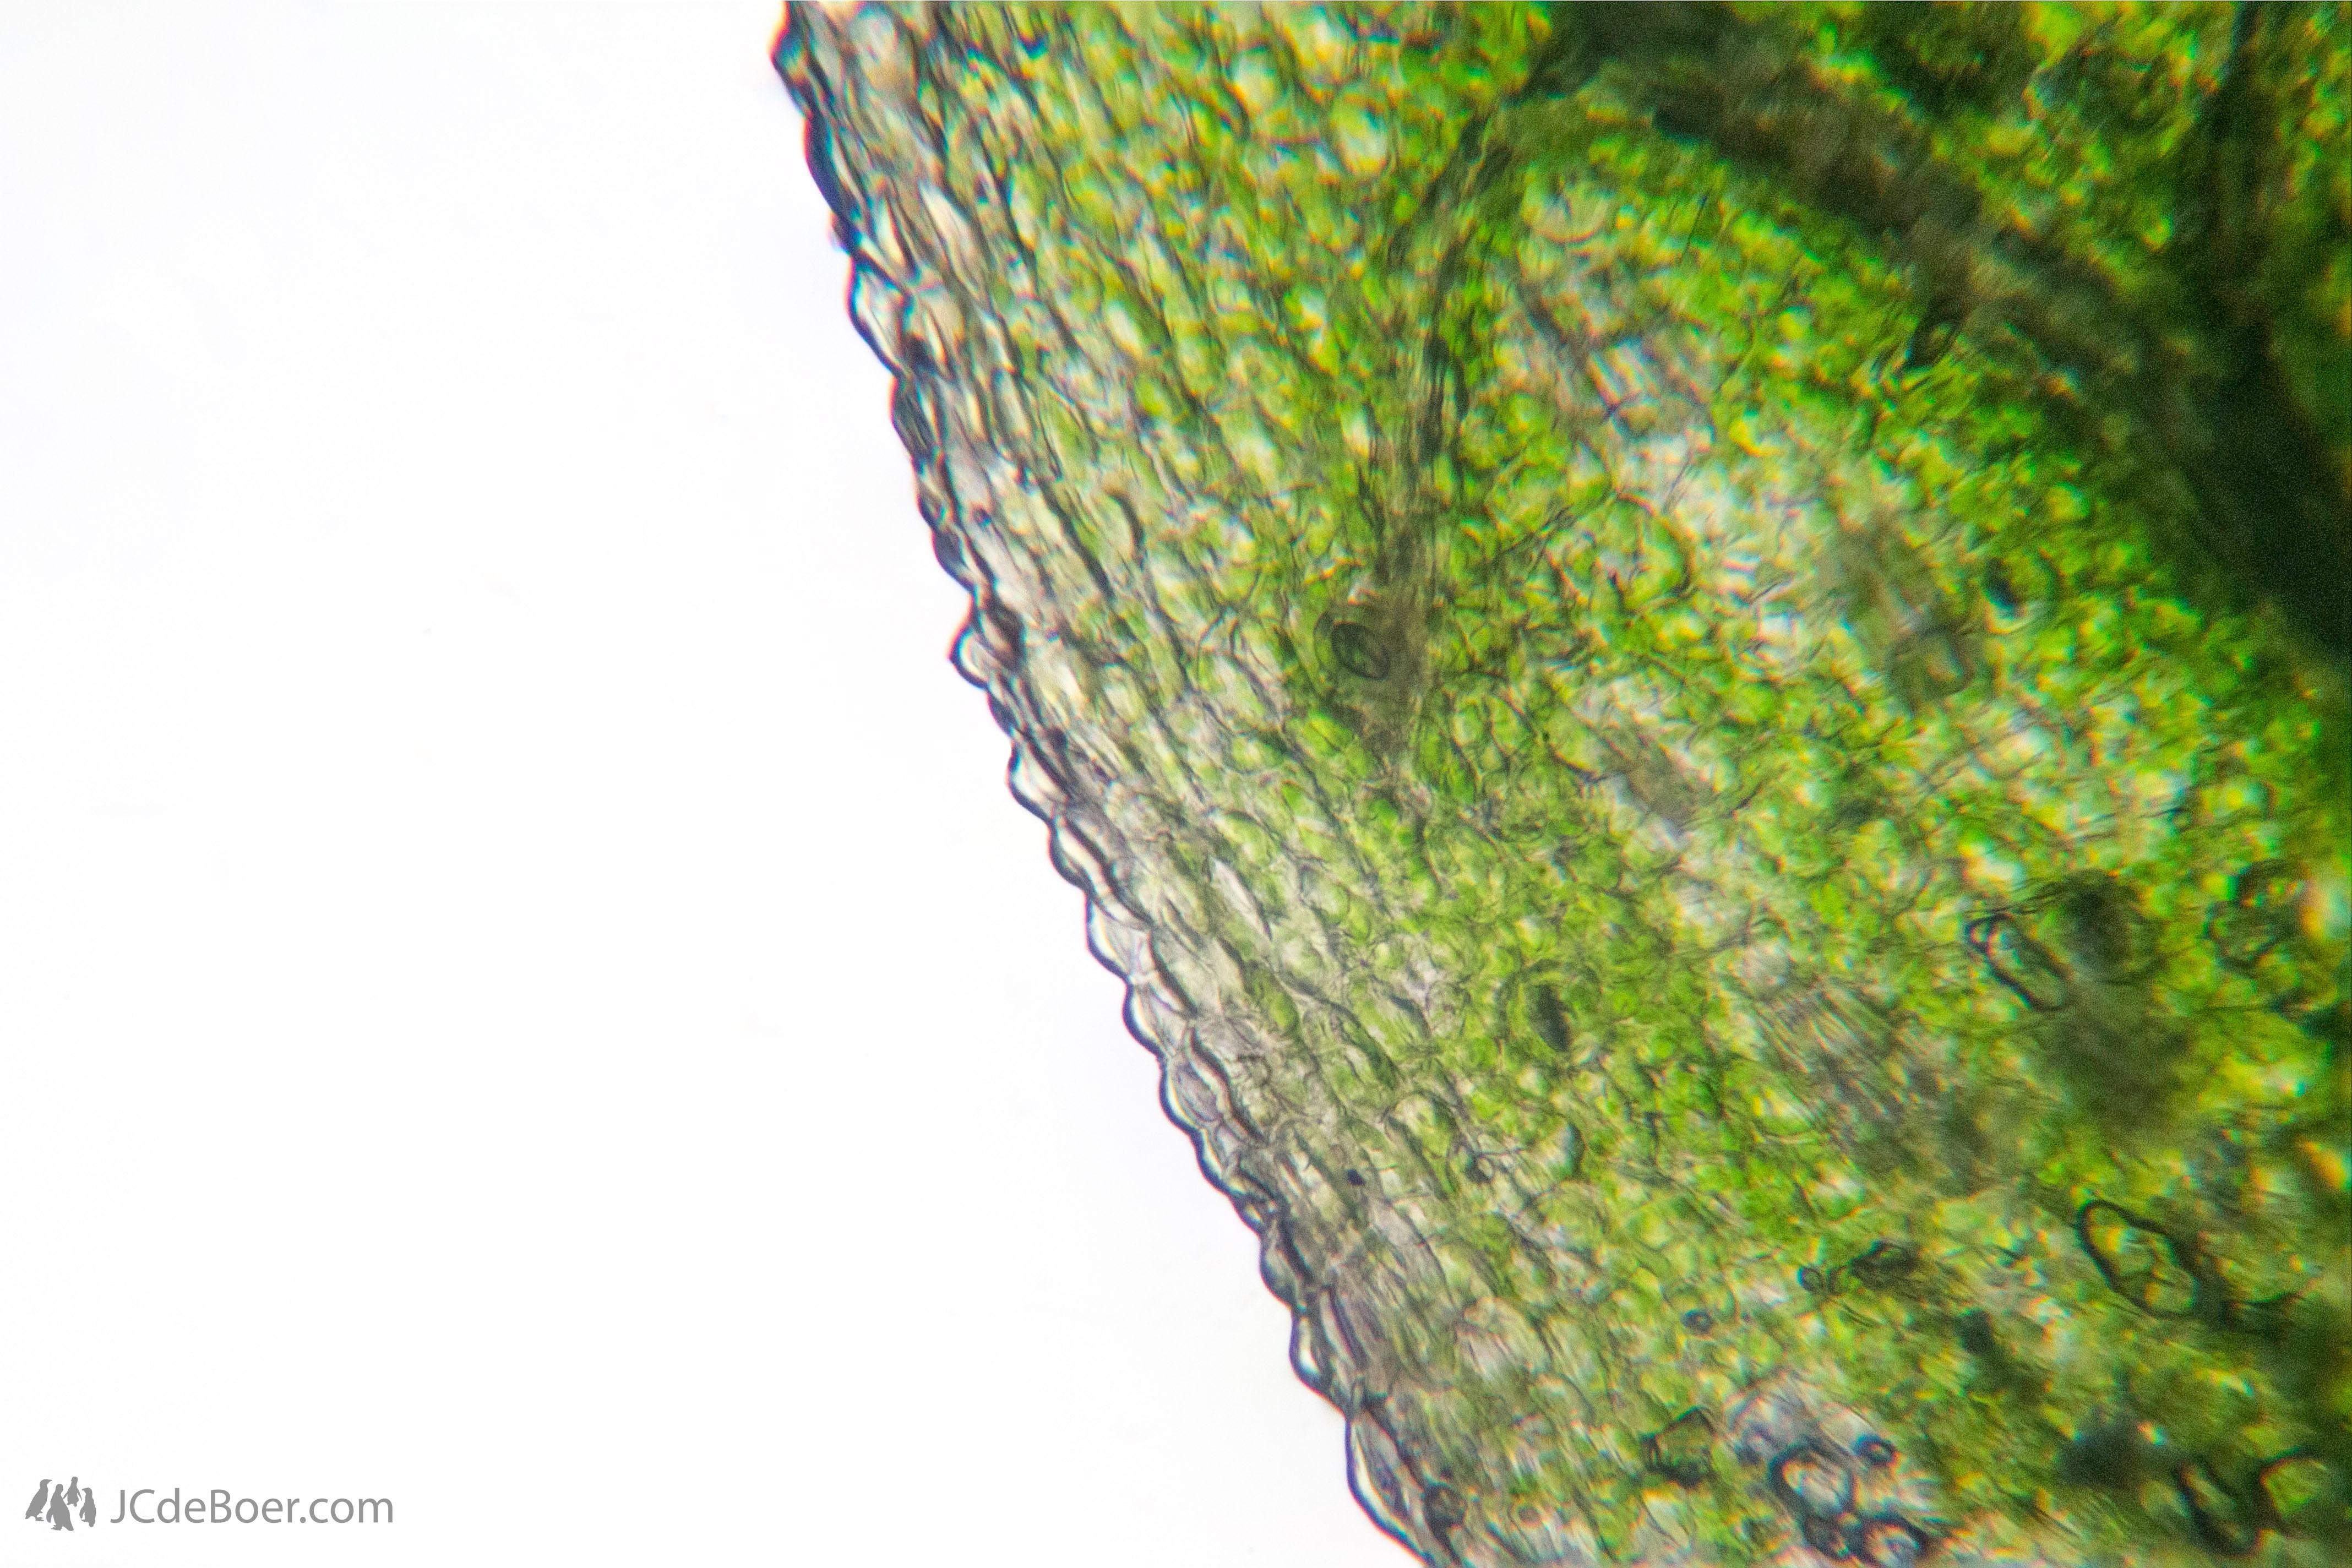
Leaf of a Brassia orchid. This is a stack of photos taken with different regions in focus.
I heard that liquor also looks awesome through a microscope, so I took a droplet of absinthe. As might have been expected, nothing special, just transparency. Some crystallized absinthe (mostly sugar) that I scraped off the bottle gave better results, although I think there definitely are alcoholic beverages that look even better.

Crystallized absinthe, scraped from the bottle opening. B/W stack
While searching the house for other food and beverages that may look awesome when magnified, I decided to have a coffee and came across some roasted, ground coffee beans of which I sprinkled some on a glass slide. Making photos at all different focal depths was quite a hastle, but it sure was worth it. Here’s what you use to make your morning coffee 😛

Microscopic photo of roasted ground coffee beans for making filter coffee.
When I was busy putting chalk between glass, I didn’t think about the fact that it will stick to both the glass slide and the cover glass. So it turned out different from what I expected.

Stacked photos of chalk sticking to the glass slide and the cover glass.
You may have noticed that further away from the center of the photos, the blue and red channels are somewhat misaligned. I will try to use single channels to get rid of this and get sharper images, albeit in black and white.
I sure had fun while toying around with the microscope and camera and it probably wont be long until I post my next photos 😉
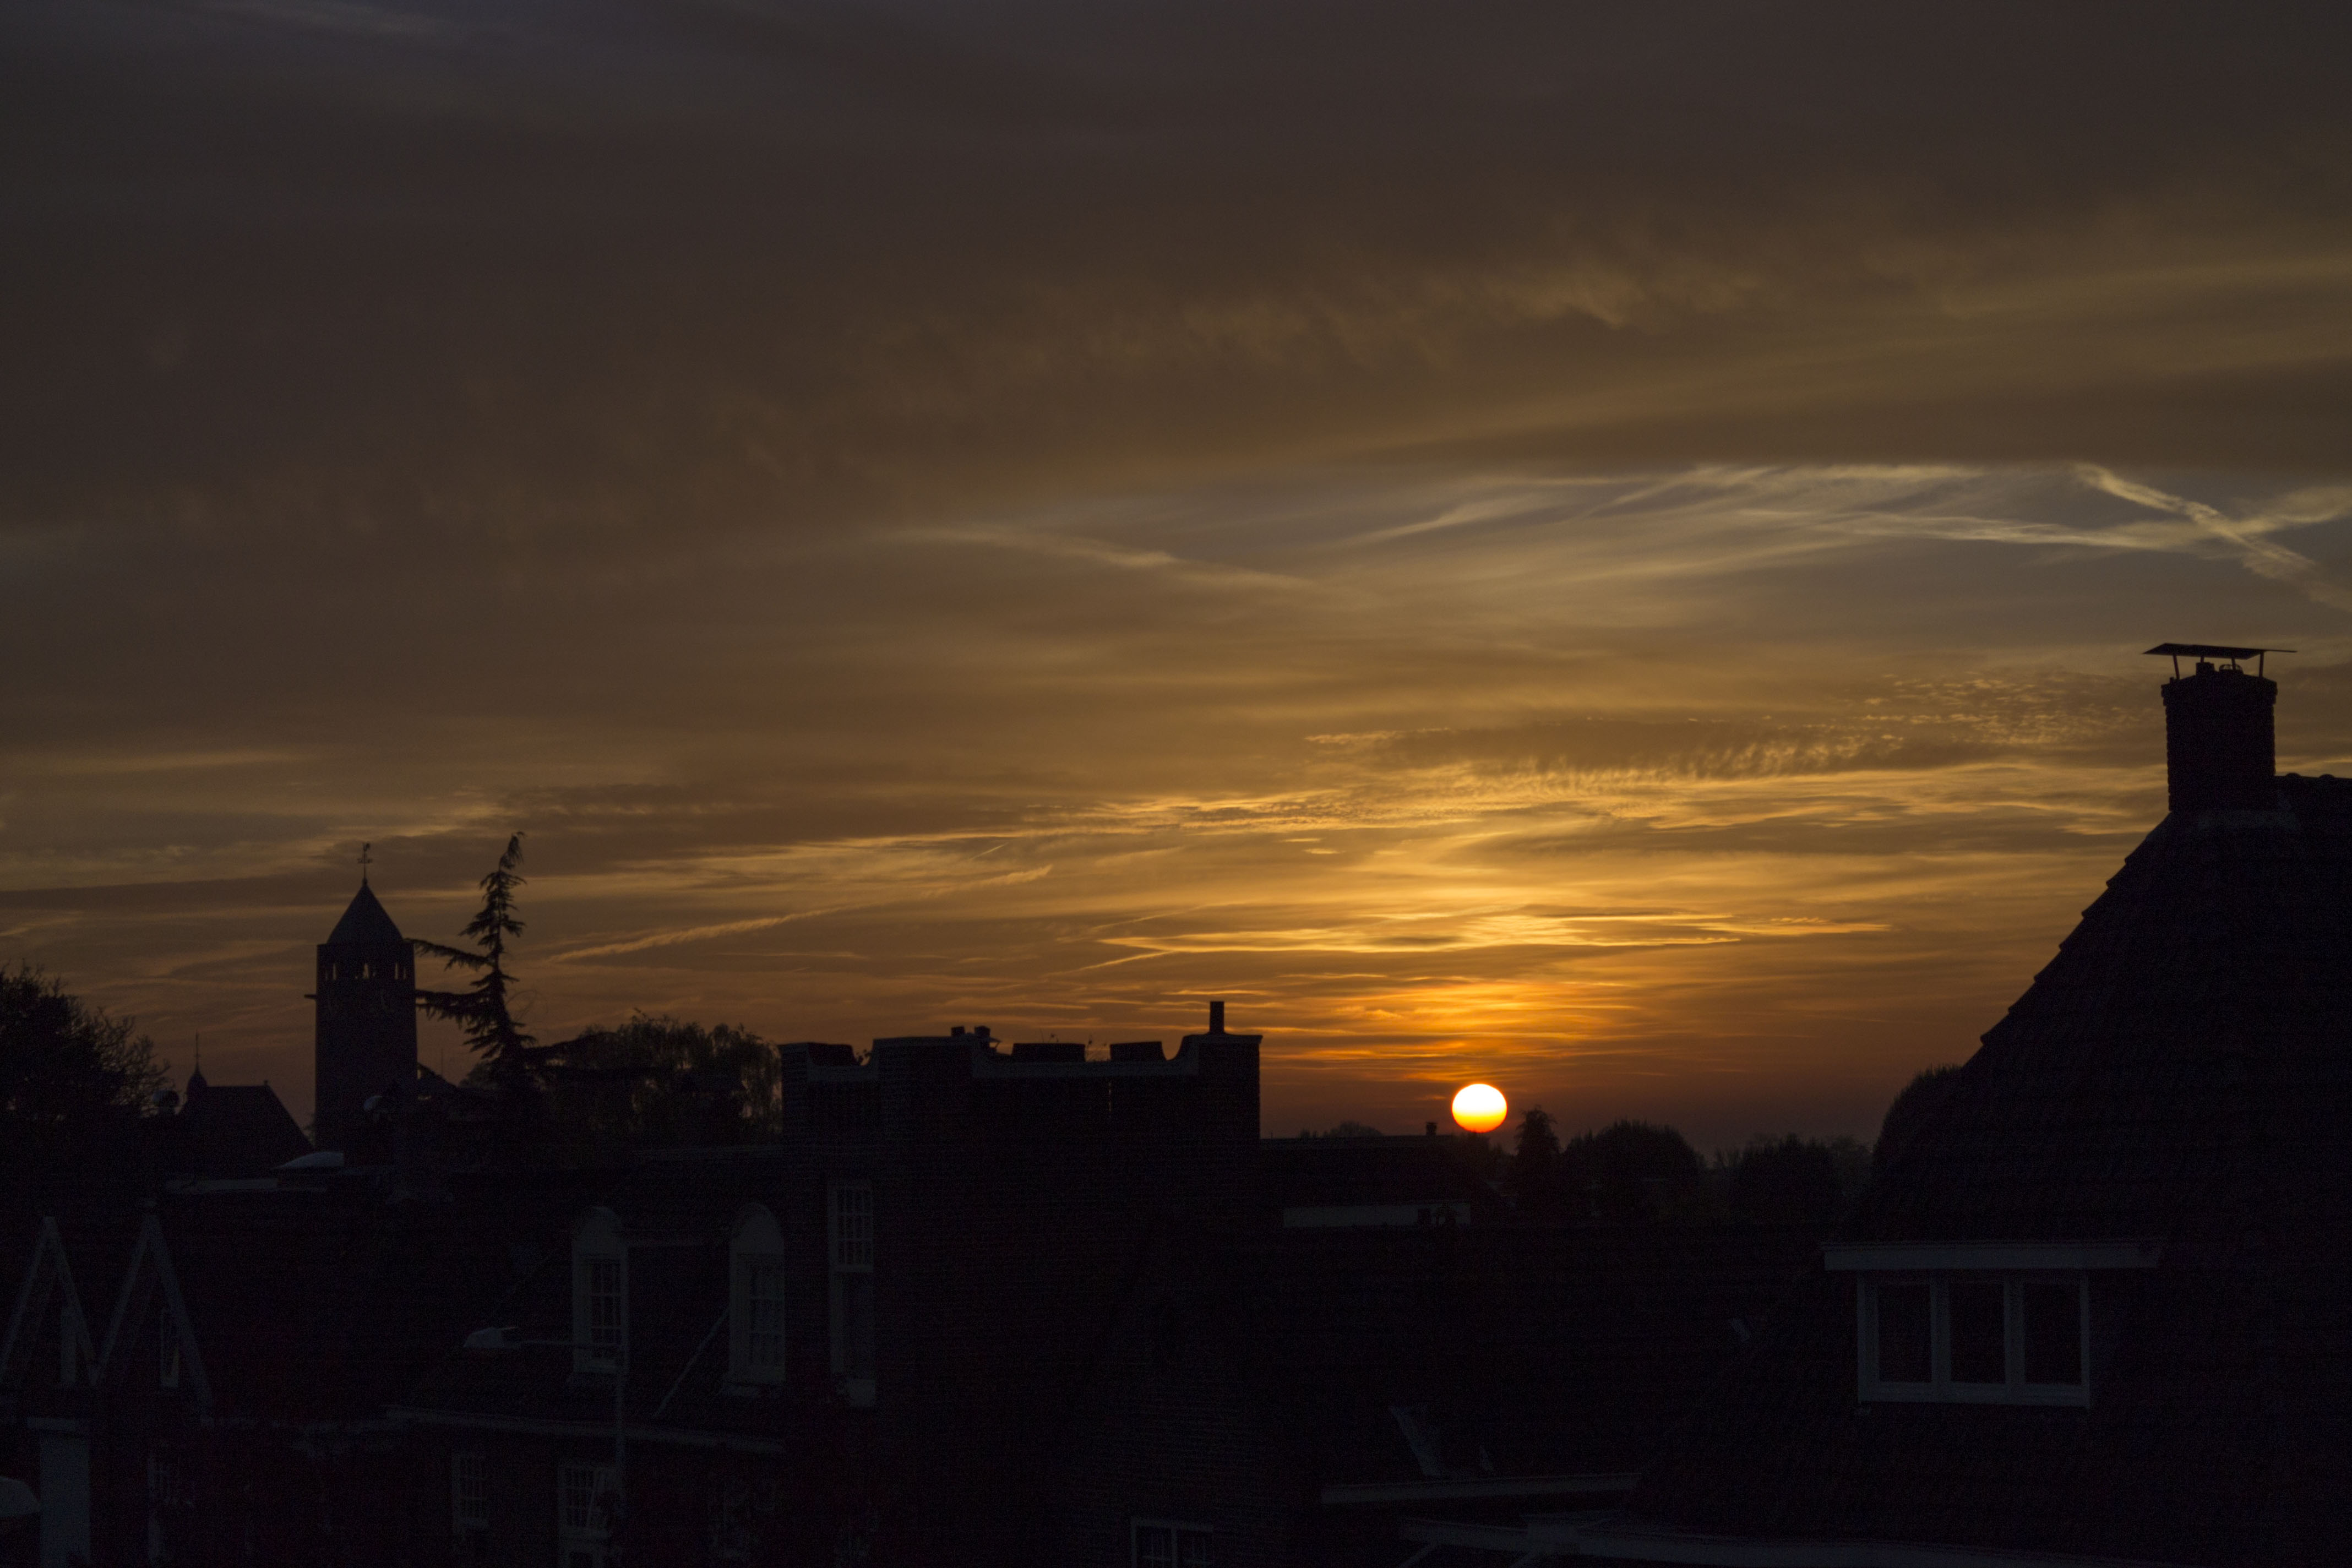
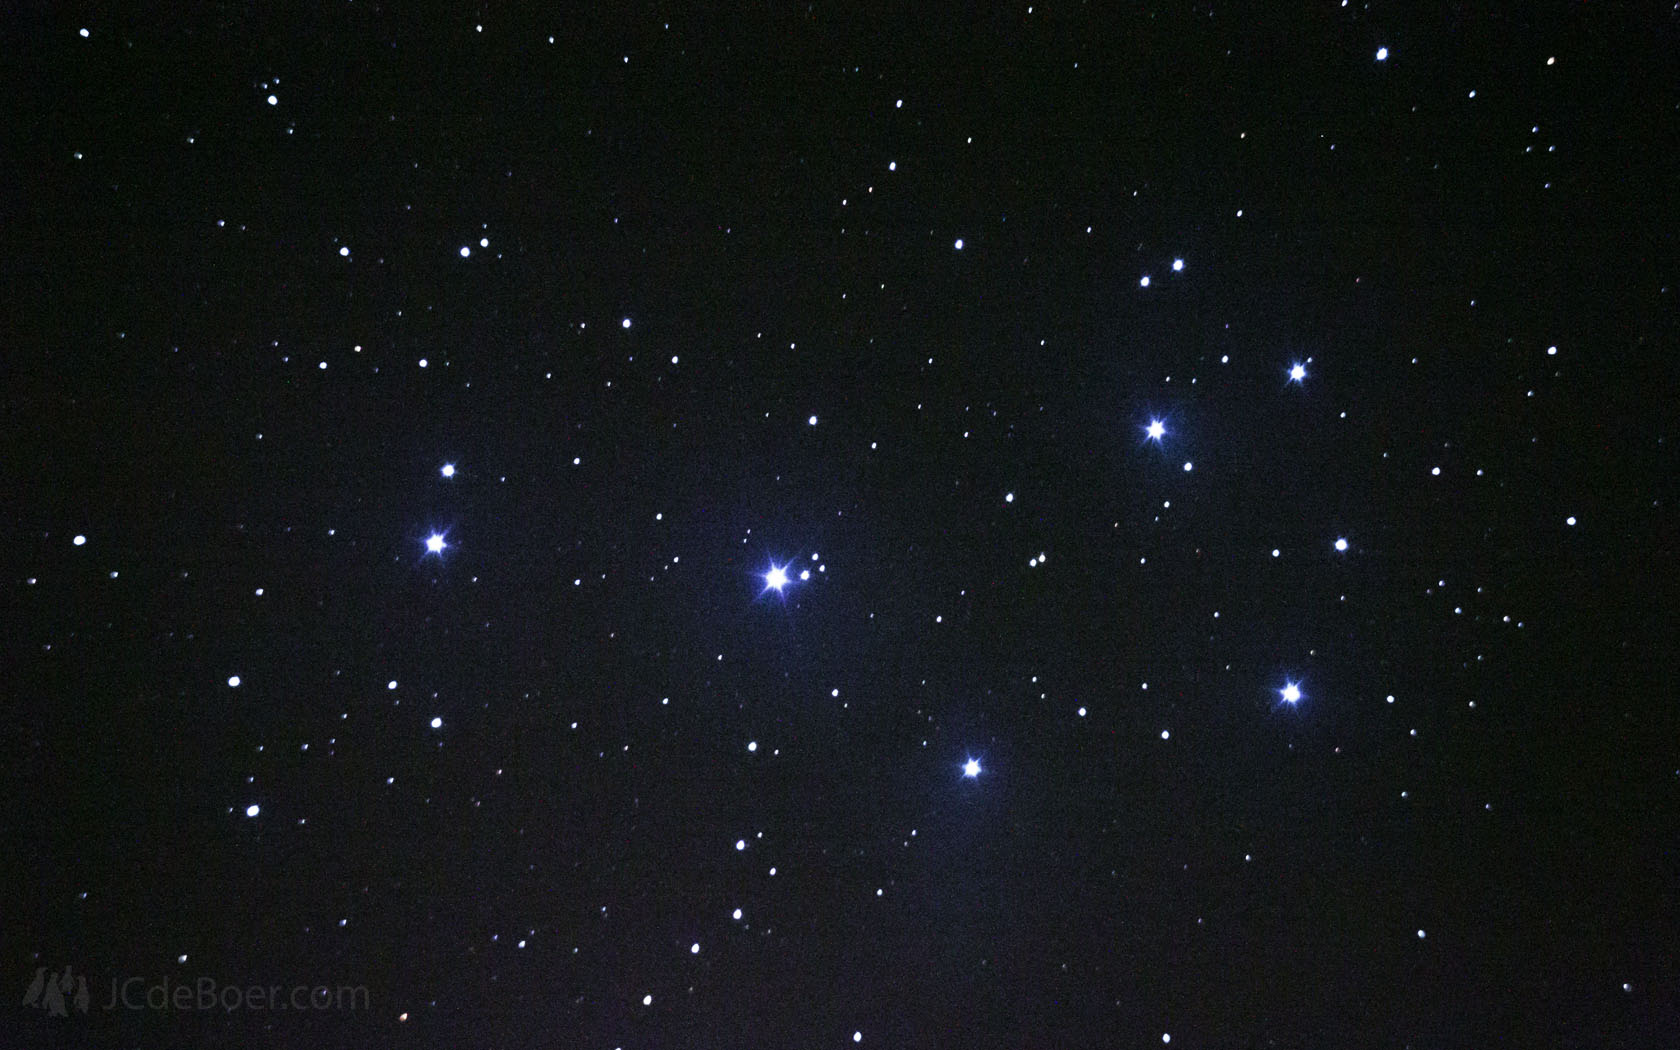
Then I would like to share another evening sky photo with you. Moist air isn’t very astronomer-friendly, but there’s no denying that it makes some lovely evening pictures.
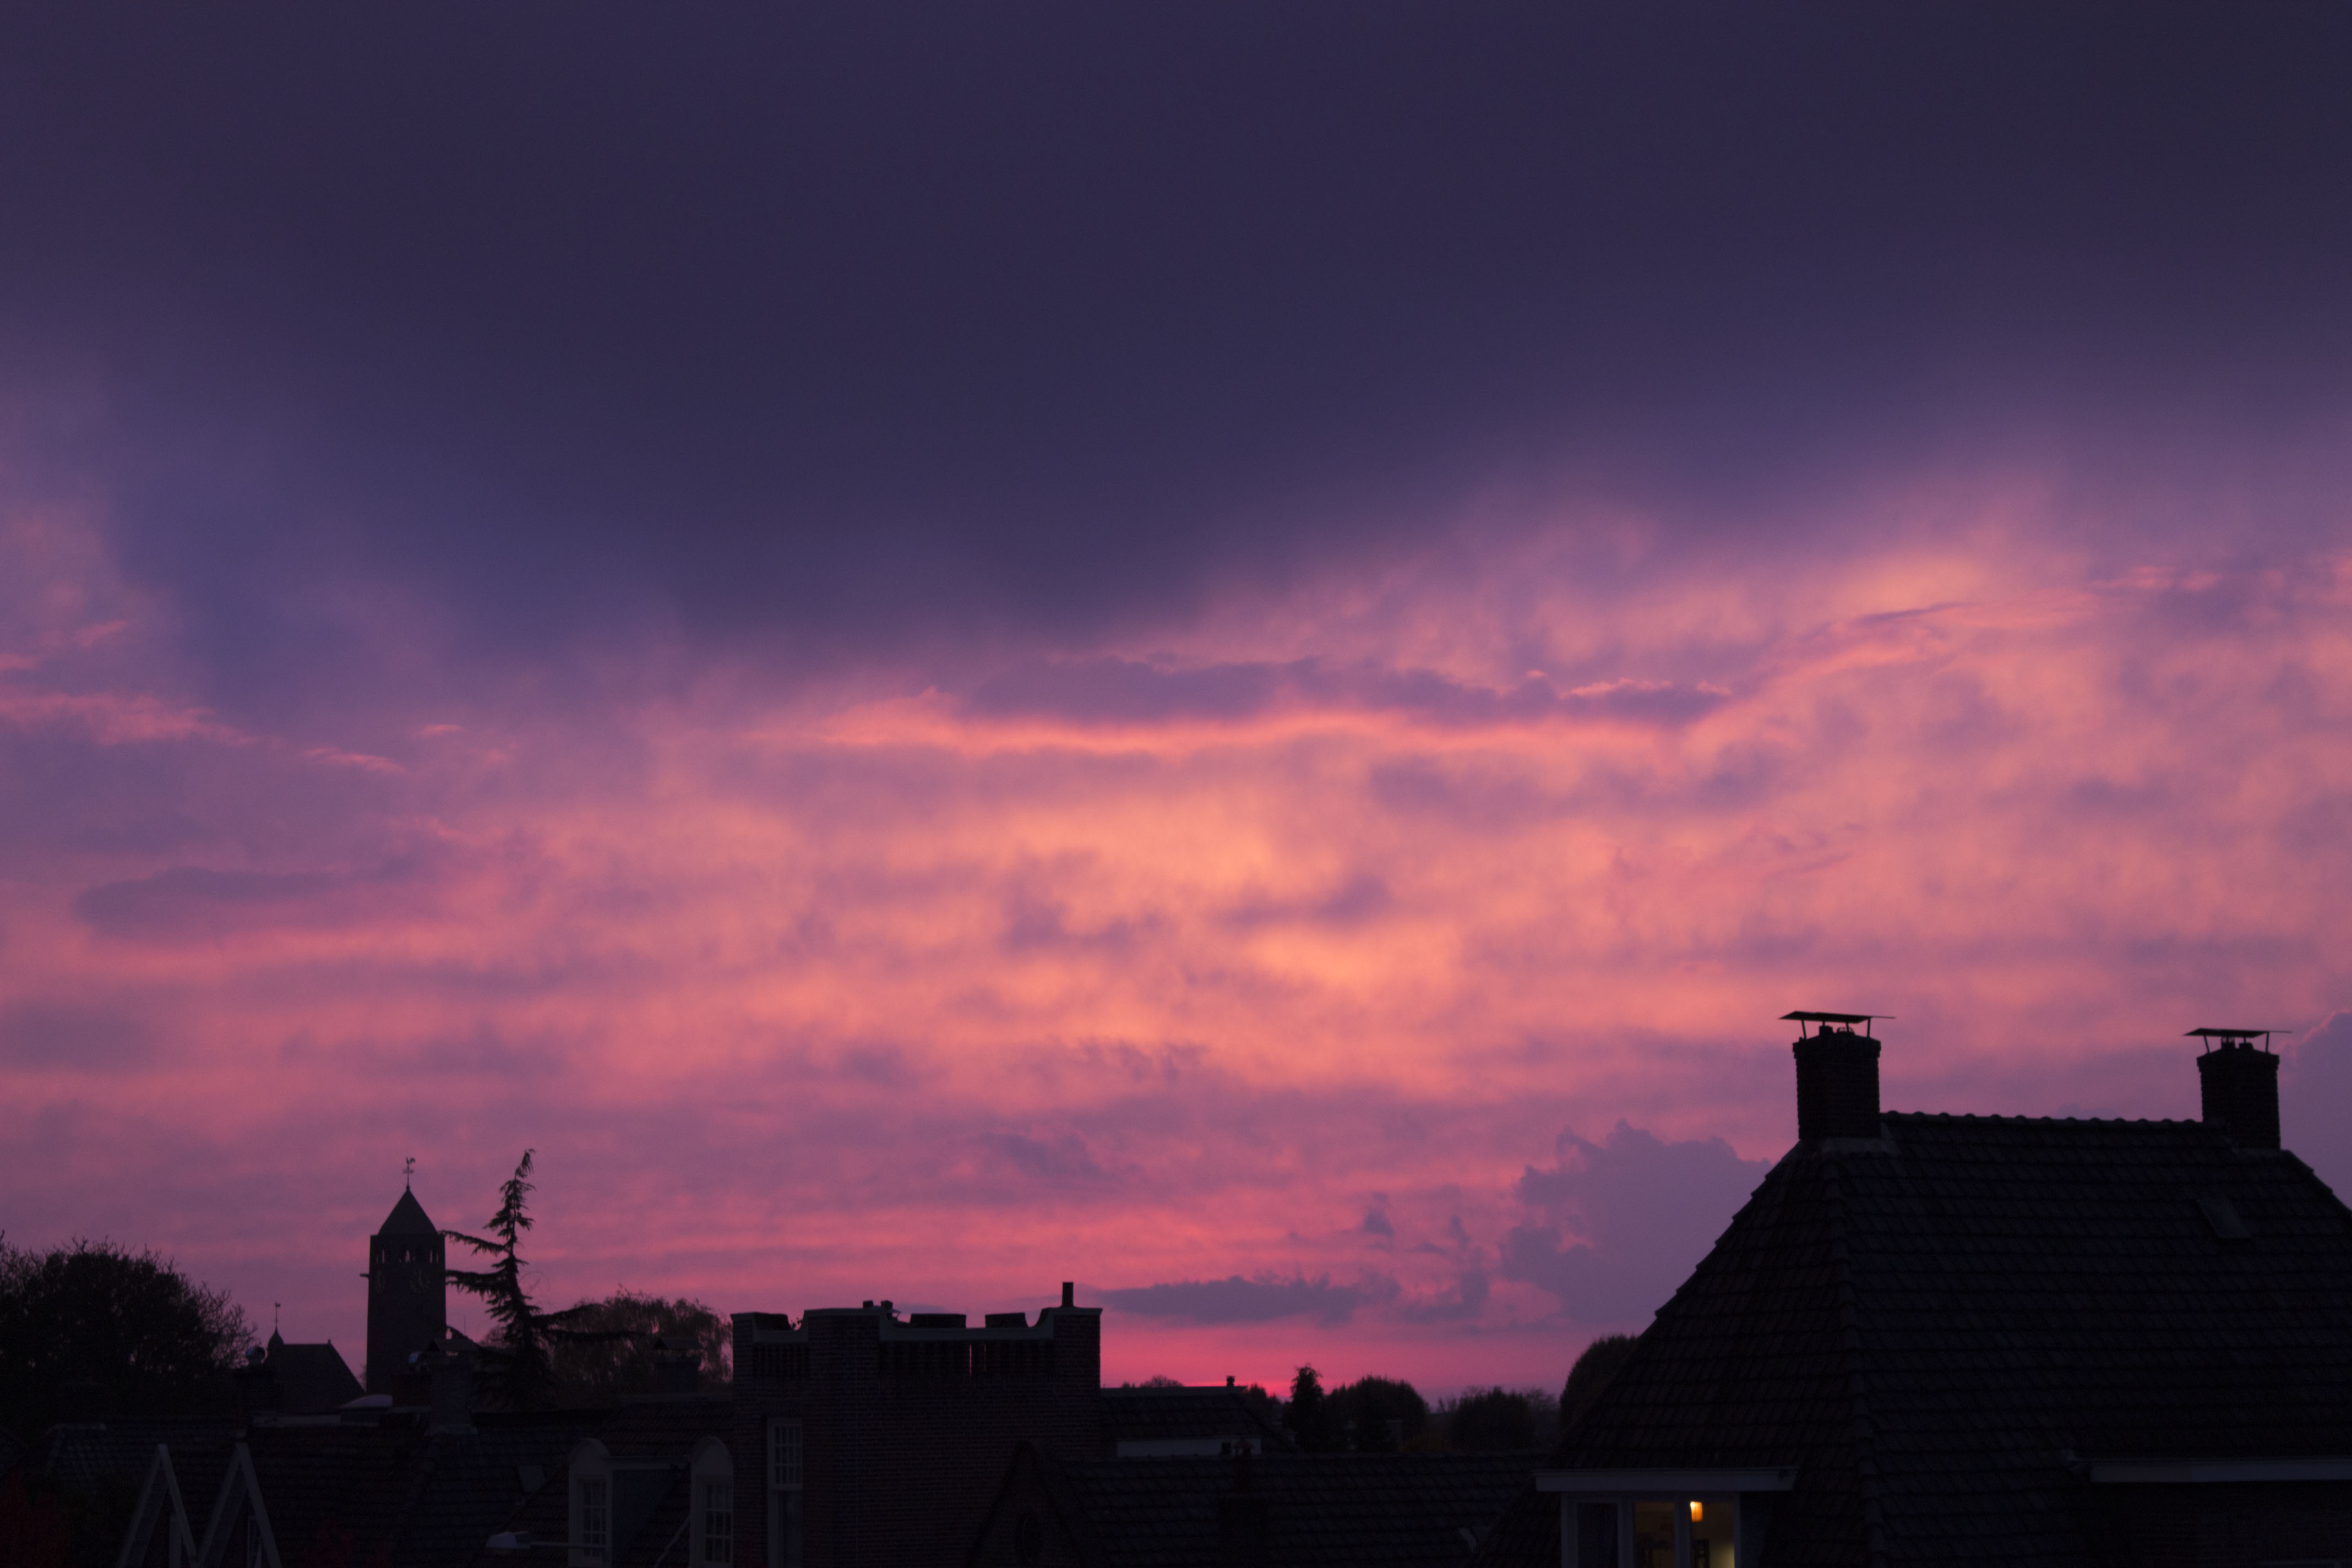
Another nice evening sky
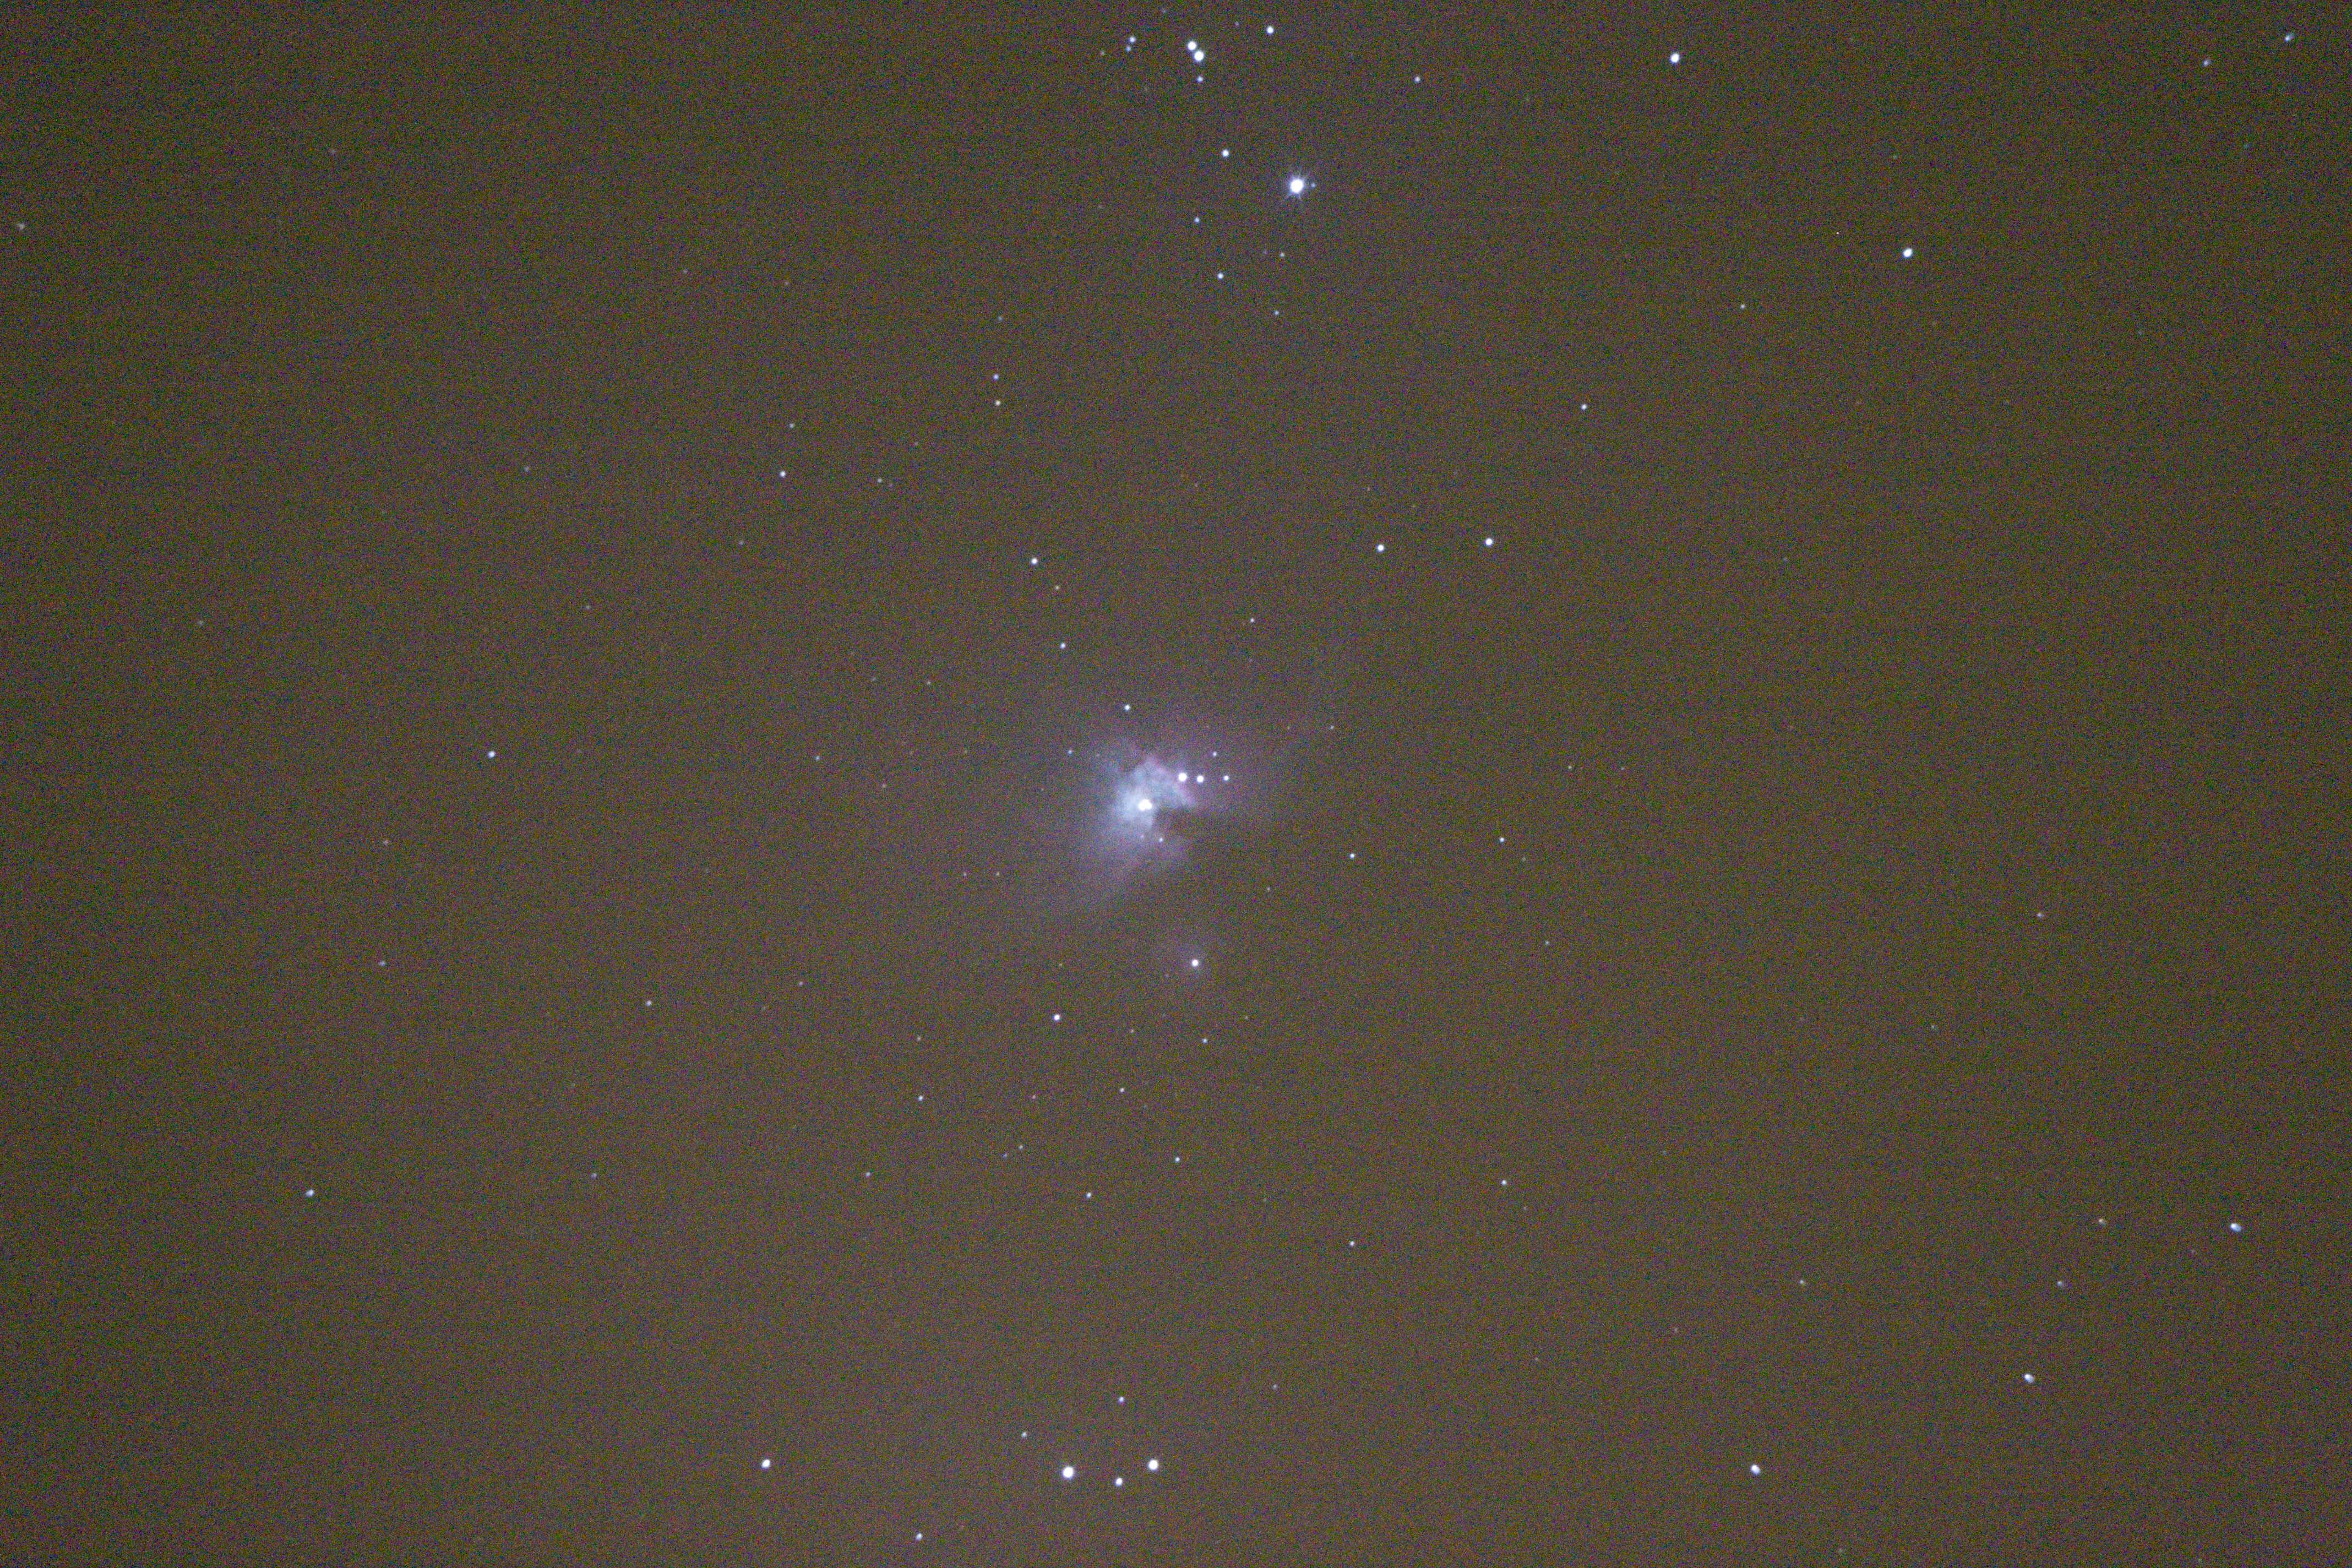
While typing this, I have my telescope up and running outside and am waiting for the Horsehead and Flame nebula to rise a little further above the horizon. There currently are faint clouds in front of it. I already shot some cool photos of the Dumbbell Nebula which I will probably post tomorrow 🙂