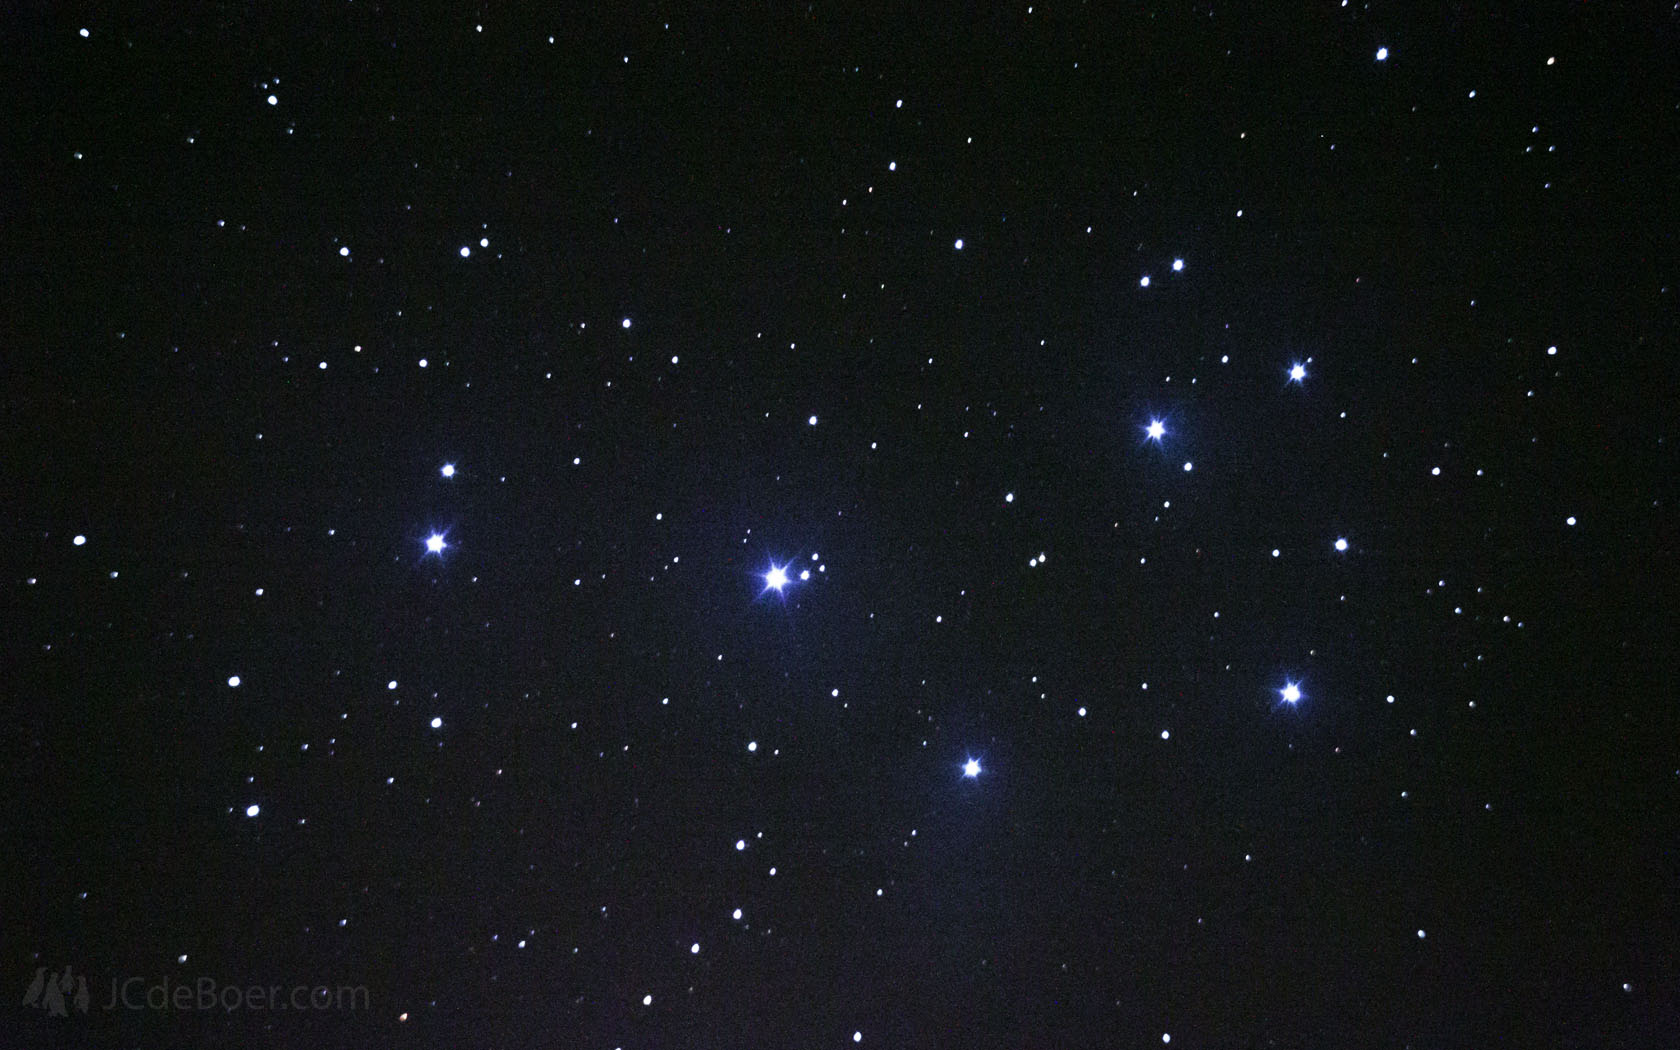
Except for 2 evenings, my motorized telescope has been collecting dust now for about 2 months. And on those 2 evenings, seeing became poor around midnight. I really can’t remember another period this worse for amateur astronomers. Luckily though, I don’t need clear skies to use my microscope.
I have a few (microscope) images from last month that I haven’t shown you yet and also some more recent photos.
Starting with a few microscopic images of elemental gallium. Gallium is fun to play with because it melts at 30 degrees Celcius (i.e. in your hand) and it isn’t as dangerous as mercury. Actually, it’s not harmful at all as long as you don’t eat it. And the best thing is, I just happen to have some at home for entertainment purposes.
For the images I deposited some droplets of liquid gallium on my glass slide and allowed it to crystallize slowly. The resulting lumbs of solid gallium were somewhat edgy but also contained plenty of rounded corners as you can see in the image below.

Small crystallized droplet of elemental gallium at 40x.
I was really fascinated by this image. It seems to be bell-shaped and contains razor sharp cornered edges around curved bodies. This image was taken at 40x magnification. Someone suggested that the straight edges may be due to expansion of the material after the outer shell had solidified.
The next image also shows some very interesting feautures. Very apparent are the colors in the top left. I believe this is due to the use of both achromatic objectives and poor lighting. The microscope I have is fitted with a bulb underneath the sample and as you may expect, light isn’t really visible through lumbs of metal. So I had to use a lamp that I positioned so that it illuminates the sample from the side.
On the right side of the image, the flat surface isn’t very flat. It shows a funny structure that may be due to the fact that the gallium crystallized under water and didn’t have the chance to dry properly.

Another crystallized gallium droplet
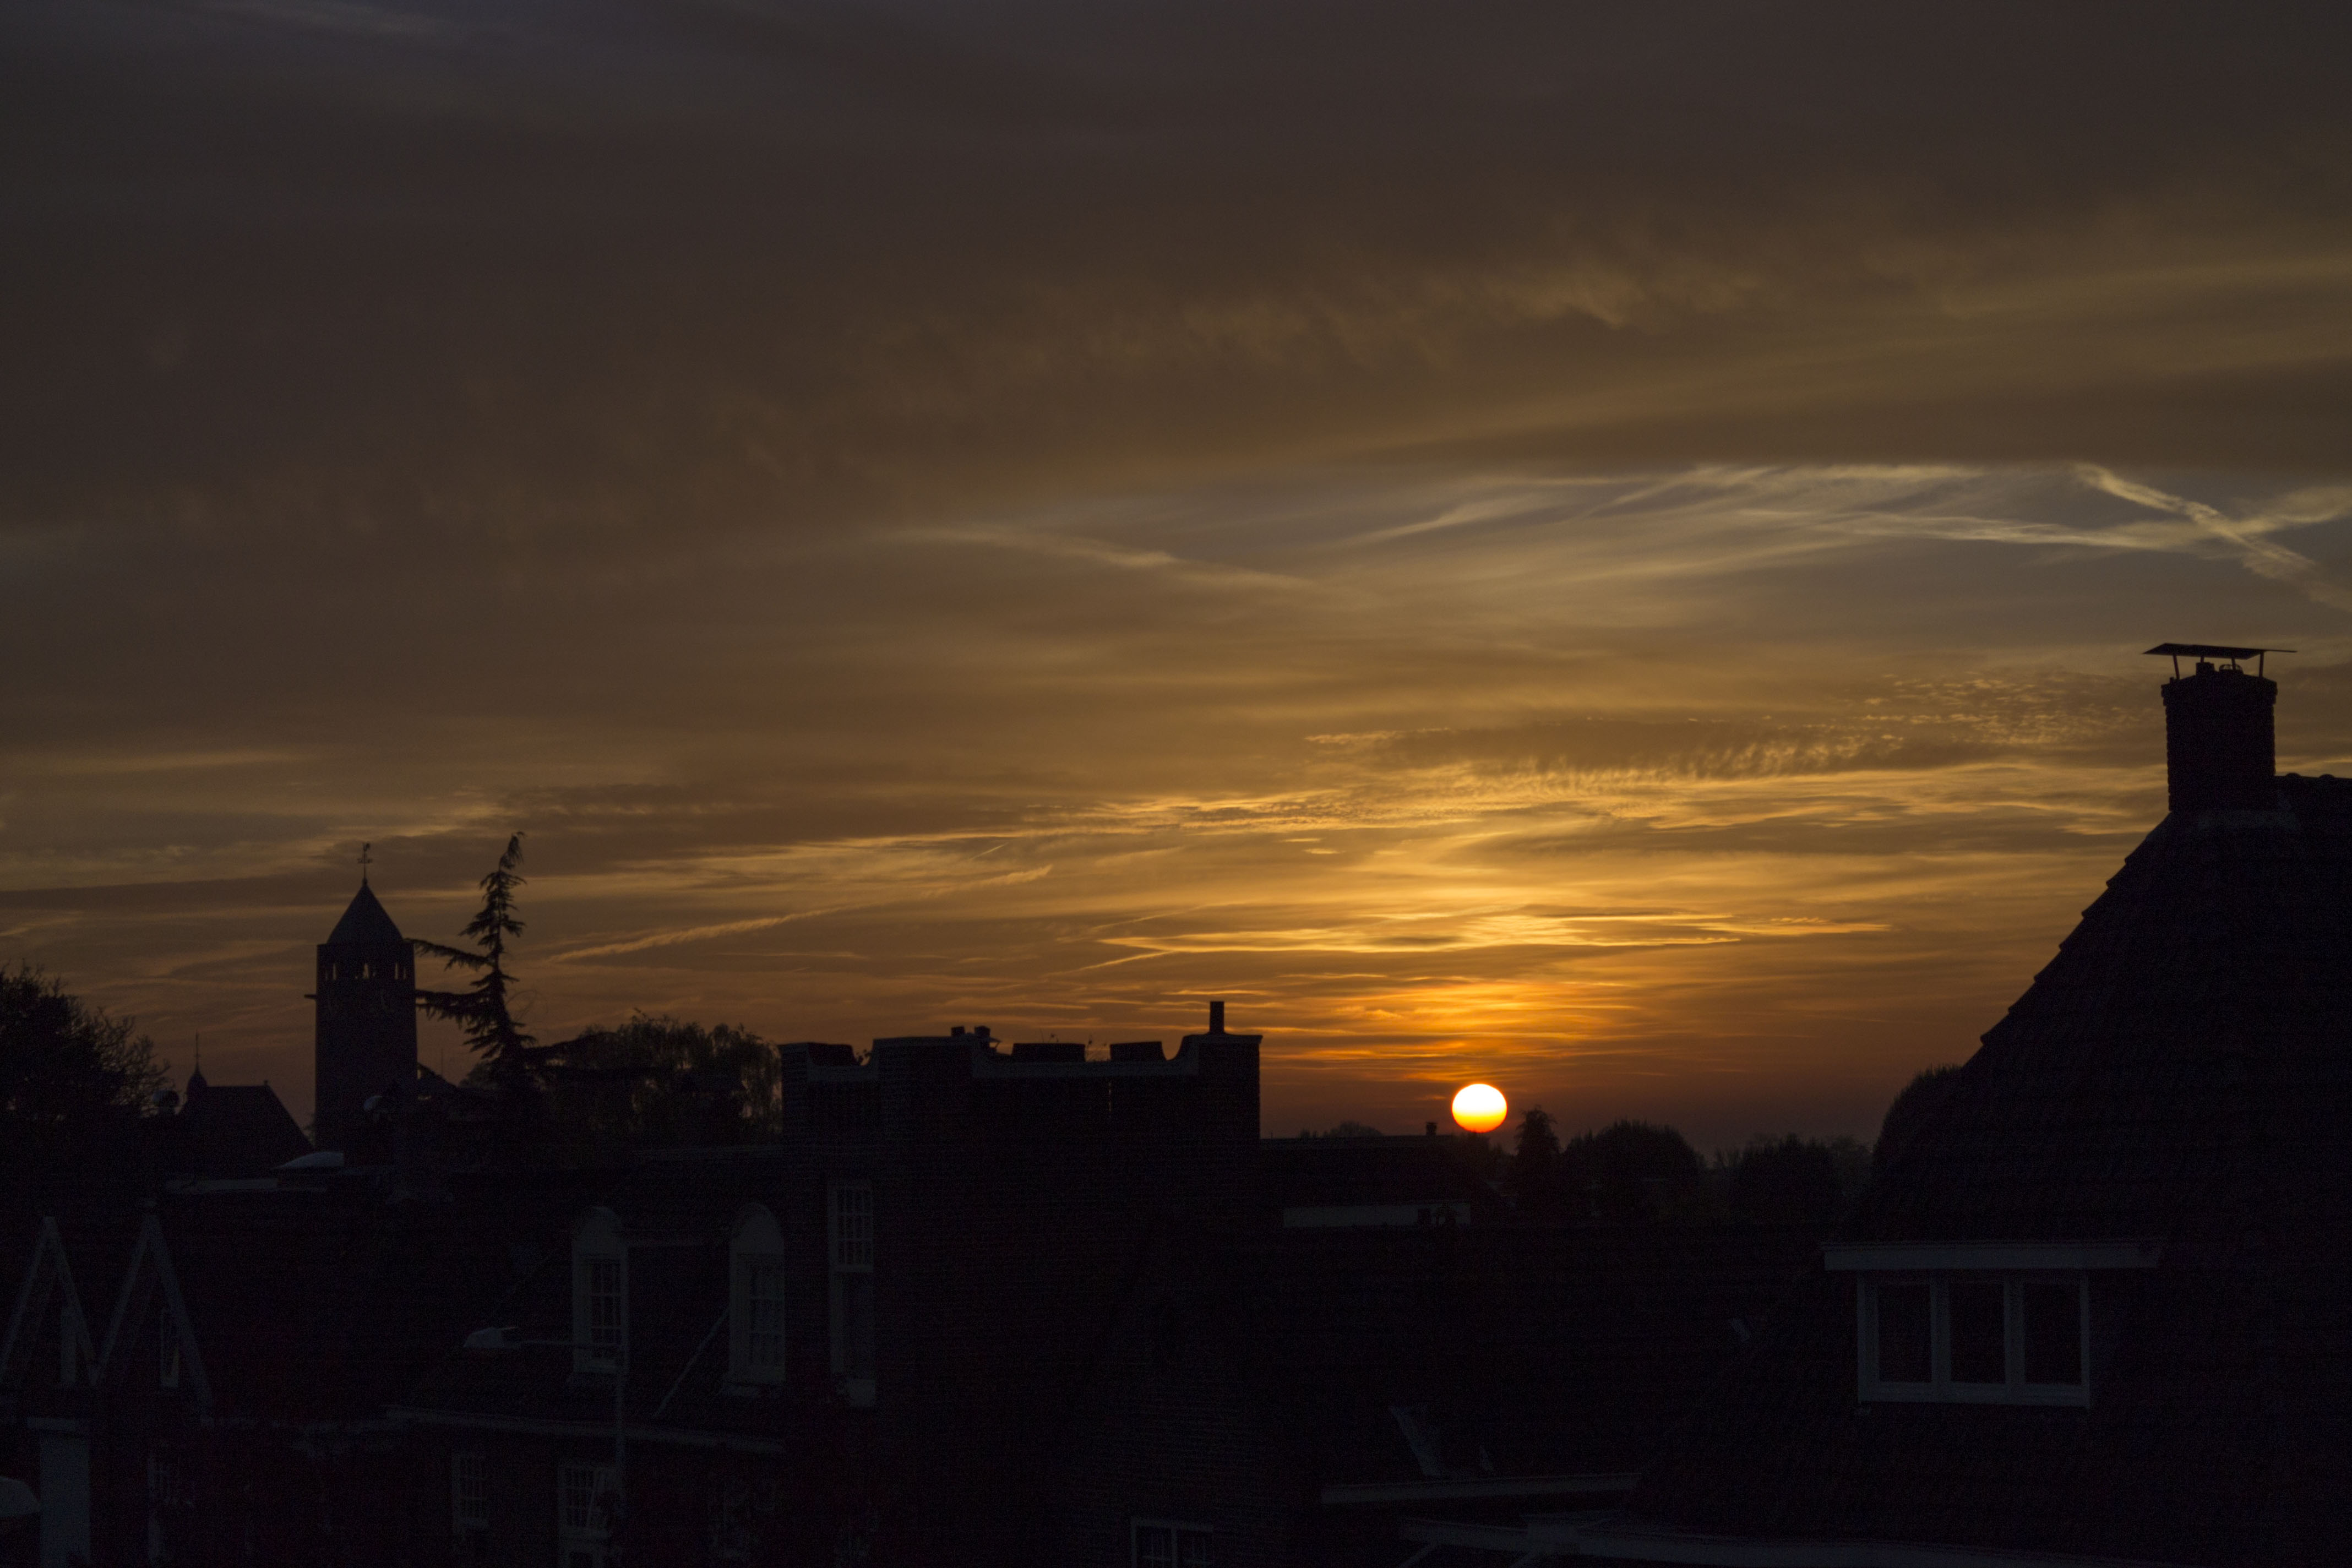
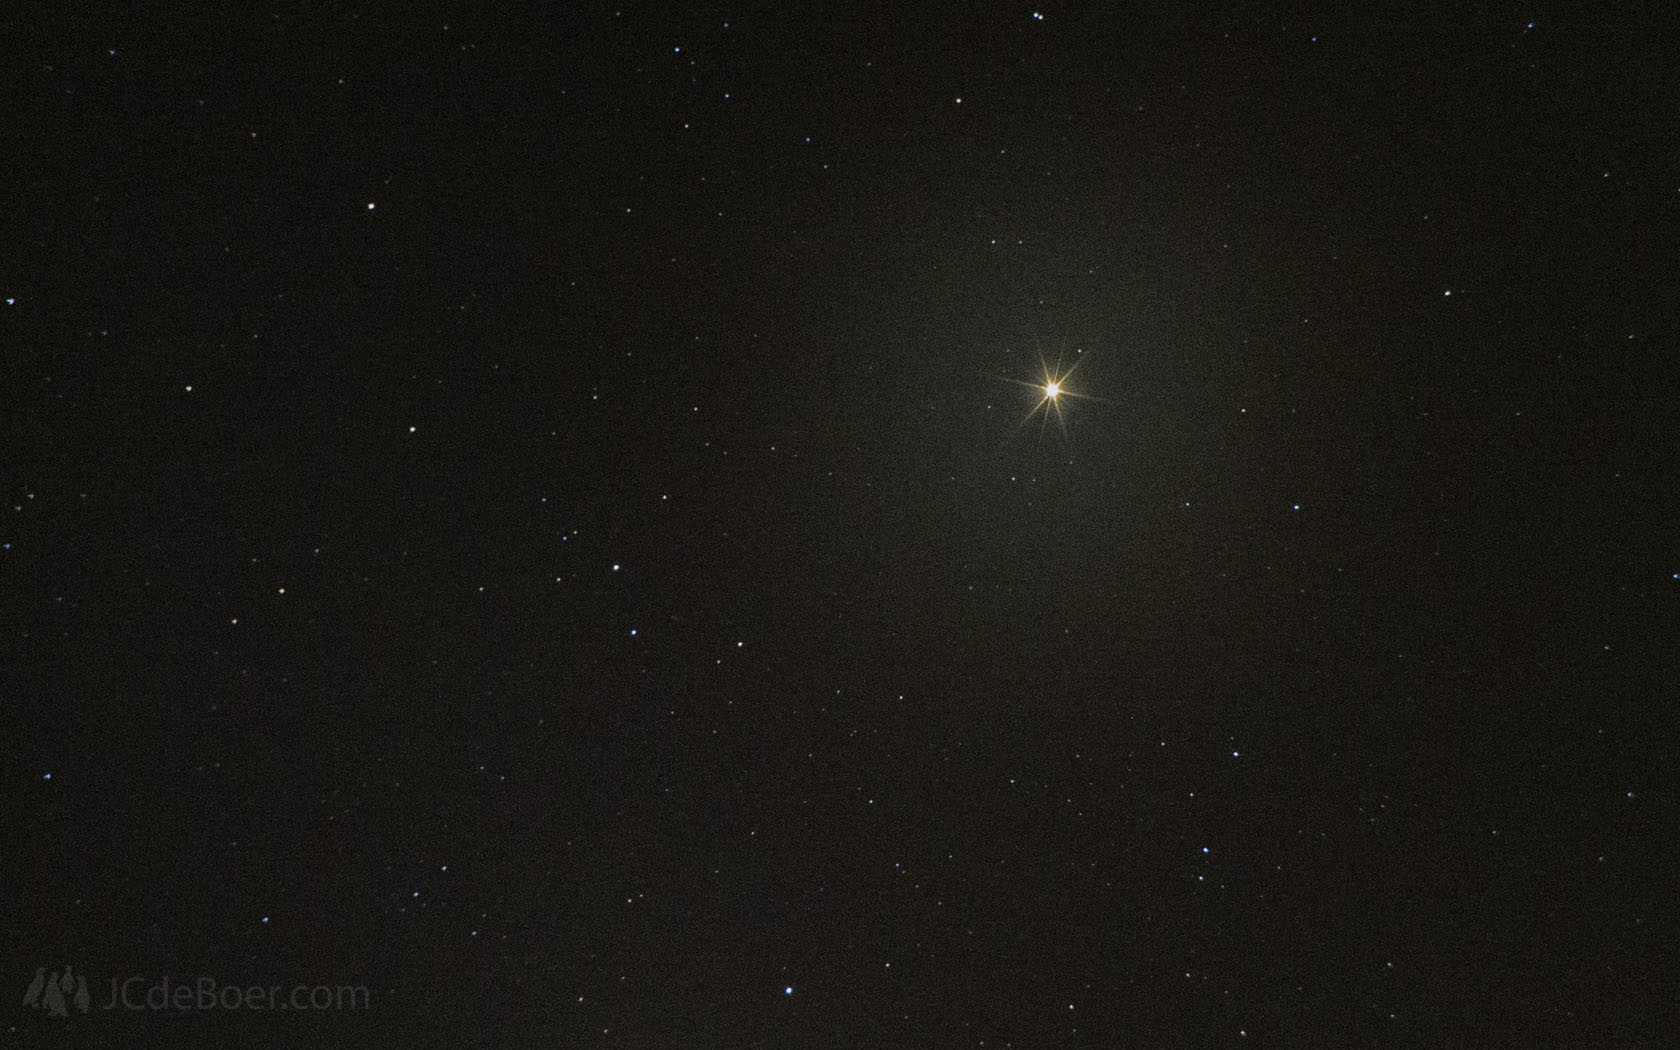
I shot the following two images during a beautiful november sunset. On the first you can se a very faint second rainbow above the brighter one. The second image shows how magnificently golden the sky was. Normally I like to use some photoshop to subtly enhance the best features of an image, but I didn’t really edit this one. The photo was just perfect.

A quite faint double rainbow

Golden evening skies over Enschede
Do you remember this image I shot of a begonia? I used a telescope to take it.
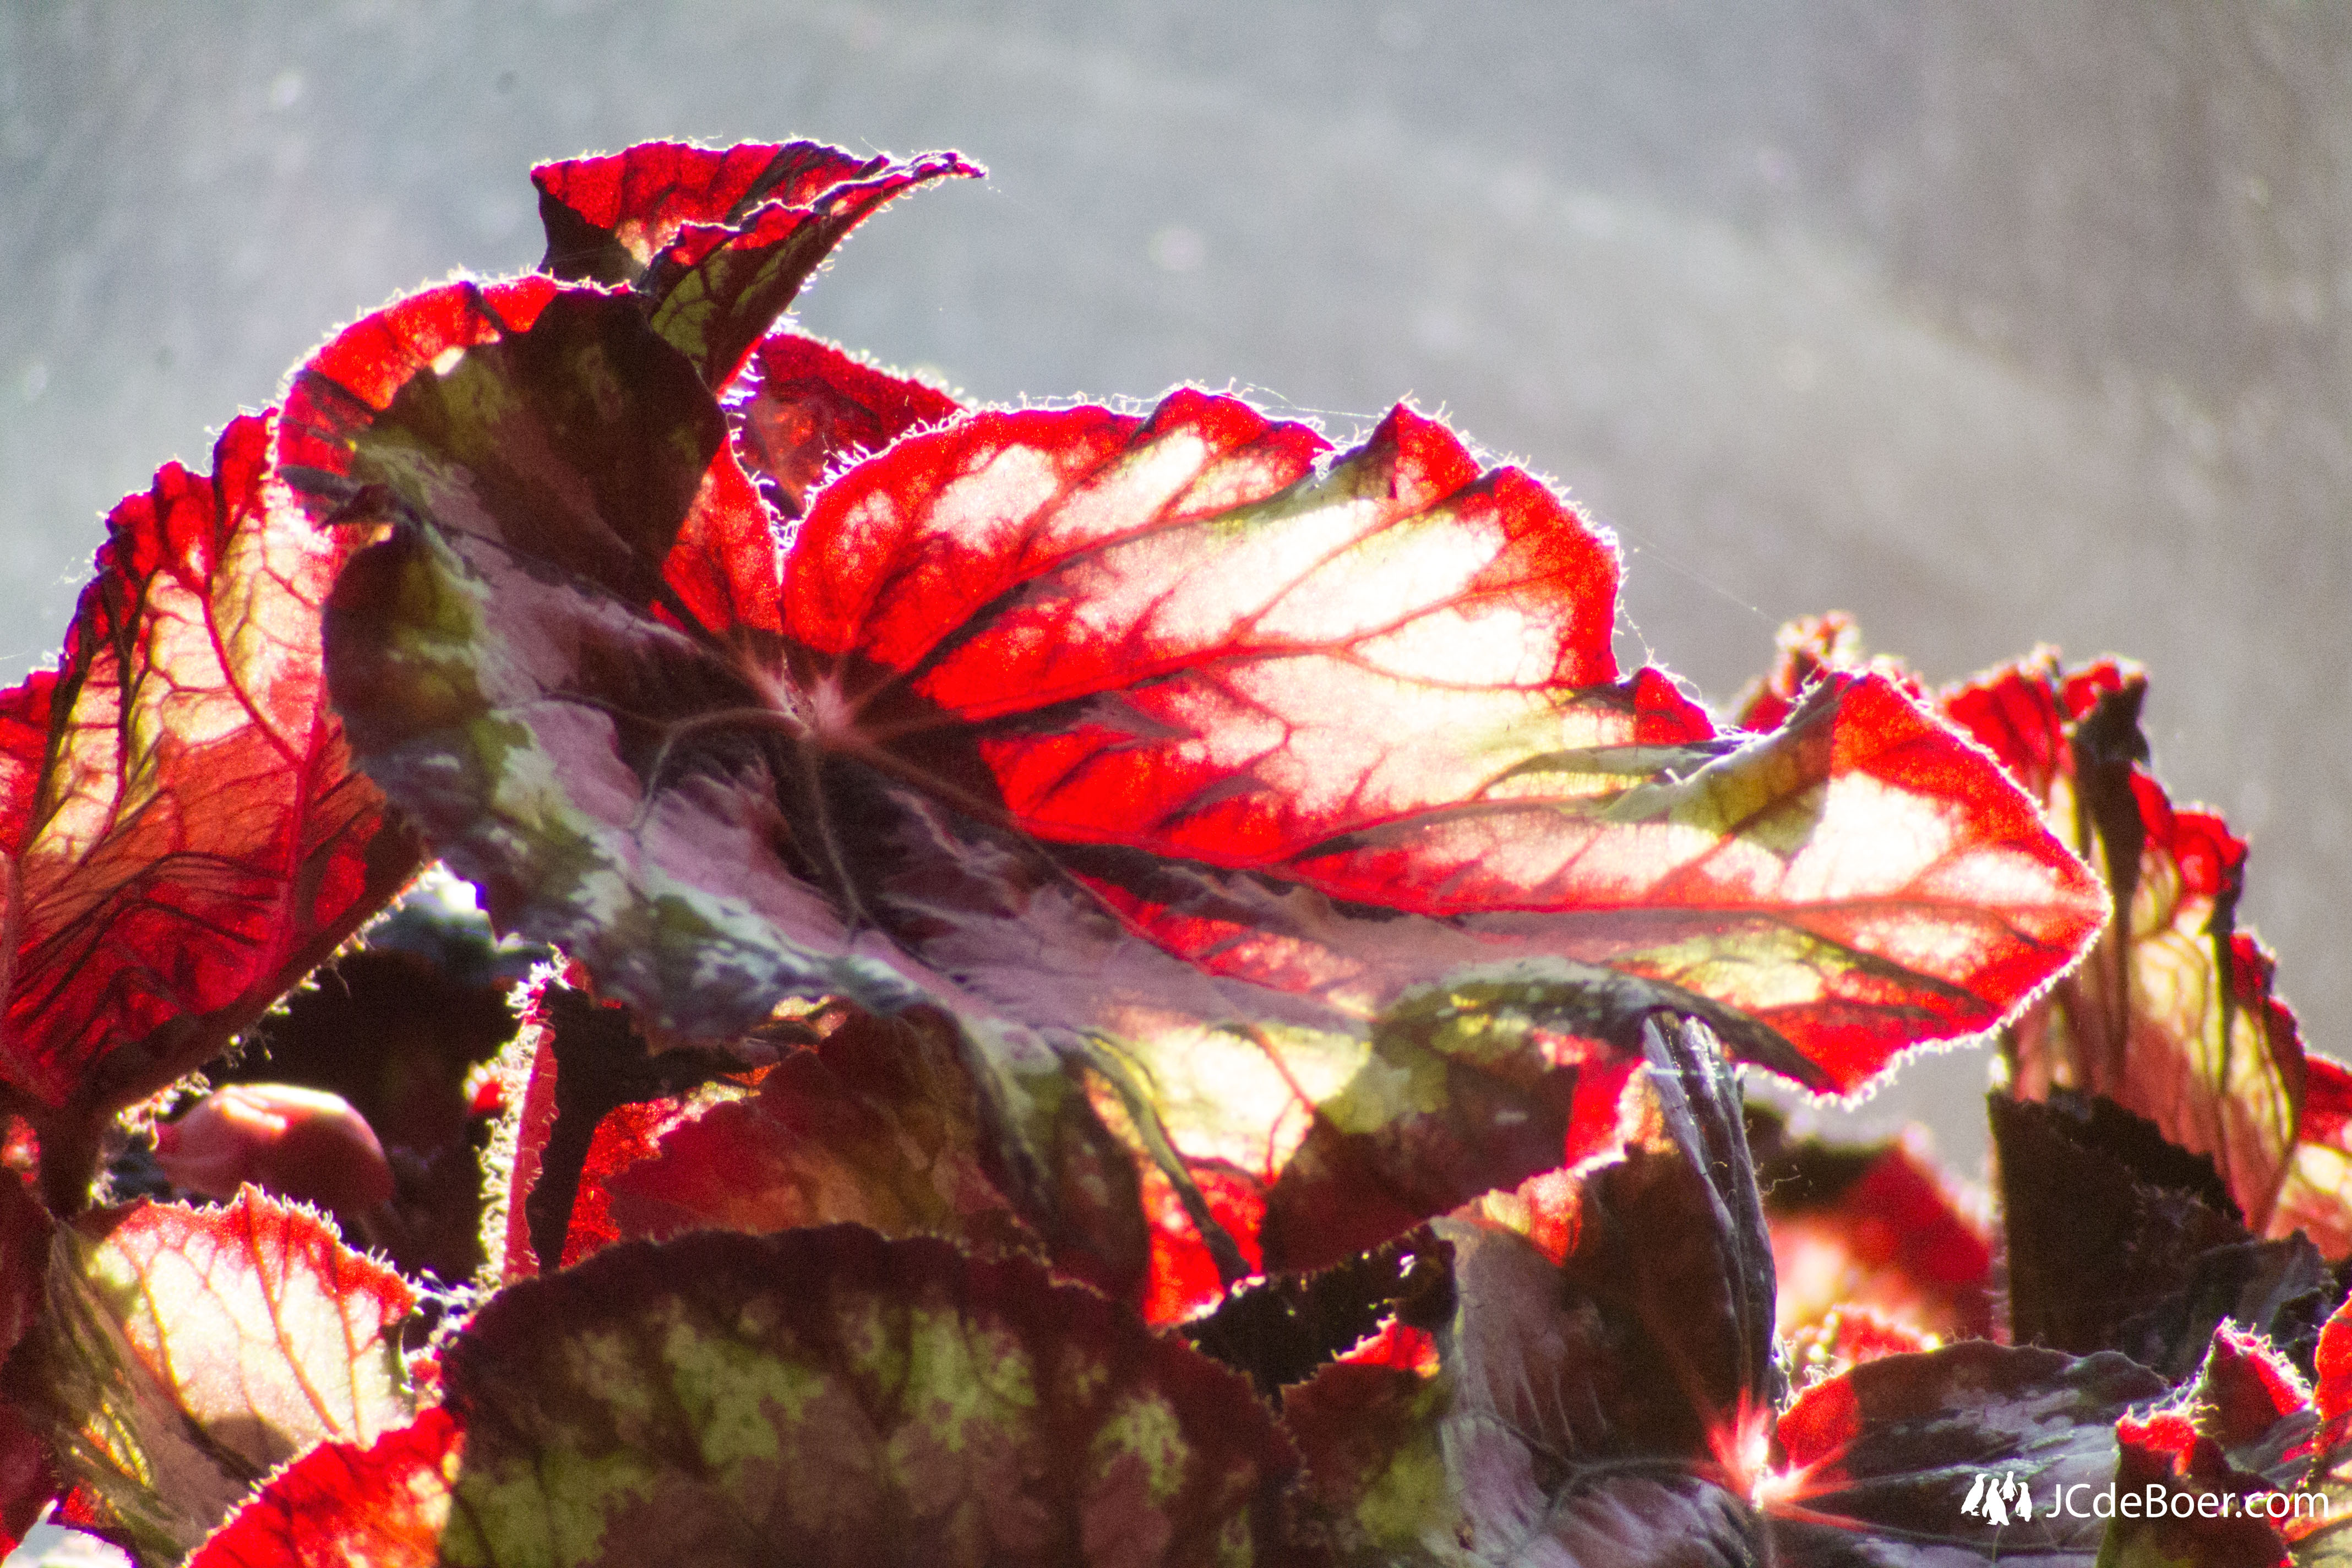
Begonia through a 900mm telescope
Well, here is the same begonia through a microscope:

Red leaf of a begonia through the microscope at 40x
I really love it’s brilliant red color. The image below shows the same area but at higher magnification. Stacking the differently focused images was quite a hastle, but it worked out okay for these images. I had one at even higher magnification (400x), but stacking this produced a blur.
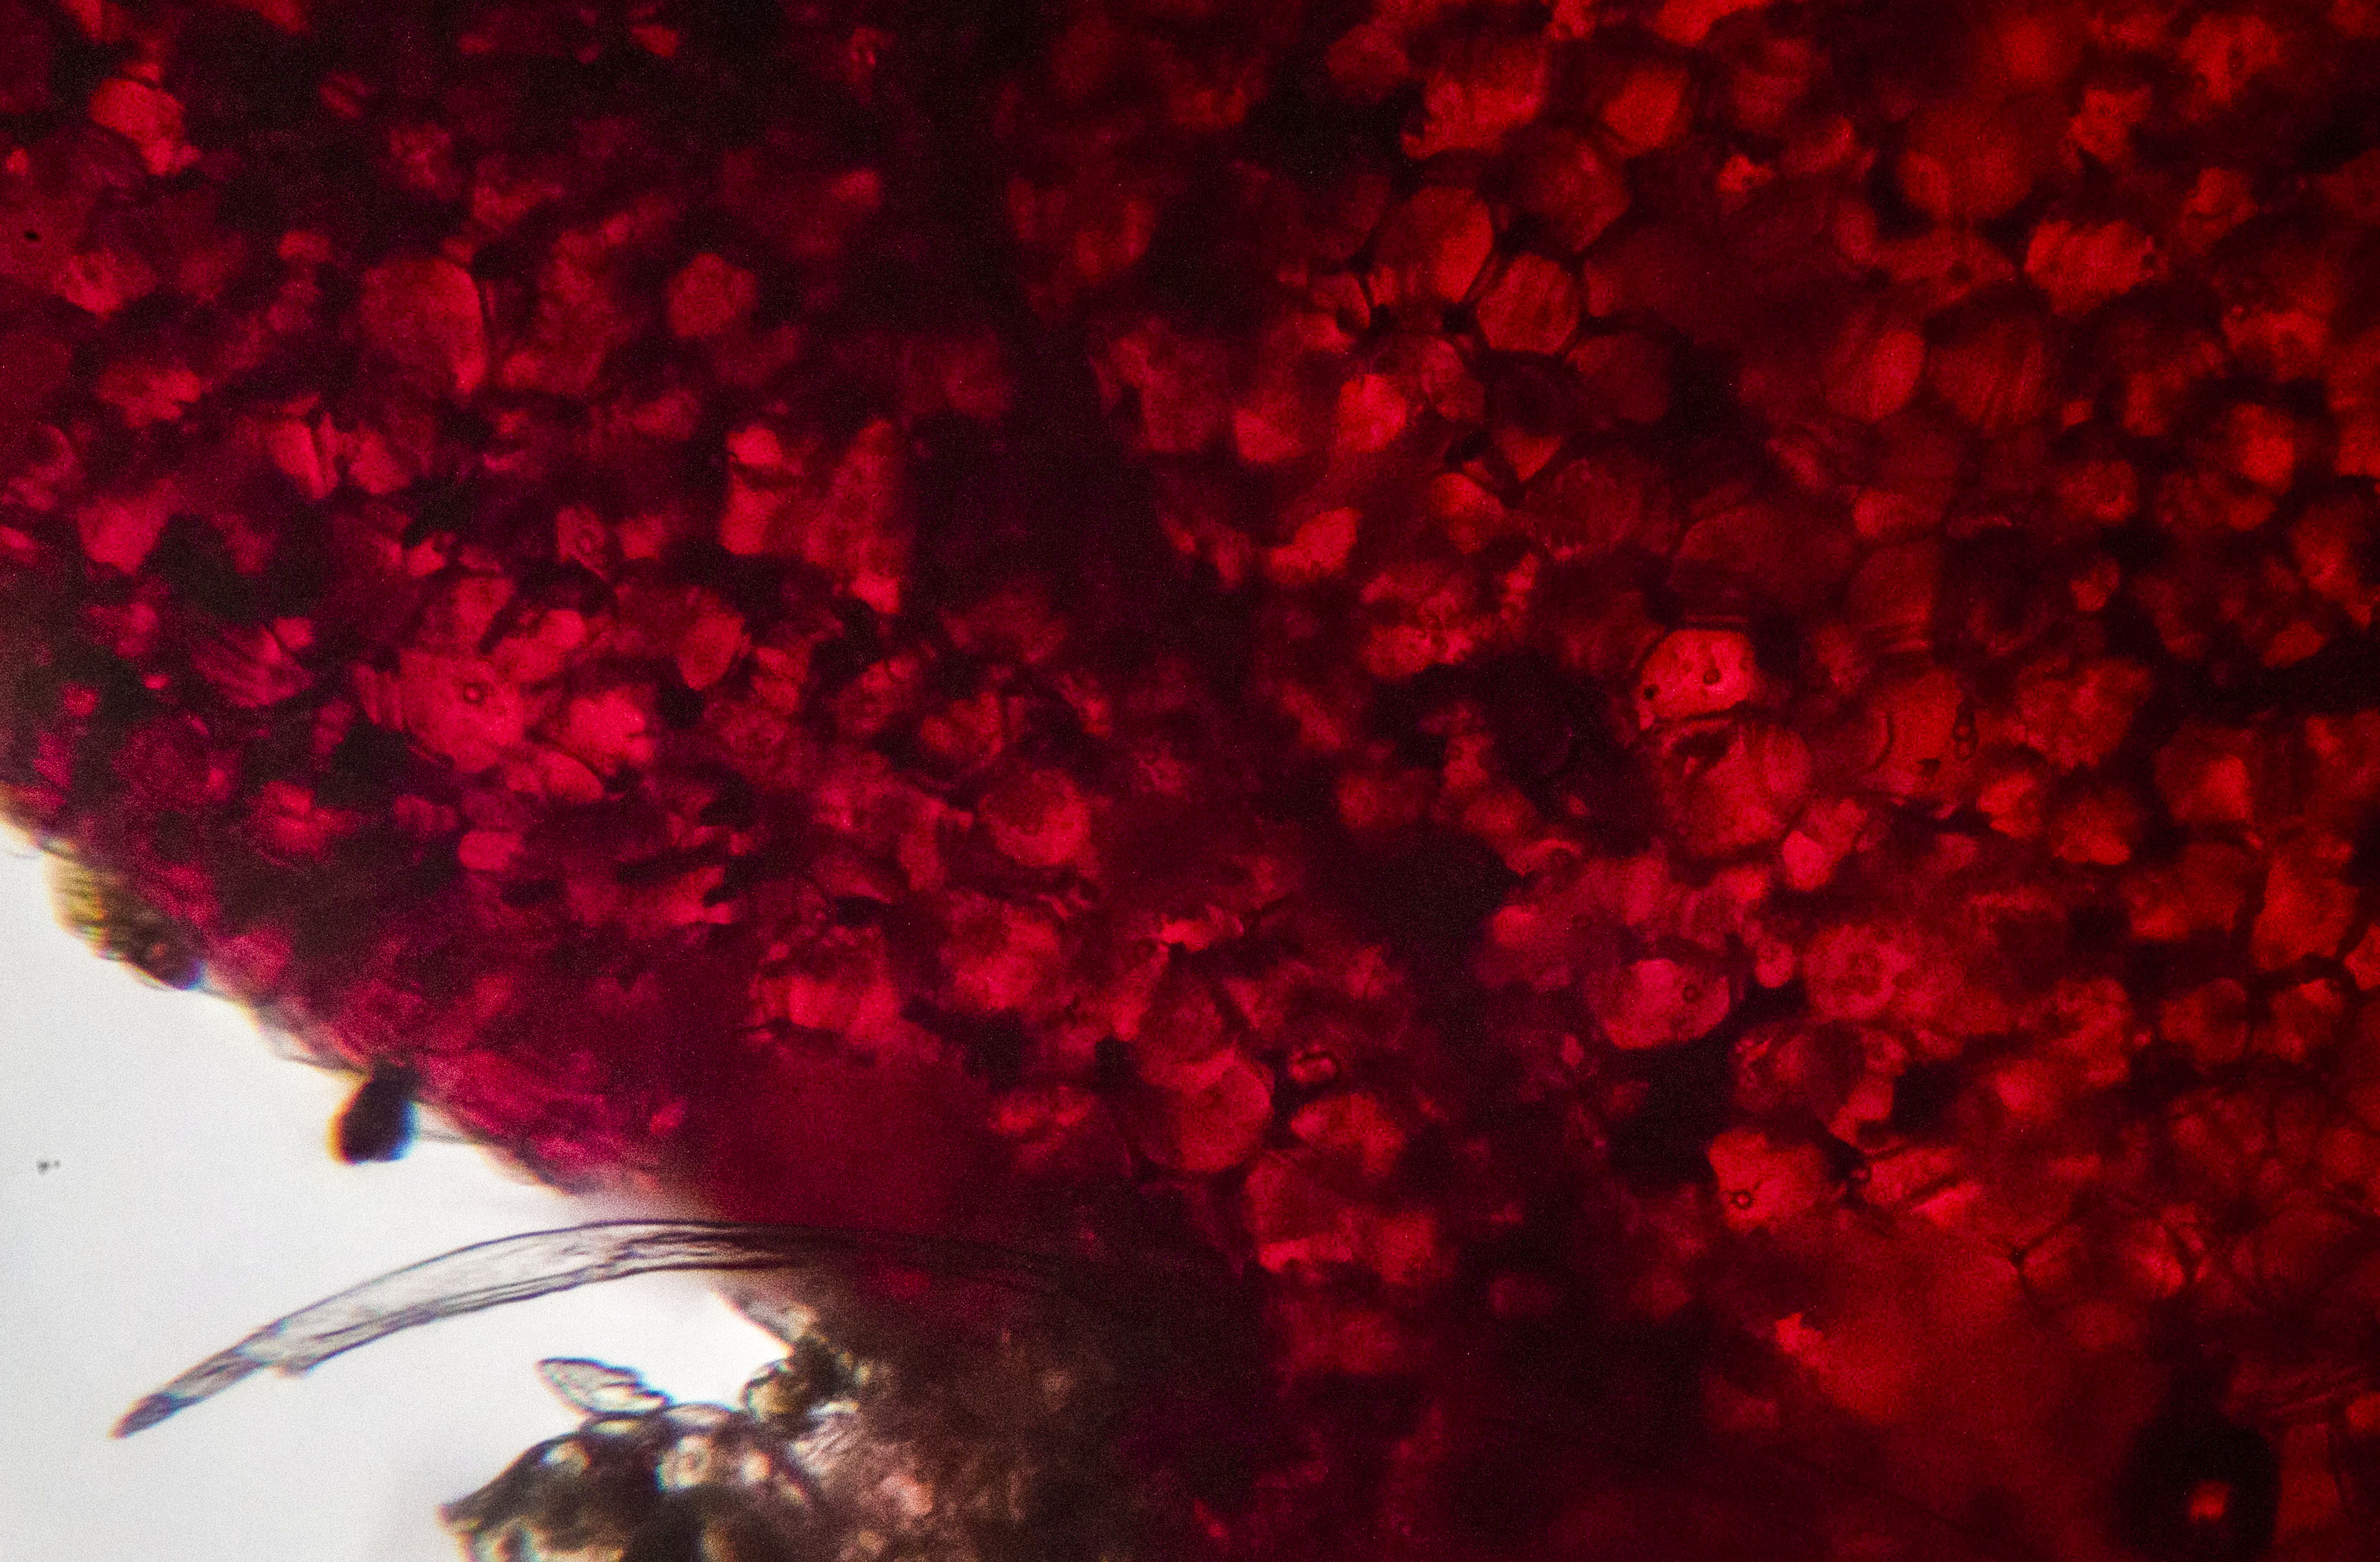
The same red leaf at 100x magnification

Nylon festival wrist band trough the microscope
The image above shows a close up at 100x of a nylon wrist band I got from a music festival. Purely synthetic. Absolutely not synthetic, is the waterweed in the image below. It shows all the little green chloroplasts that give the plant its green color. The way you see it here is somewhat different from what I saw through the microscope. I could see a lot of cytoplasmic (the liquid that fills the volume of the cell) streams, which is highlighted by lots of chloroplasts that travel through the leaf. Maybe I will make a video of that some day 🙂 .
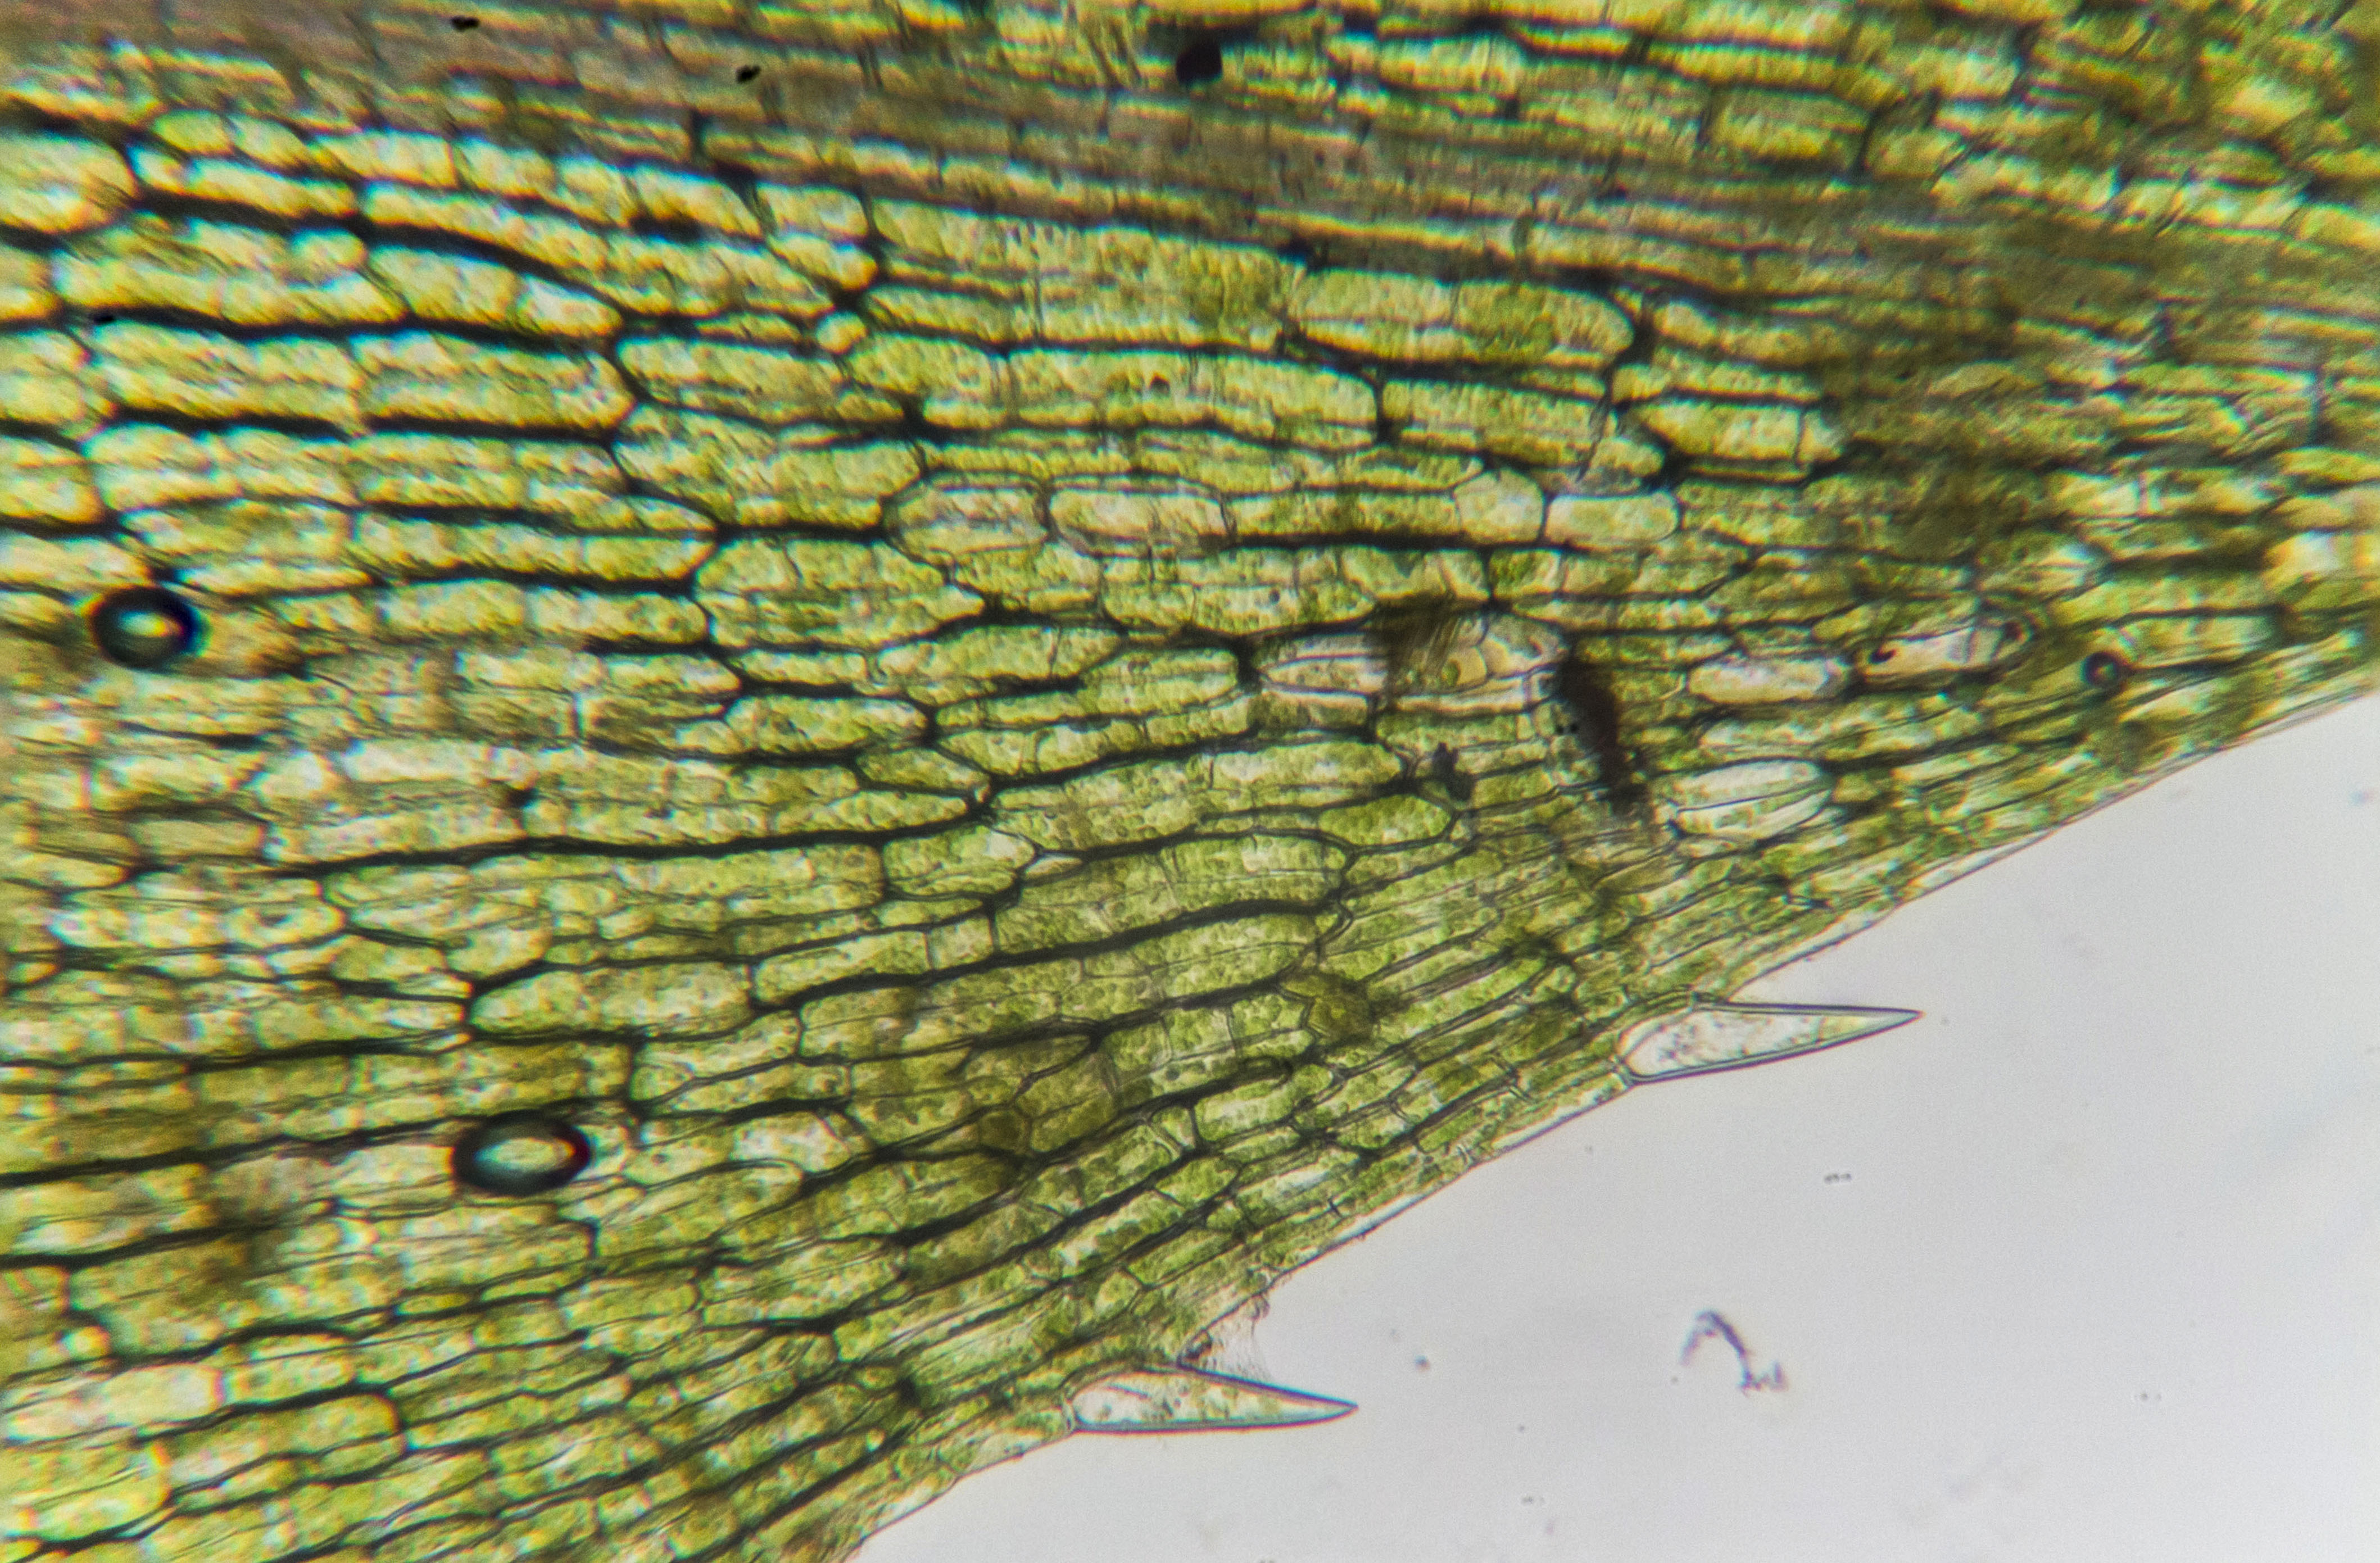
Waterweeds trough the microscope at 100x