
Although I like making images of planets like Mars, Saturn and Jupiter, I think Deep Sky Objects (DSO’s) are visually more appealing. These objects are galaxies, nebulae (huge illuminated gas clouds) or star clusters.
One of those beautiful nebulae is the Dumbbell Nebula (Messier number 27), named after its shape. M27 is called a planetary nebula, which is actually a bit of a misnomer. This nebula was once an ageing star, a so-called red giant, that was deprived of its outer gas layer by stellar winds. The clouds of gas, expelled into space, exposed the highly radiative core of the star. This luminous core now illuminates the expelled gas, making it appear as a glowing shell. So there isn’t much planetary about planetary nebulae. Of course one can imagine that the somewhat round shape of these planetary nebulae is where they get their names from.
The only 2 Deep Sky Object’s I have seen so far are the Orion Nebula (M42) and the Andromeda Galaxy (M31). Last wednesday evening the skies finally cleared and I decided to test my new camera on a new DSO: the Dumbbell Nebula. Because these objects are often very faint one needs longer exposure times (in the order of 100 seconds) to capture them with a camera. While my camera is definately capable of that, my mount sure isn’t. The longest exposure I can take on an unguided mount with f/5 telescope, without trailing the stars too much, is about half a second. So this makes capturing the nebula still quite a challenge. The next 2 paragraphs will be a little technical so you can either skip those or give reading it a try.
To be honest, the biggest challenge was finding the nebula under the light polluted skies here at midnight. Once I spotted the blurry cloud in my smaller telescope, I took about a 100 frames of 0.3, 0.5 and 0.8 second exposures through my 130mm reflector. The 0.8 sec exposures showed too much trailing, while the 0.3 sec exposure just didn’t show enough of the nebula. I opened the 35 raw 0.5 sec exposures in photoshop camera raw, adjusted white balance, slightly increased exposure so that the image shows more stars and saved the images in tif format. I did give noise reduction a try, but while it works very well on a single frame, it distorts the coherence in the noise pattern making stacking very ineffective.
Together with 13 dark frames (images taken at same exposure as the light images but with cap on, to measure the noise generated by the camera) and 10 bias frames (to measure noise induced by the electronics in the camera), I stacked the 35 light frames in the freeware program DeepSkyStacker. I saved the final image as tif, converted it to raw and opened it in camera raw again. In camera raw, I corrected the white balance, enhanced contrast a little to make the nebula stand out more and used the luminosity slider to reduce noise. Finally, I used photoshop to mask some lower skyglow, increase star brightness and crop the final image to get rid of the overlap of stacked images due to a (relatively) moving nebula. 🙂

M27, Bumbbell Nebula in 35 x 0.5 sec at ISO 3200 through 130mm newtonian
As I had to wait a while for the sky to get dark enough, I also took some frames of the moon and later Saturn. The image below is a stack of 28 frames taken with my 1100d in prime focus on a 90mm f/10 refractor telescope.
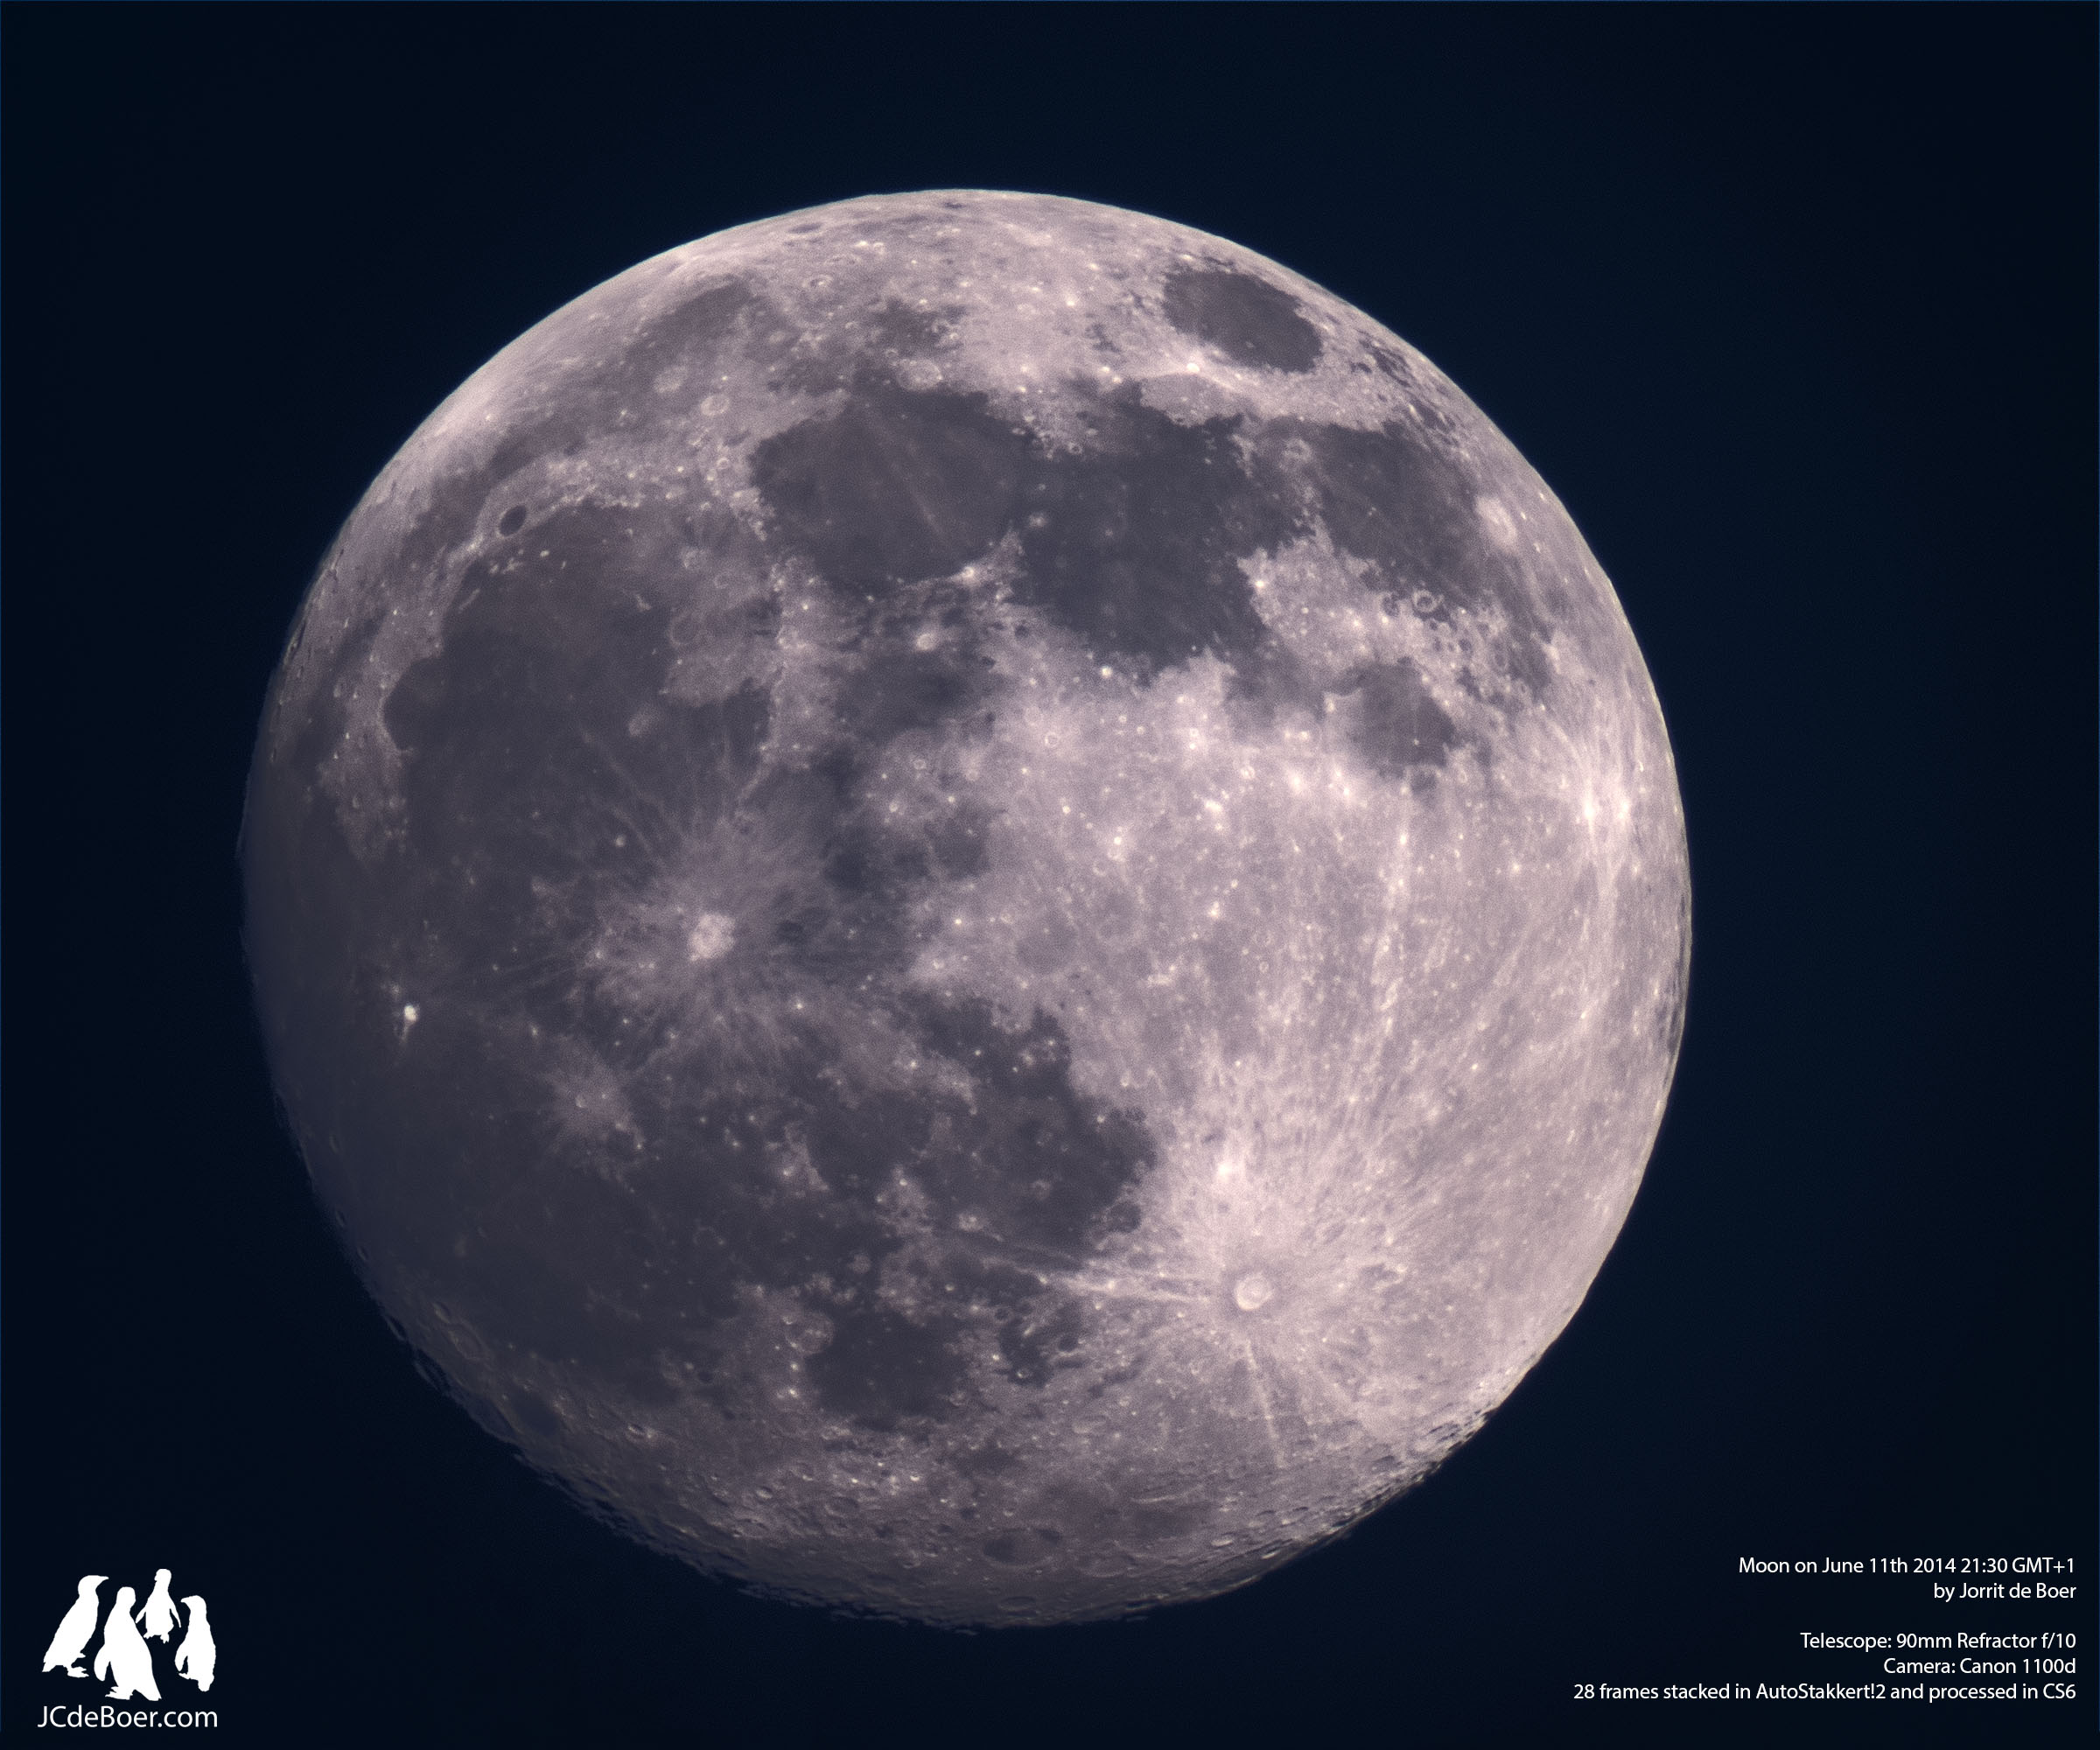
Moon through 90mm refractor
For planetary photographs, I like to take multiple videos and stack the best 30% of the frames to get my final image. While my camera does allow me to take videos through the telescope using the camera buttons, my remote software does not. I may have to switch software, I’ll look into that. Instead of videos, I took 80 photos and stacked the best 40 of them. The image was quite small as I didn’t use my 3x barlow, because it gave a huge blur in the red channel. Despite the very poor seeing conditions (very moist air and instable air due to a large, radiating, black roof) I think I got a decend image. I’m looking forward to the holiday season when I can spend more time on tracking down and imaging DSO’s 🙂

Saturn with 90mm refractor. Prime focus, no barlows or powermates.
