
To be honest, I must admit that the iphone is pretty hard to use for astrophotography. I blame the cmos chip. I want to motive this, but I think I first have to explain a little about the difference between ccd and cmos chips. So here we go.
Despite it being not the fanciest diagram ever, for this purpose the diagram above shows quite well how a bandgap works in a ccd. The lines on the bottom represent lower energy states that an electron can occupy in a material. These lower levels are situated close to the nuclei of atoms and are not very free to move around. In semiconductors, these states are usually all filled.
Above those lower states there is an energy range (Energy gap Eg) where no states are present for electrons. Above this gap, there are the higher energy states that form the conduction band. The electrons in these levels are so energetic that they are free to move and can conduct electricity.
In a ccd chip, there are many pixels of semiconductor that have this bandgap. As light falls on the chip, it “kicks” an electron from the lower energy levels to the conduction band. An applied voltage then pulls the conducting electron to a collector which now knows that that light was seen by that specific pixel.
Every now and then the array of pixels reports its findings to the computer in a RAW file. This is practically all the ccd does. It reports which pixels were illuminated. The computer can then provide the really large RAW file to the user or compress it to a jpeg file. Jpeg files are a lot smaller because they show a simplified version of the original RAW file. But the user gets to decide whether or not the RAW files are converted to jpeg.
The difference between a ccd and the cmos chip in an iphone is shown in the image below. While the cdd just makes a RAW file and lets the computer do the rest, the iphone cmos chip immediately simplifies the photo to jpeg. With that simplification, it also alters the noise so that it is even worse and not removable. 
So there it is. This is the reason why the cmos chip in my iphone cannot give me the pure photos that are of so much value for astrophotography. But despite all that, I want to make sure I find the absolute limit of what the iphone camera can do when it comes to atrophotography. To do so, I think I first may have to gain some experience using an easier to use ccd camera.
Ccd cameras for astrophotography are expensive. Very very expensive. So back to the internet for cheap alternatives. There seem to be quite a few webcams that have ccd chips that are loved by astrophotographers, but these are very hard to get your hands on. Then I came past a site where they were very positive about xbox 360 live cameras. This guy is using them for all kinds of purposes including birdbox monitoring.
Cheap as those are, I bought one, tore it open, disabled the four green leds, removed the infrared filter to make it even more sensitive and added an adapter to mount it to my telescope. Using one tube to look through and one for astrophotography, my setup now looks like this:

2 Days ago I made the following shot of jupiter using the xbox webcam on my smaller 90mm refractor tube. The photo is a composite of 80 frames of an avi video. I was planning on shooting the moon, but the coward didn’t show up. Better luck next time. I am really curious what my larger 130mm reflector telescope can make of jupiter and the moon and perhaps even M42 (Charles Messier’s number for the Orion Nebula).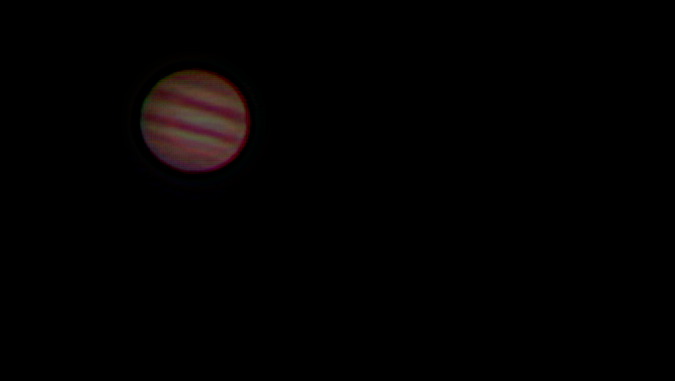

Hi
Your reflector will do a lot better and you will need an IR filter to get rid of the IR light.
Which effects your focus.
Clear skies have
PS have a look at a Watec 902b cctv camera
LikeLike
Thanks for your suggestion! Actually, I flicked the IR filter out of the xbox cam because it filters out too much of the red, but indeed I should then replace it by a high performance IR filter to get focus right (and to protect the ccd chip).
I should make time to pick up this hobby again… Haven’t touched a telescope since I moved to my new place.
LikeLike