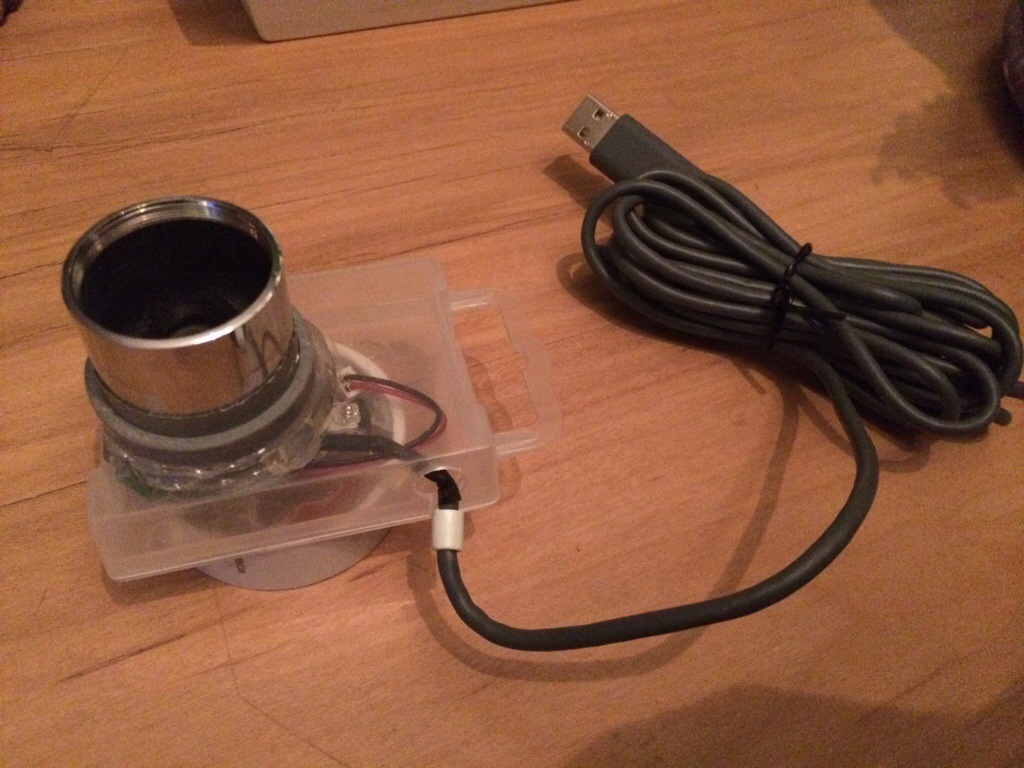
Remember that photo of my xbox webcam in another housing with a fan attached to it which I only had to solder? Well I soldered it. And the rattle coming from the fan was annoyingly present and the vibrations would make any imaging impossible. But I didn’t really mind because I had a second fan which seemed to work flawlessly. The result looks like a plastic box that screws come in, but with holes and wires coming out of it. And a fan. And lots of glue 😛
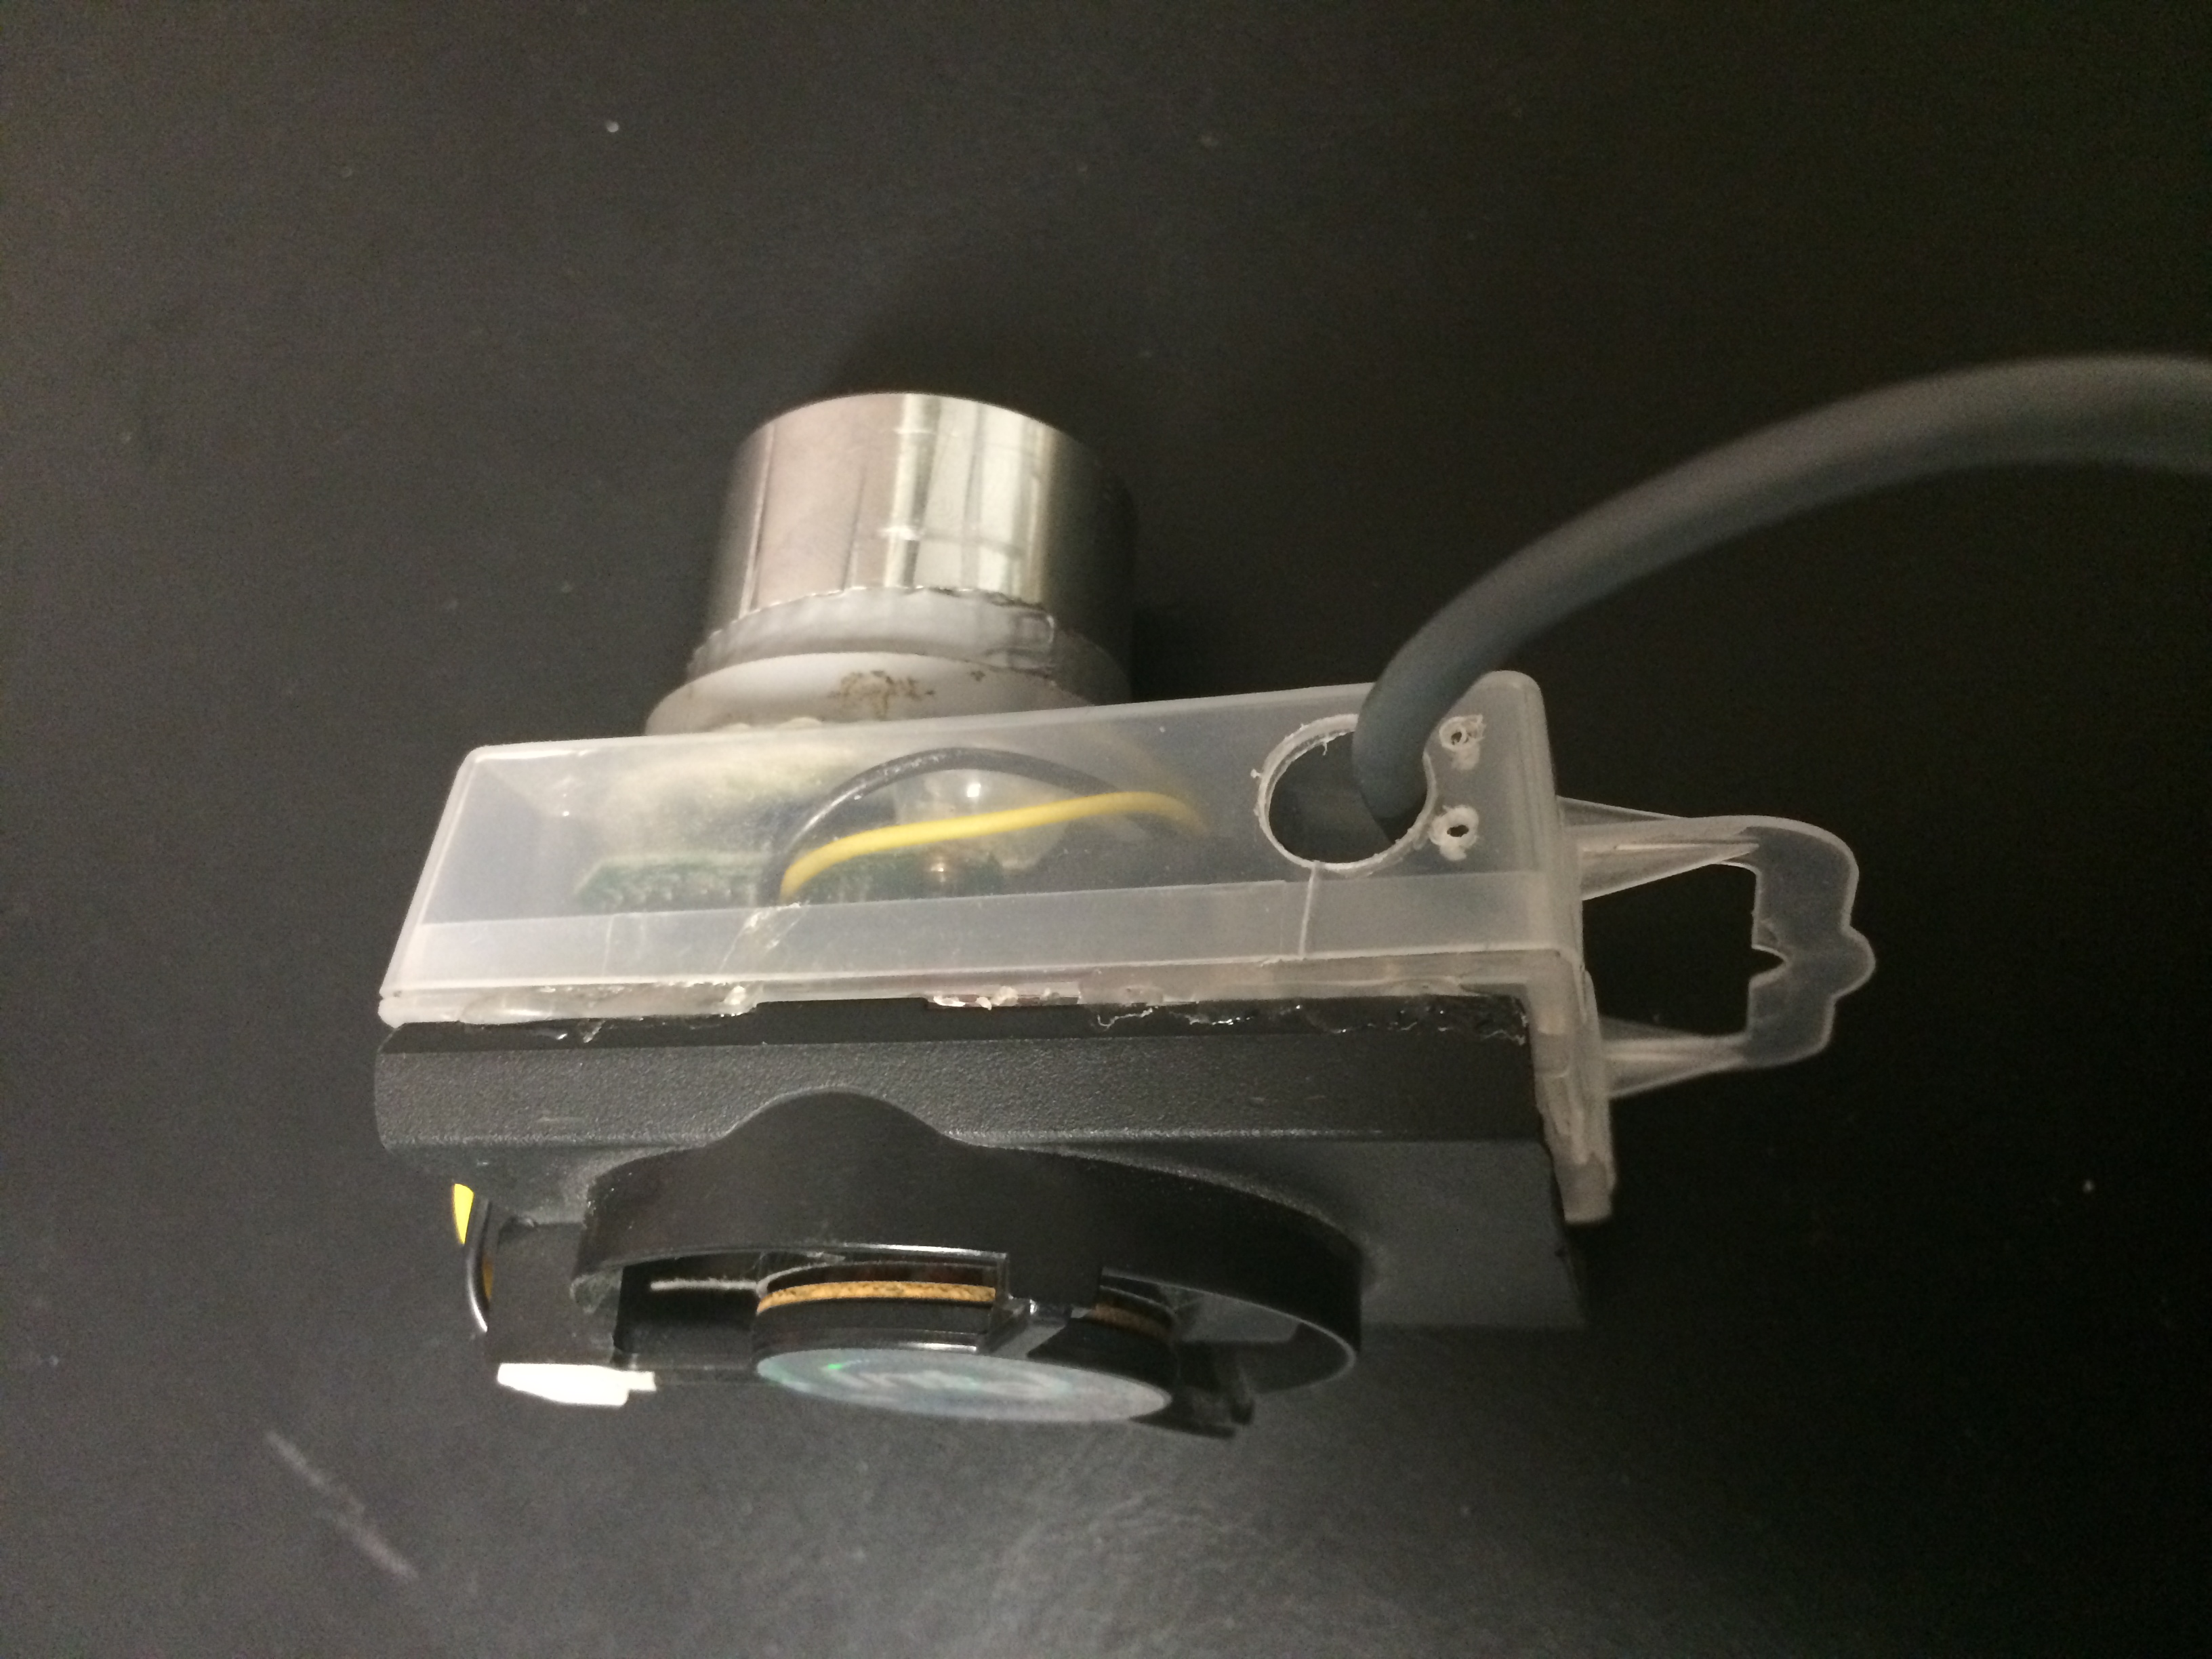
Modded xbox cam from side
The inside of the box is just the bare circuit board screwed onto dots of plastic glue and wires soldered to the usb power wires:

Inside of xbox webcam
Last week, my girlfriend got me a 3x barlow lens which I’m very happy with. The lens sits between the telescope and the camera (or eyepiece for visual use) and makes the image 3 times as large. This allows me to get about 9 times as many pixels with the target on it. The downside it that is also seriously reduces the amount of light that hits the ccd chip and so reduces the amount of detail on the image. Also, the region of focus is extremely small which makes it difficult to get focus exactly right. In fact, the first time I tried it, I couldn’t get any image on the screen 😦

Xbox webcam with 3x barlow lens on telescope
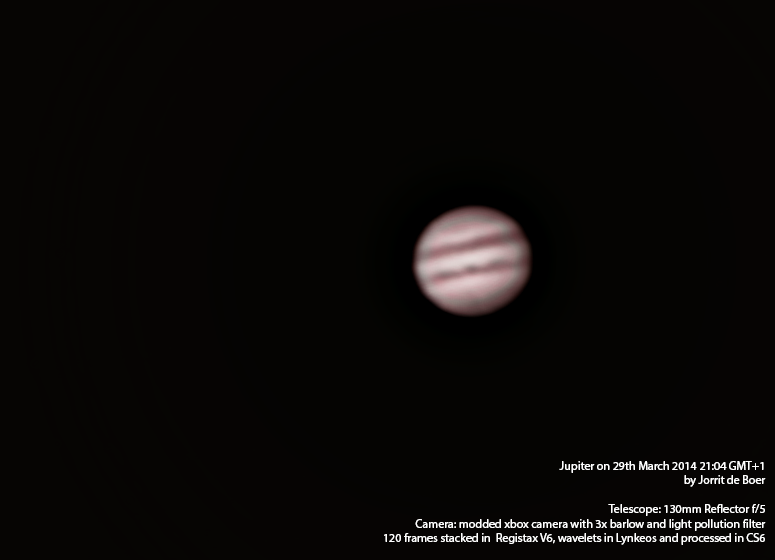
After getting some feeling where the barlow’s focal point is during daytime last week, yesterday evening I could finally get a supersized Jupiter on the screen 🙂 . Due to poor seeing conditions (instable atmosphere caused by temperature fluctuations) and narrow focal range, I couldn’t get focus right. The picture below shows my first attempt at stacking and slightly processing a video. I was very cautious not to overprocess the image. This resulted in a pretty unsatisfying image with a stacking artifact at the top of jupiter:
Slightly processed stack of jupiter
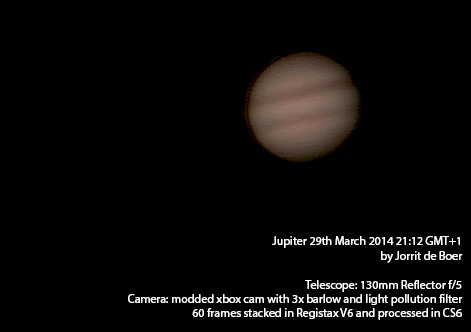
After become less cautious I stacked another video and may have slightly over processed it, but the image turned out way better than the first one:
Seriously processed stacked image of Jupiter
Can you see the green-blue-ish ring near the outlines of jupiter? That is a consequence of using achromatic lenses as I have in my refractor telescope and barlow lens. This is the reason why for astrophotography only apochromatic lenses are used. The reason I don’t have apochromatic lenses? Their prices are astronomical 😉
I found some amazing results on the internet of people using playstation eye webcams for astrophotography. This also very cheap webcam is able to take exposures up to 10 seconds and therefore is quite suited for deep sky astrophotography. I modded this webcam as well and was able to take images, but couldn’t even get near to right focus, because the ccd chip is too far in the back of the housing. I will have to tweak the camera a bit. For now it looks like this:
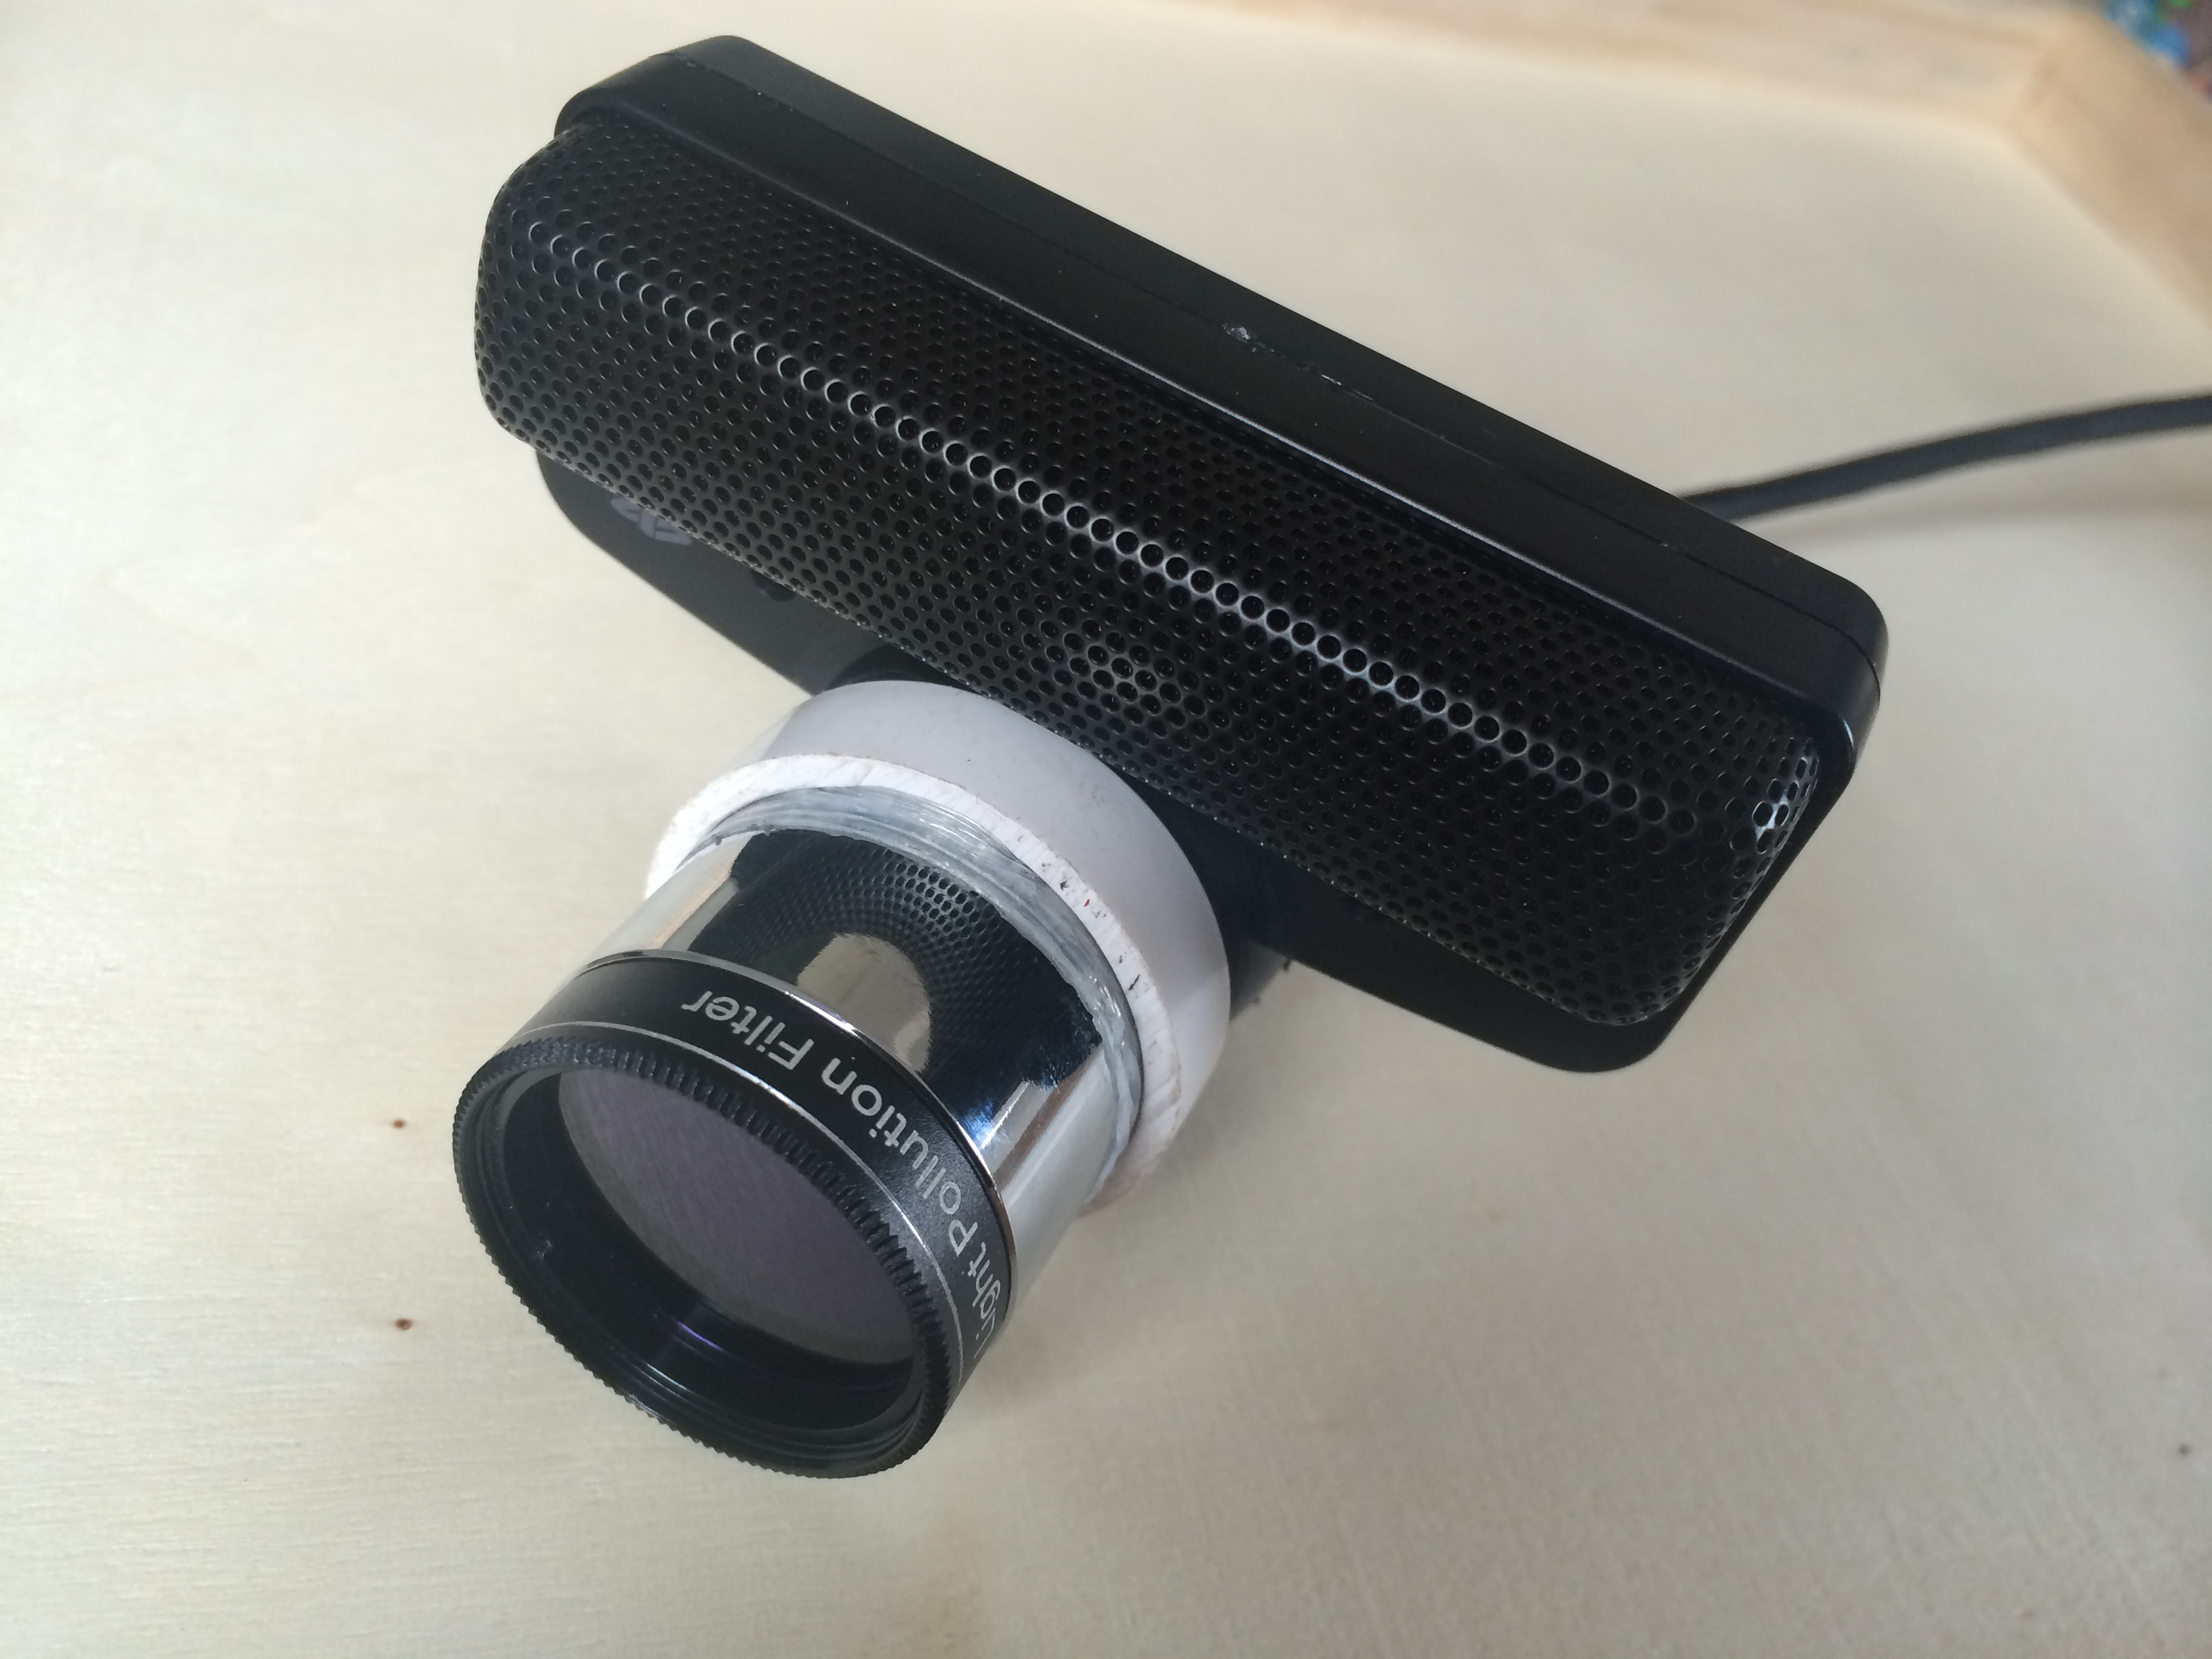
Playstation 3 eye toy. Also modded (removed infrared fiter and added adapter)
Also, I am going to try a point-and-shoot camera on the orion nebula. Will keep you posted on that 😉