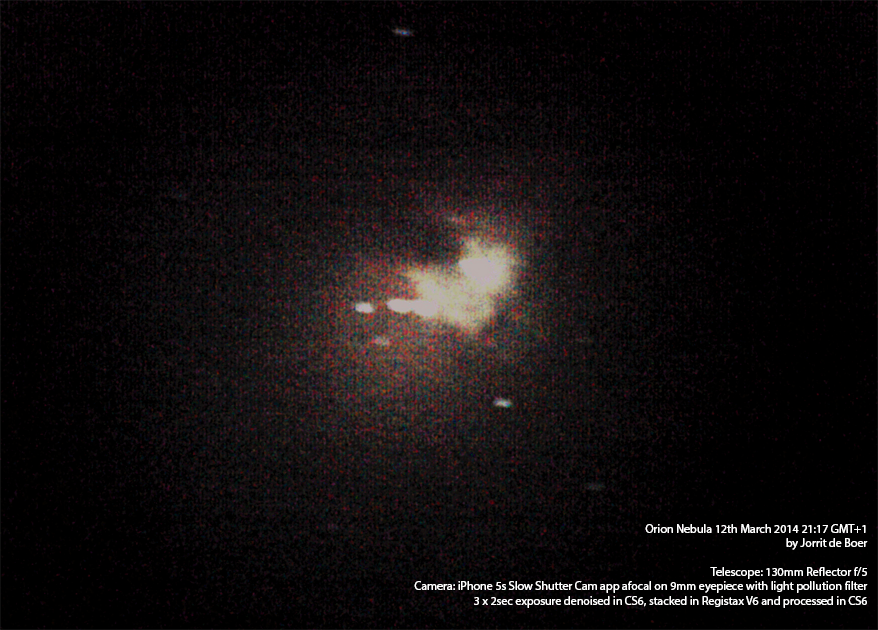
When I started this site, I just began taking my first astrophotos. The image below was my first attempt to capture the Orion Nebula with my iPhone.

First try at m42 with iPhone
After this first attempt, I improved my astrophoto skills by practicing with planetary imaging. But still, I couldn’t squeeze any more out of the iPhone than this:
Final try at m42 with iPhone
I decided it had been my final try at iPhone deep sky imaging. I tried my luck with both xbox live and ps3 webcams, but the xbox live cam didn’t pick up anything special and I still haven’t got the ps3 cam to do long exposures.
After I bought my DSLR I could do untracked 0.8 second exposures without too much trailing, but the 0.8 second exposures aren’t that exciting really. It’s my new motorized tracking mount in combination with my DSLR that makes all the difference. When last week the thick layer of clouds showed the tiniest opening, I immediately set up my telescope to take advantage. Unfortunately the opening was so small, that by the time I had everything up and running – which didn’t take that long – a milky but slightly transparent blanket covered the skies again. To make things worse, some serious winds shook my telescope tubes every now and then.
Bright as the Moon is, I could just lower the ISO values and take a decent picture of it through the clouds. To give you an idea of the amount of clouds present, I’ve also added a few images taken at higher ISO values so that you can see the clouds passing in front of the Moon.

Moon at low ISO values


Despite the once more disappointing skies and the feisty gusts of wind, I decided to try finding the Orion Nebula. After a while I succeeded in doing so and started taking 20 second exposures between successive wind gusts and through the clouds. The majority of the images showed massive trailing and were useless. Some however, were not that bad and after 30 minutes or so I had 4 or 5 decent shots.
After stacking and some post processing, I was suprised to find that I had also captured the Running Man Nebula, which isn’t as bright as the Orion Nebula itself. All in all, the small stack of photos, taken at seriously bad conditions, ended up in my best photo of the Orion Nebula yet. I can’t wait to test my setup under really good conditions 🙂

M42 taken with DSLR and tracking mount through a thin layer of clouds