So it’s been a while since my last post. It’s not that I was short on postworthy material, it’s just that I haven’t had the time to properly write a post.
A few days after my last post, I got myself some methylene blue and iodide to stain microscopic samples. While it is most often used to highlight the nuclei of animal cells, I decided to try some methylene blue on waterweeds. Despite the image below being fairly nice, the methylene blue solution doesn’t enter a lot of cells nor does it highlight anything.
Waterweeds with multiple cells that became blue upon addition of methylene blue
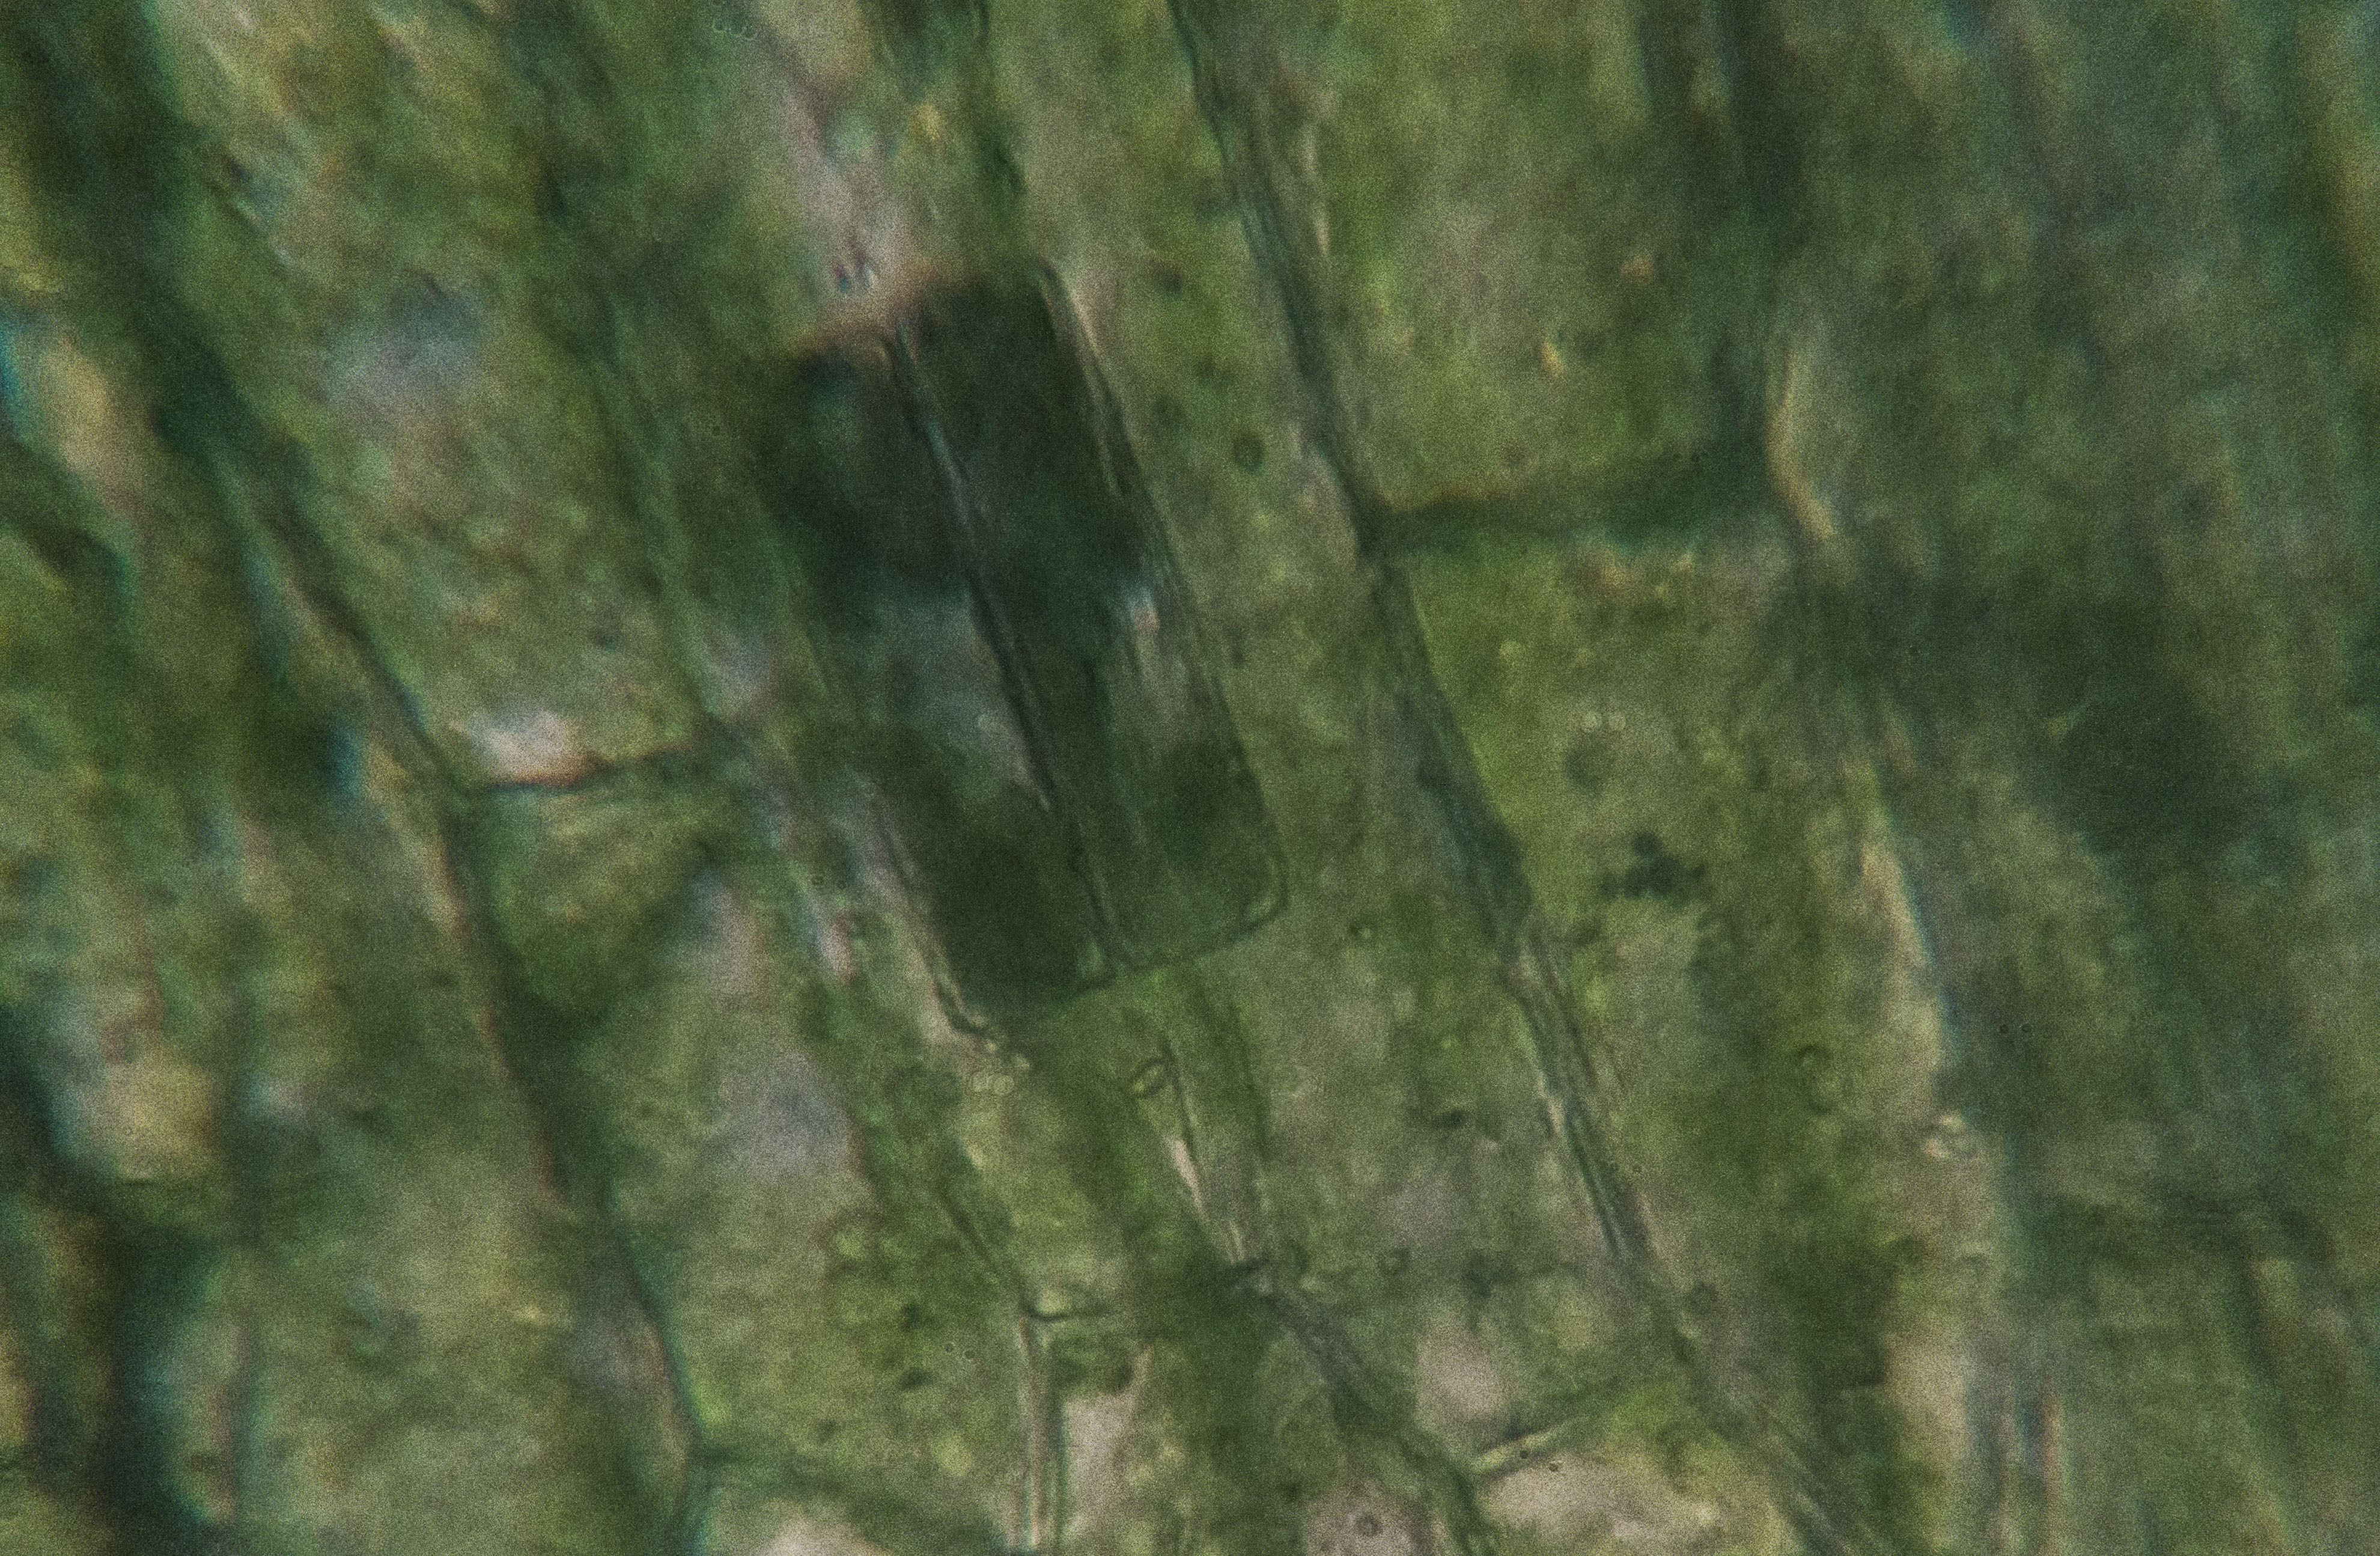
Upon magnification, it becomes more clear that unstained cells show more detail. Lots of chloroplasts are apparent in the unstained regions of the image below. I already trimmed the outer edges off the image, but you can still see how the center of the image is way sharper than the blurred edges.

Waterweeds with a blue cell due to methylene blue
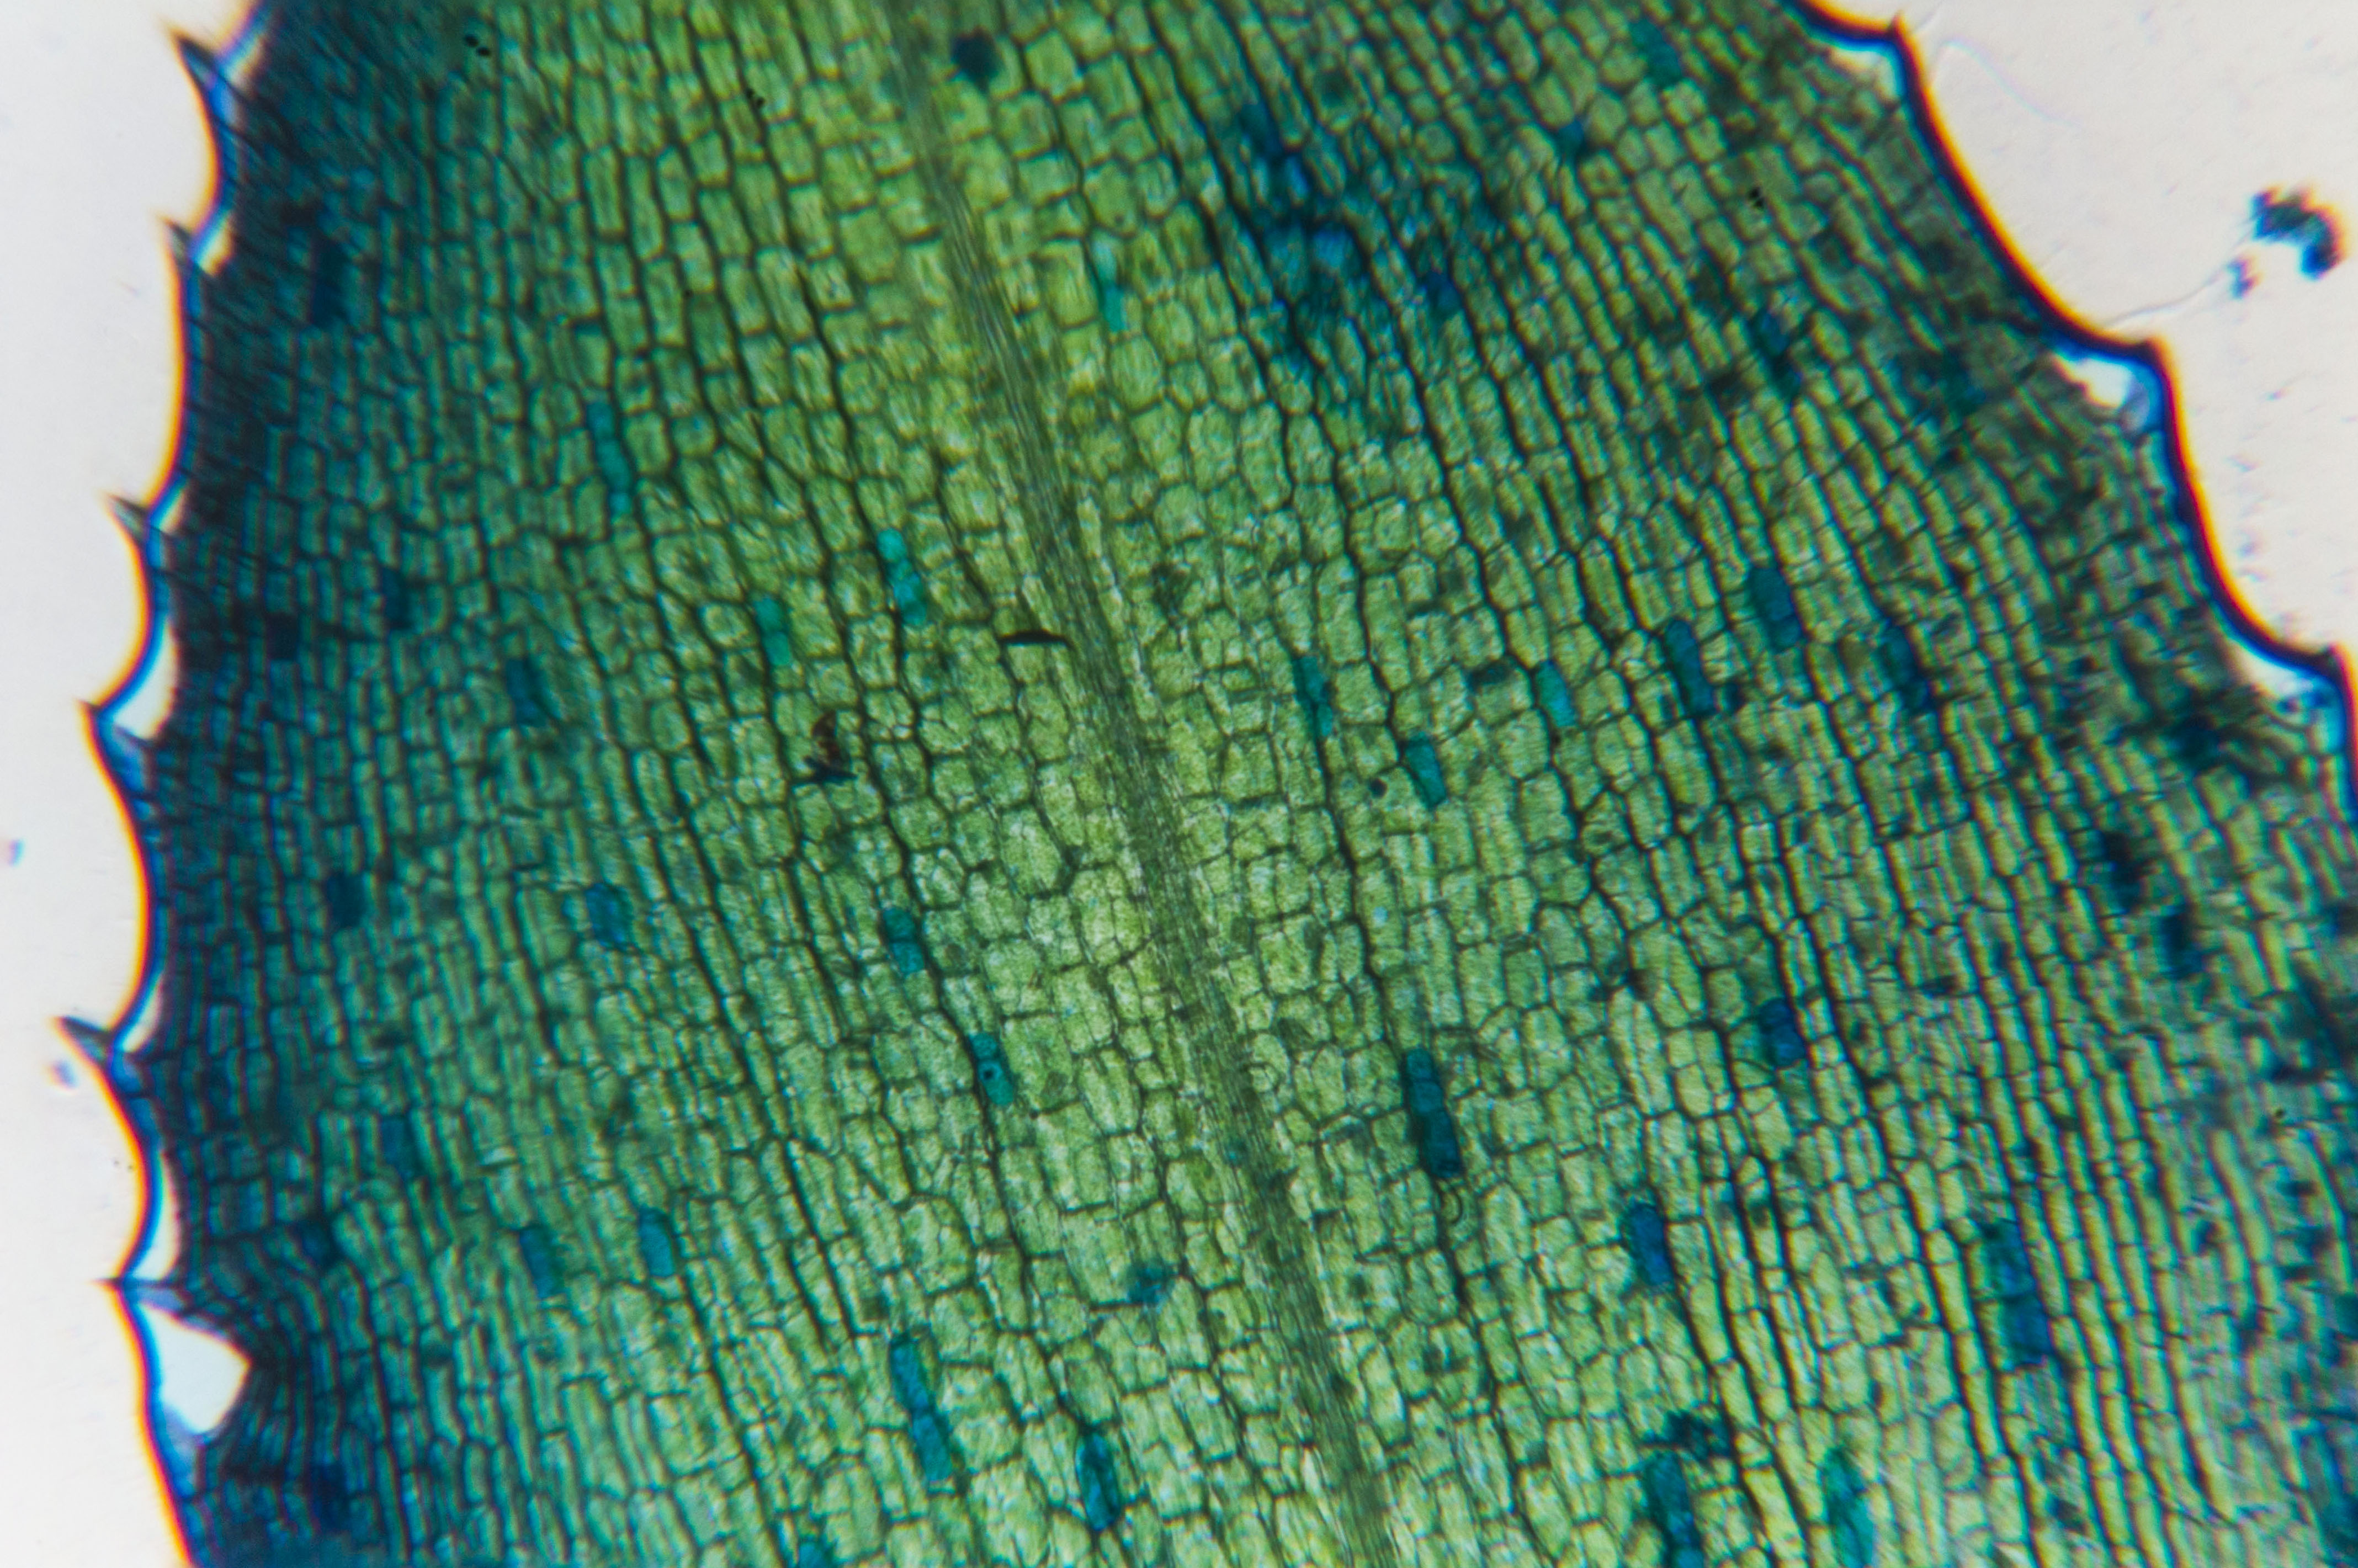
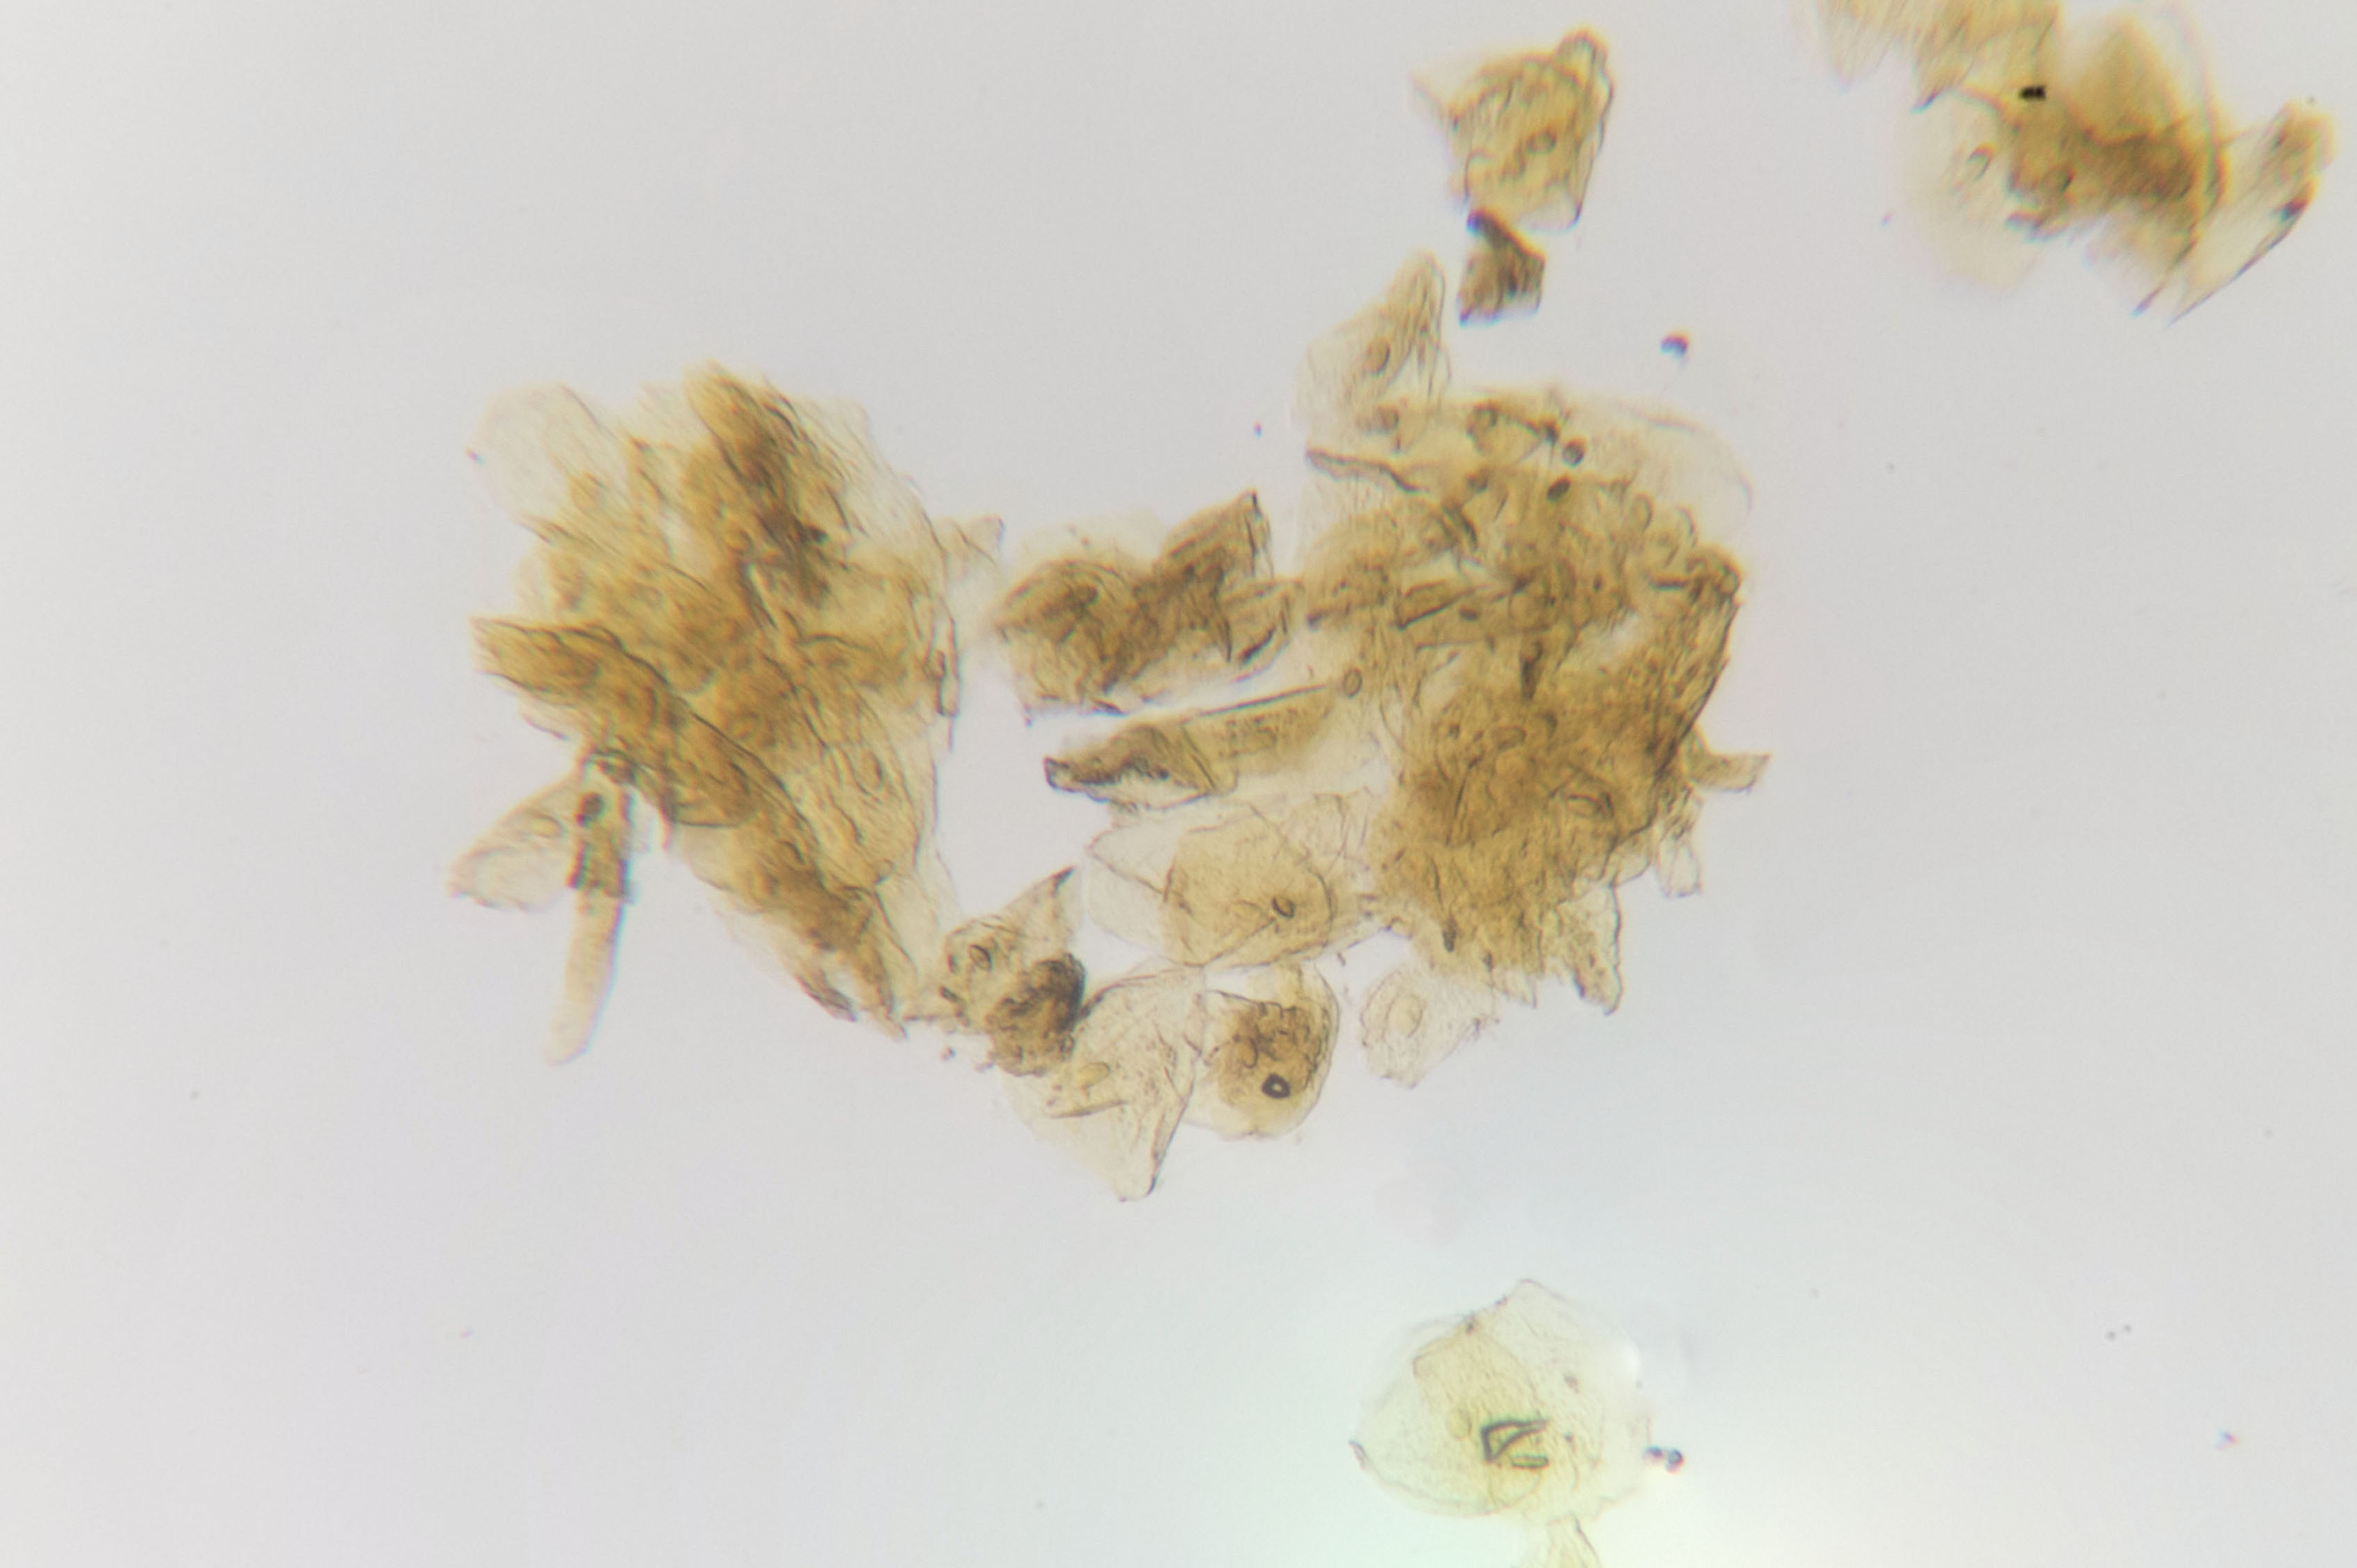
The last time I watched waterweeds under a microscope, I noticed a lot of these rectangular cells on top of the waterweed sample. I imaged one this time and determined it to be probably brown algae. These algae consist of tyipical rectangular cells that line up and form long strings.
Waterweeds with algae
As I said earlier, iodide and methylene blue are mostly used to stain animal cells. In the image below you see some saliva cells that were stained with iodide. Without staining, it is hard to even see the cells, let alone see details from within the cell. In this image however, you can clearly make out the nuclei within the cells.
Saliva with iodide
The image below is again saliva, but this time imaged at higher magnification (300x) and moreover, stained with methylene blue. The nuclei are now even more apparent and the smaller dark dots that are all over the cells are bacteria.
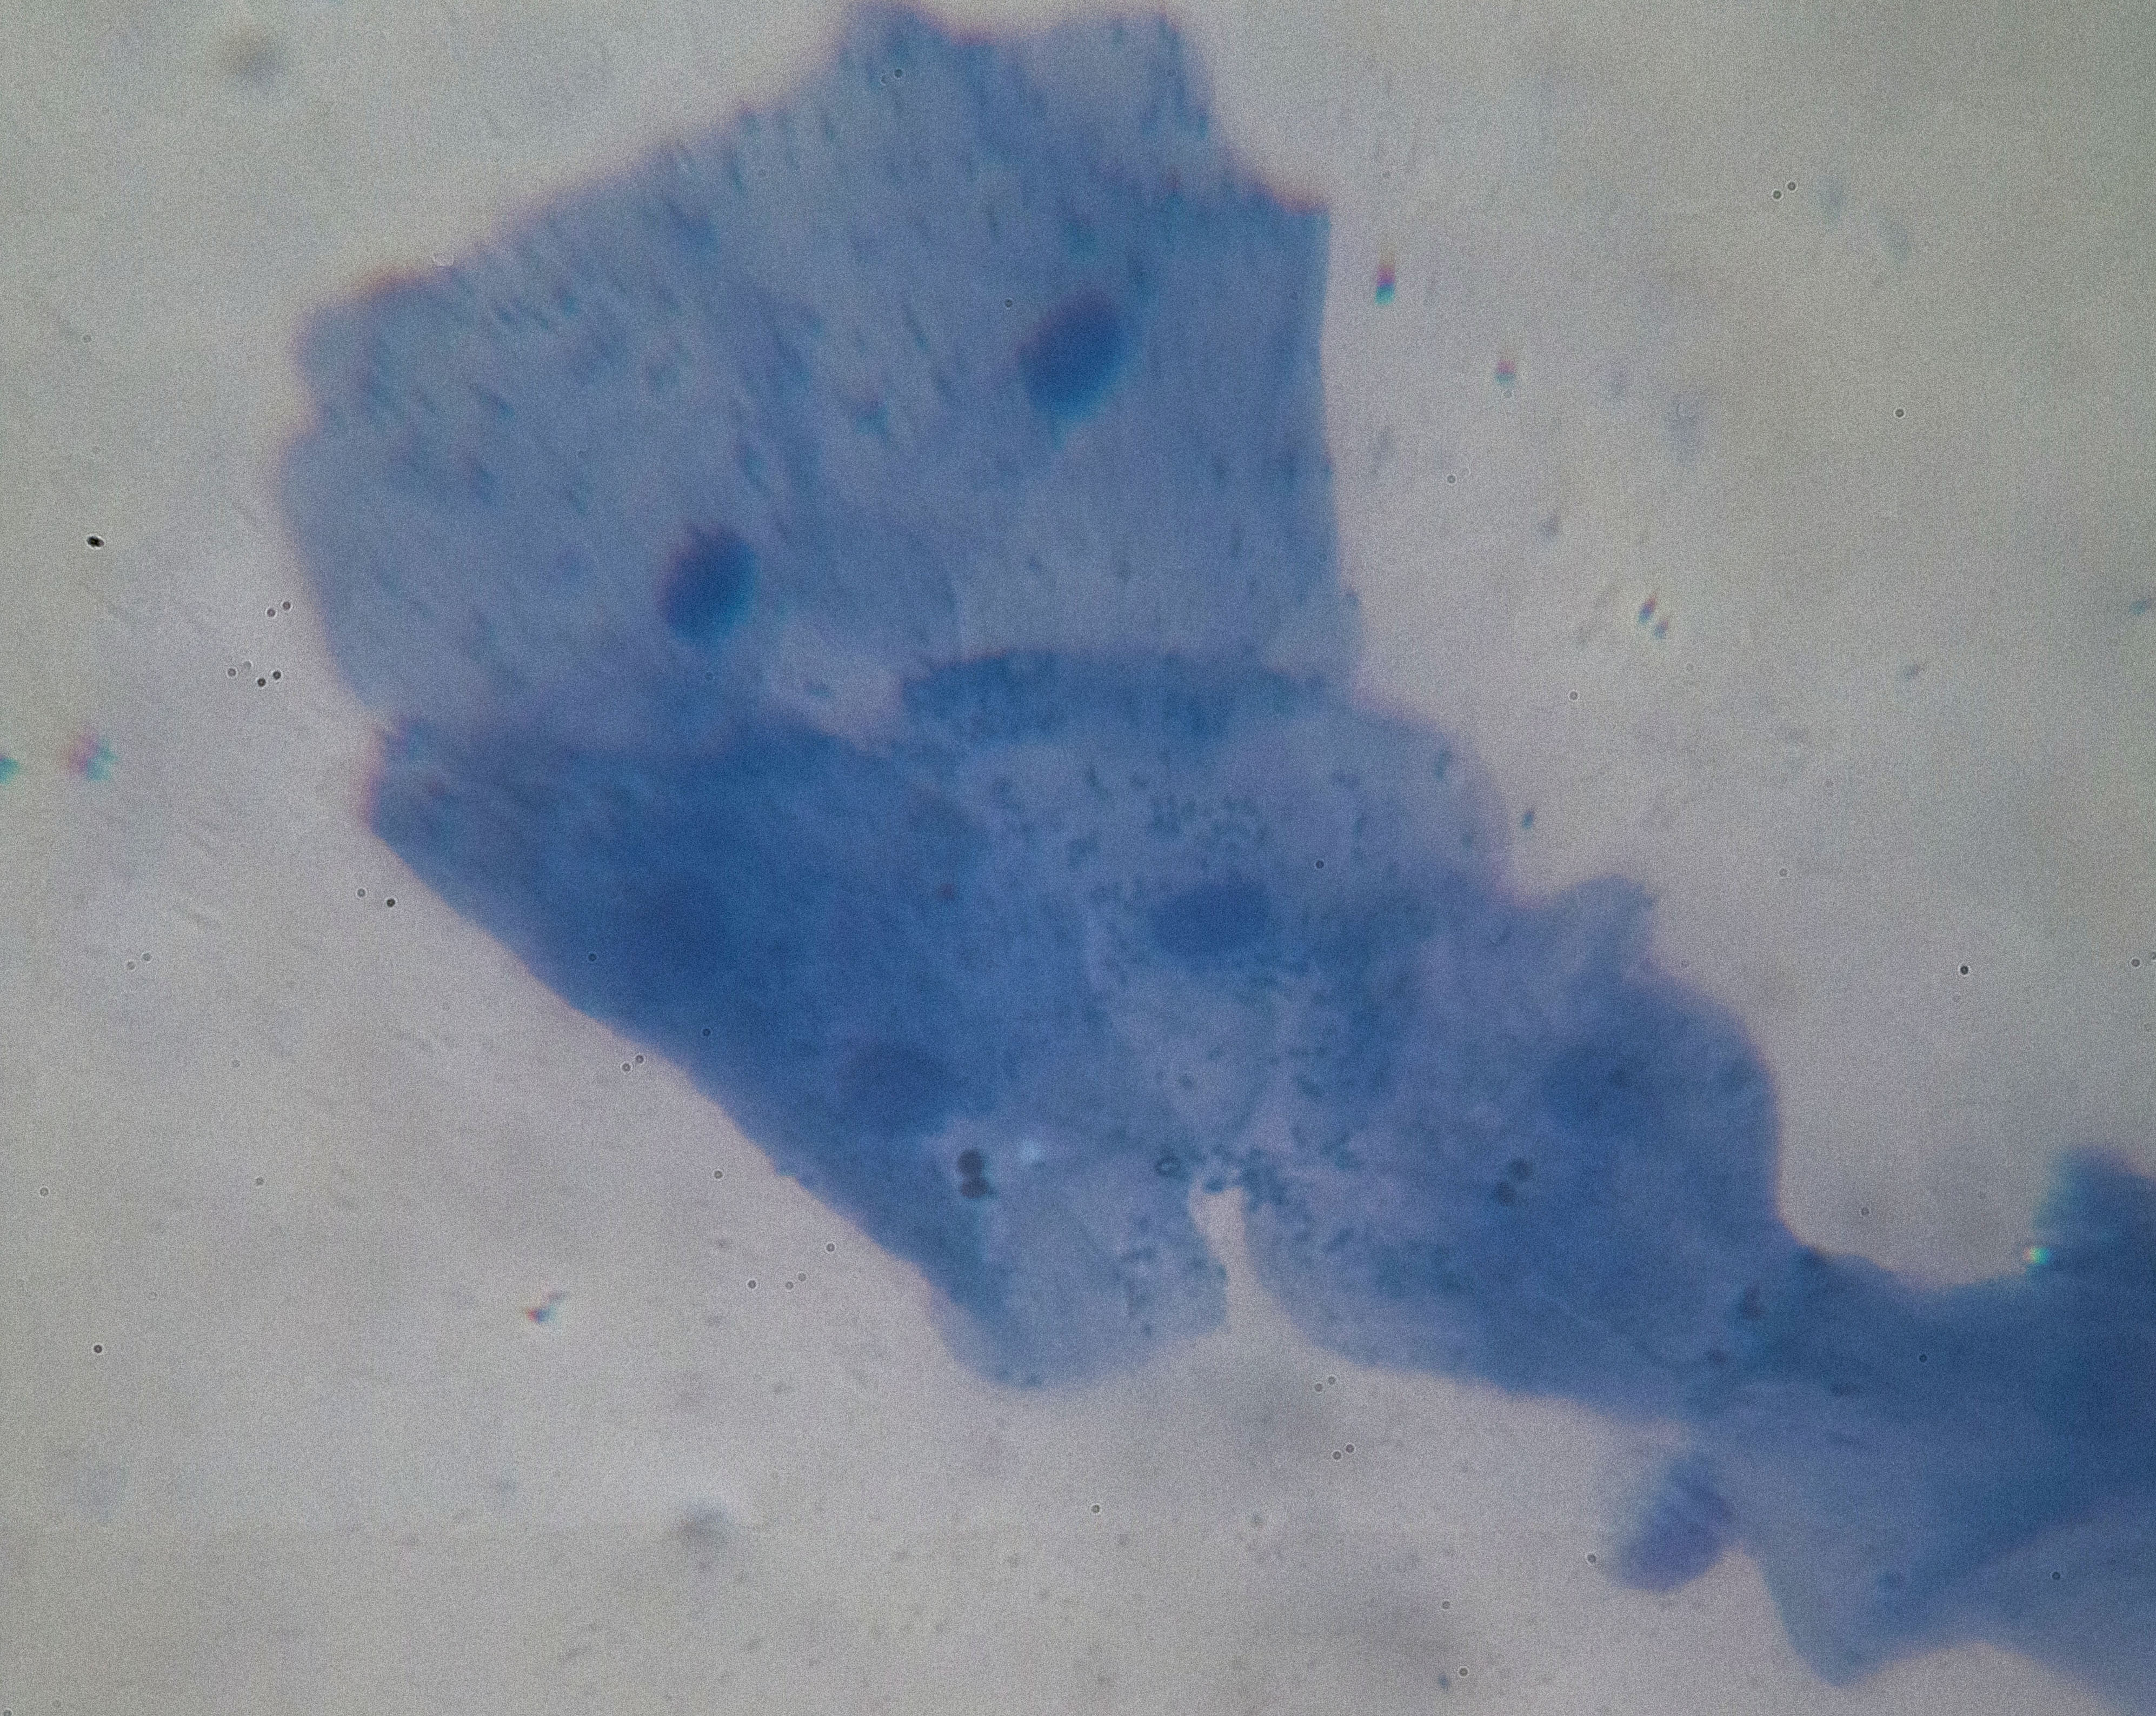
Saliva with methylene blue
So far for my microscopy images. I plan on modifying my microscope for dark field imaging which gives awesome images, but more on that later. Now I’d like to show some of the images I’ve taken at New Year’s Eve.
Ironically, New Year’s Eve had one of the clearest night skies I had seen for a while (before the major fireworks storm began). I took a not too long exposure of the Orion constellation using a 55mm lens on my camera, which shows some clear nebulosity of M42.
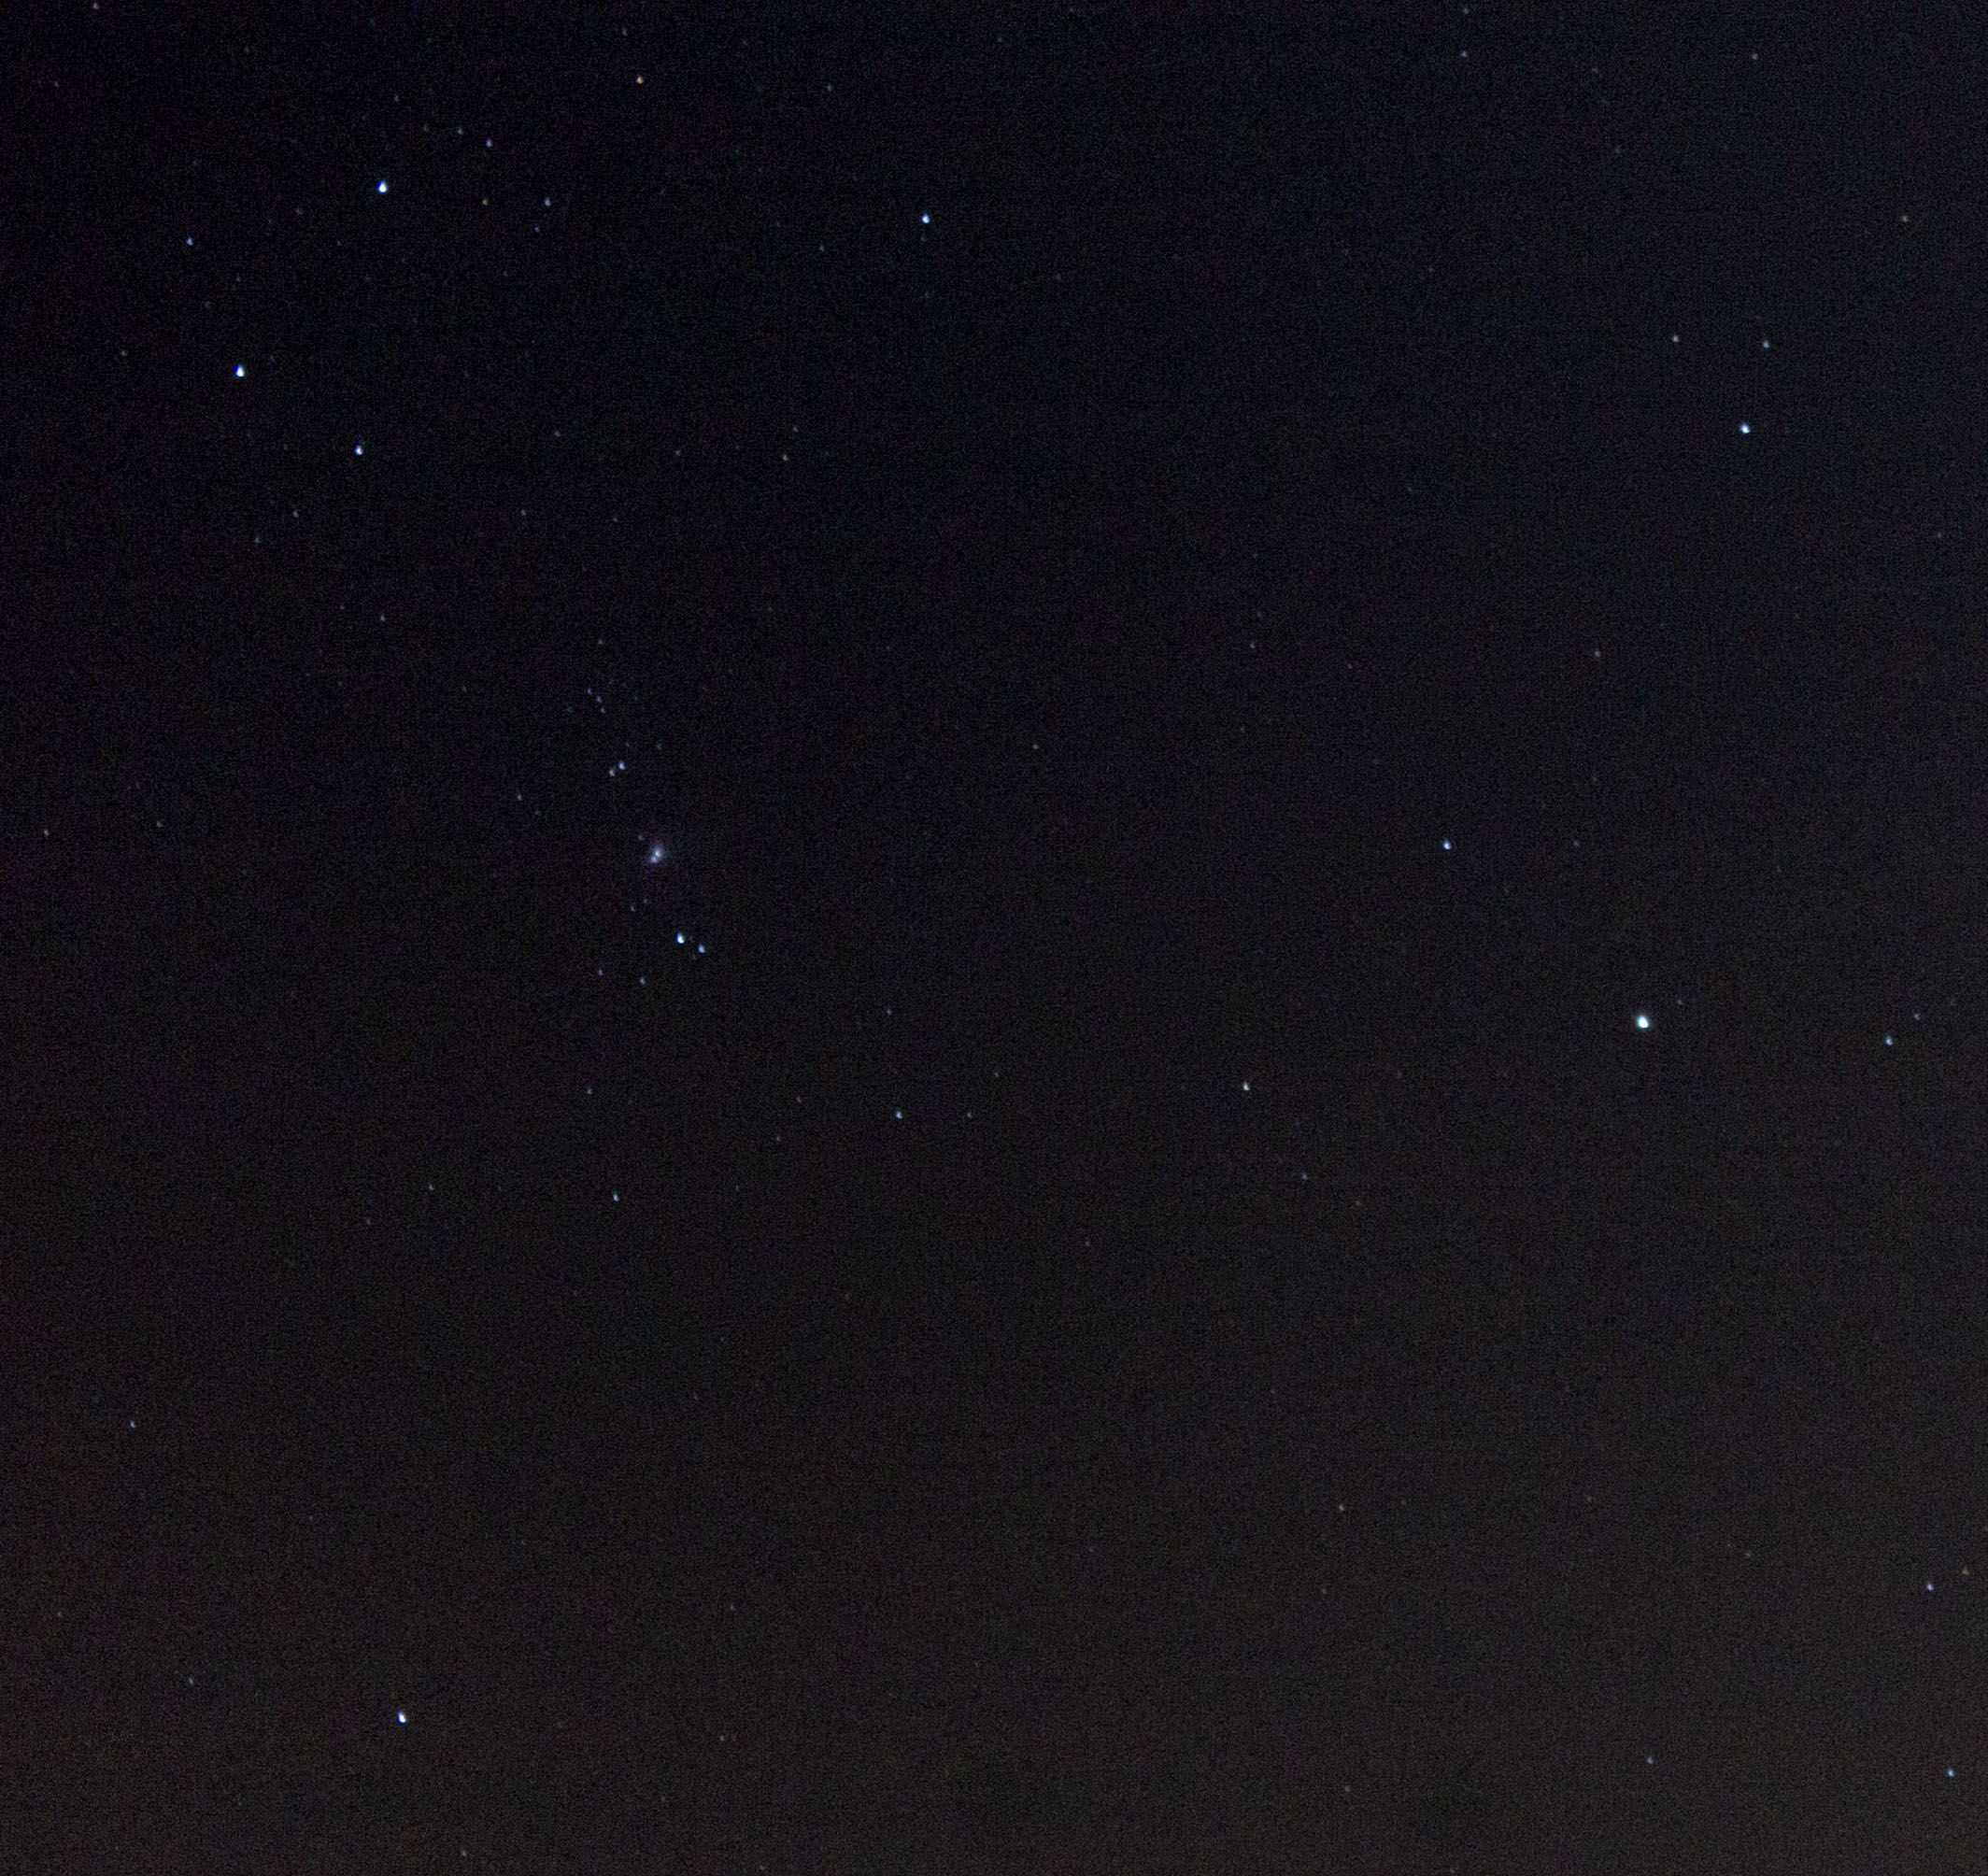
The Orion constellation on New Year’s Eve
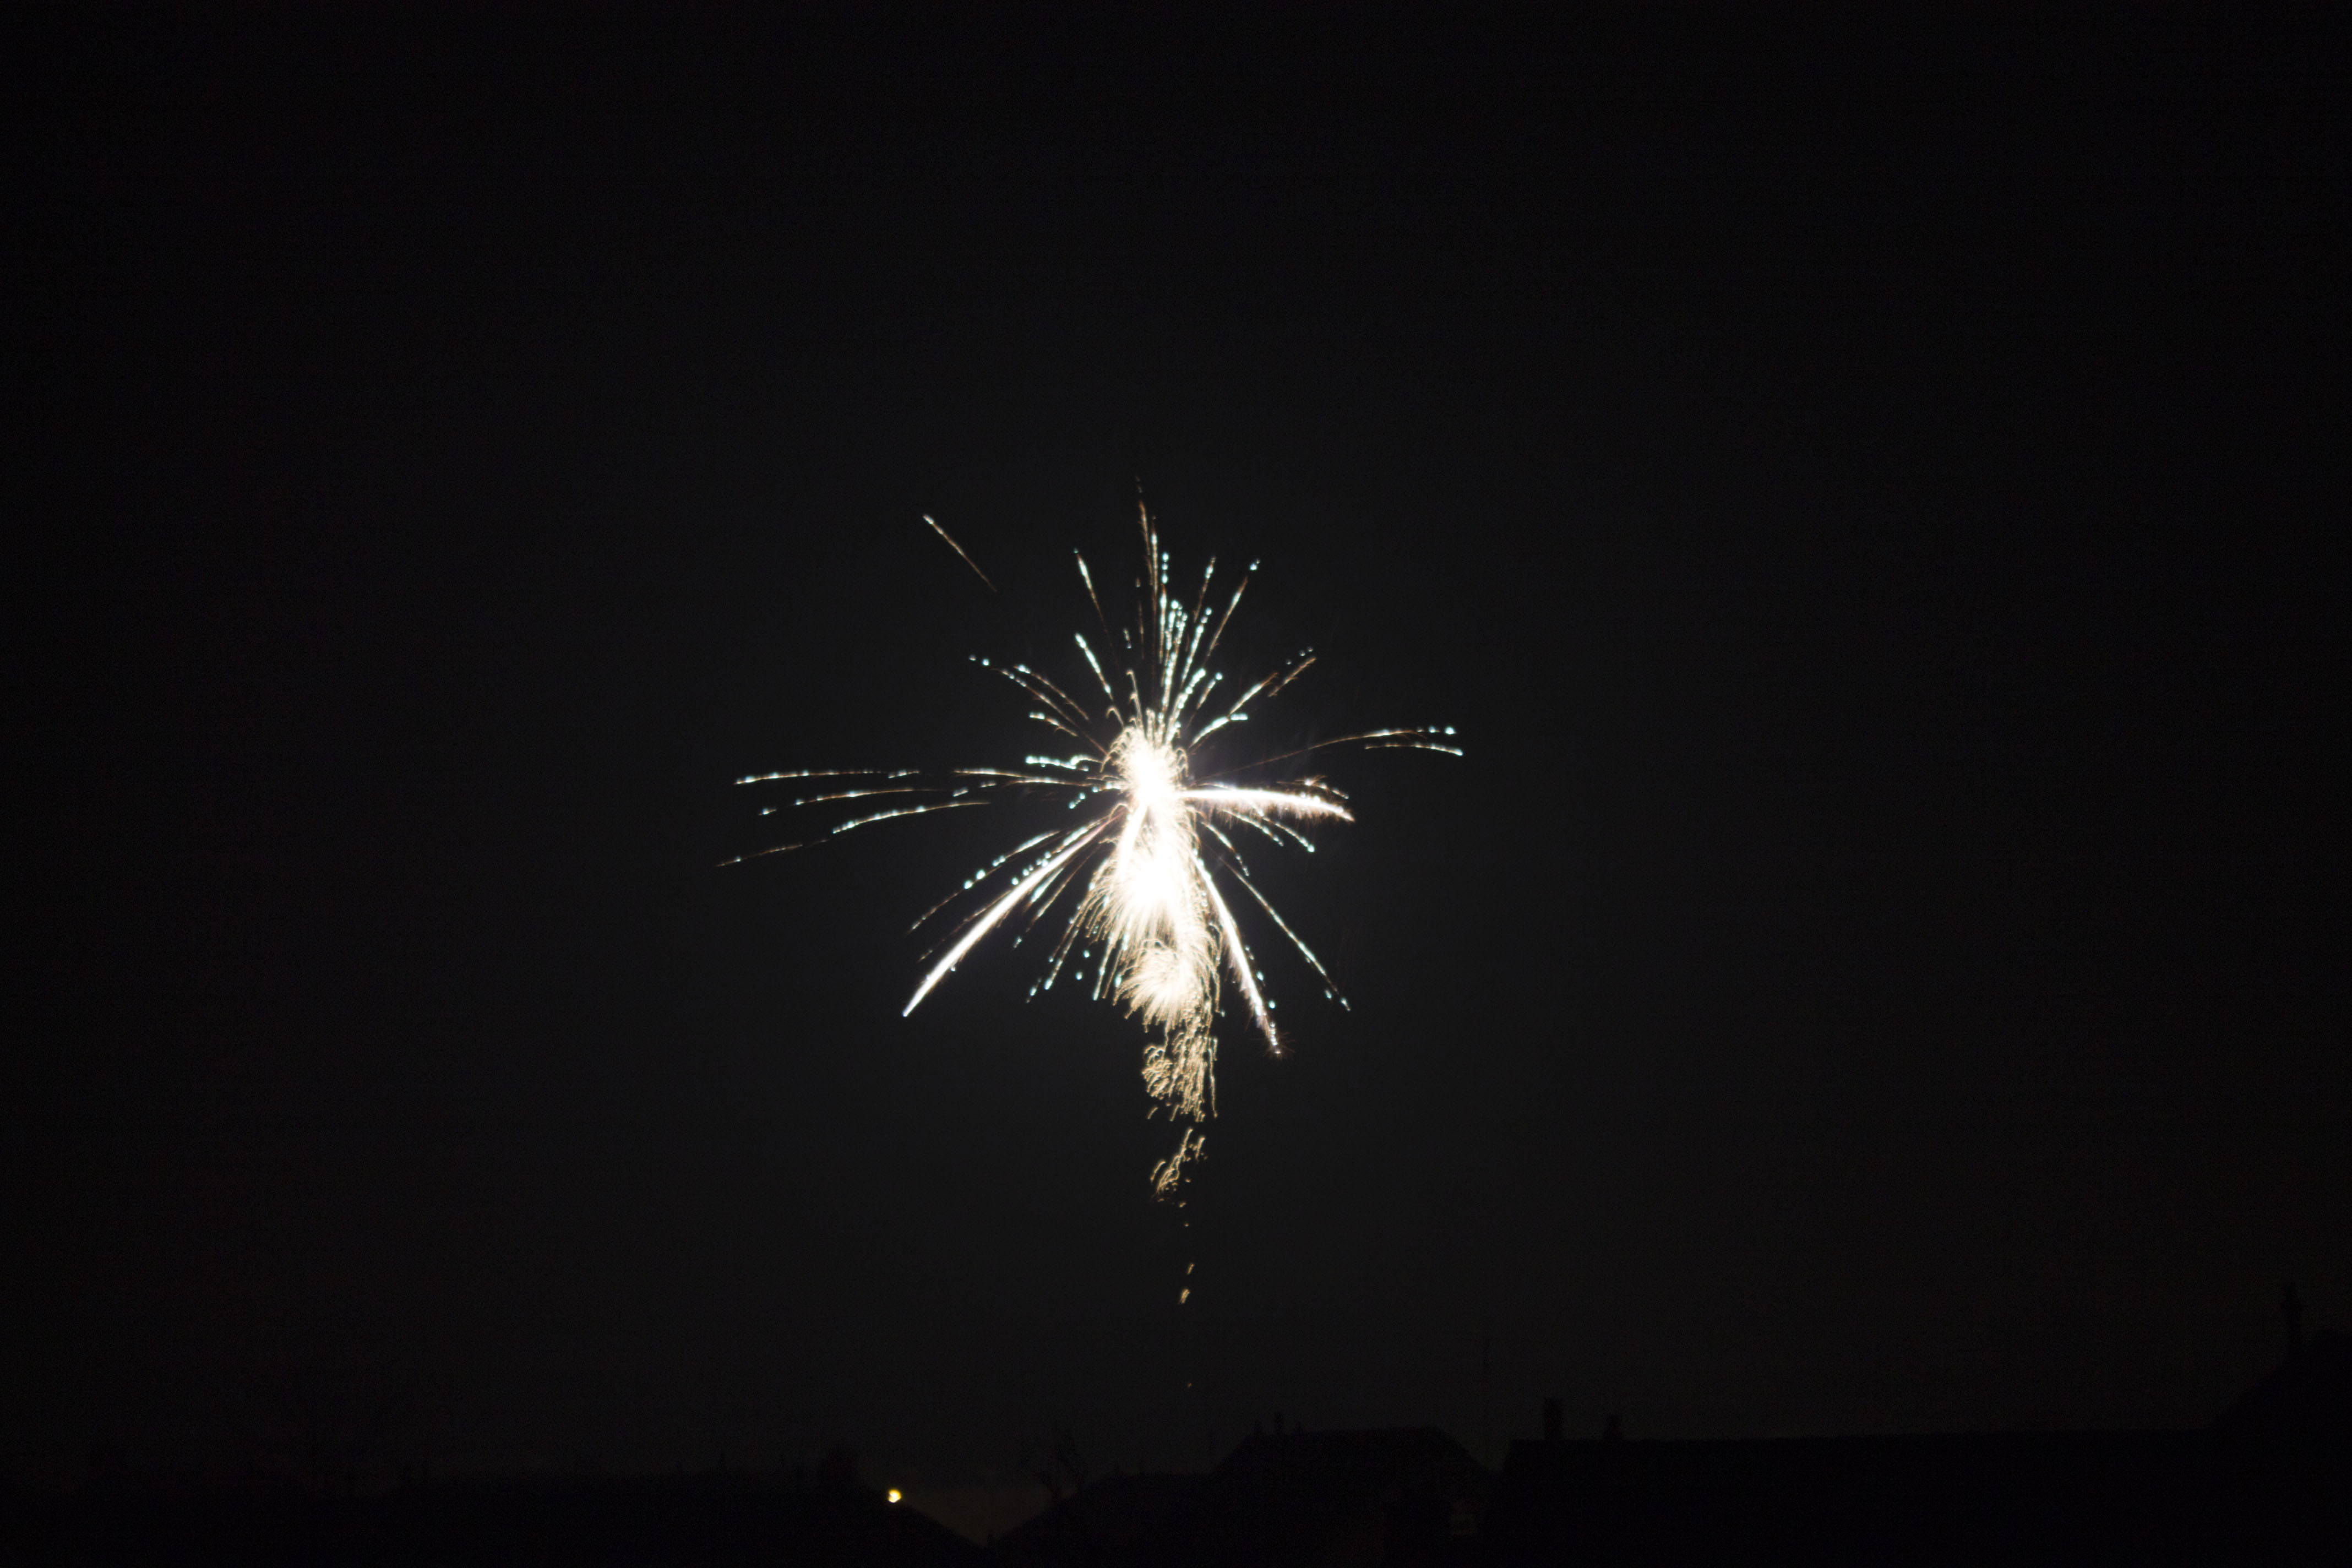
As the fireworks began I had plenty of things other than nebulae and stars to image. Some of the images below are stacks, some are long exposures of ~8 seconds and others single frames of less than a second. Enjoy!
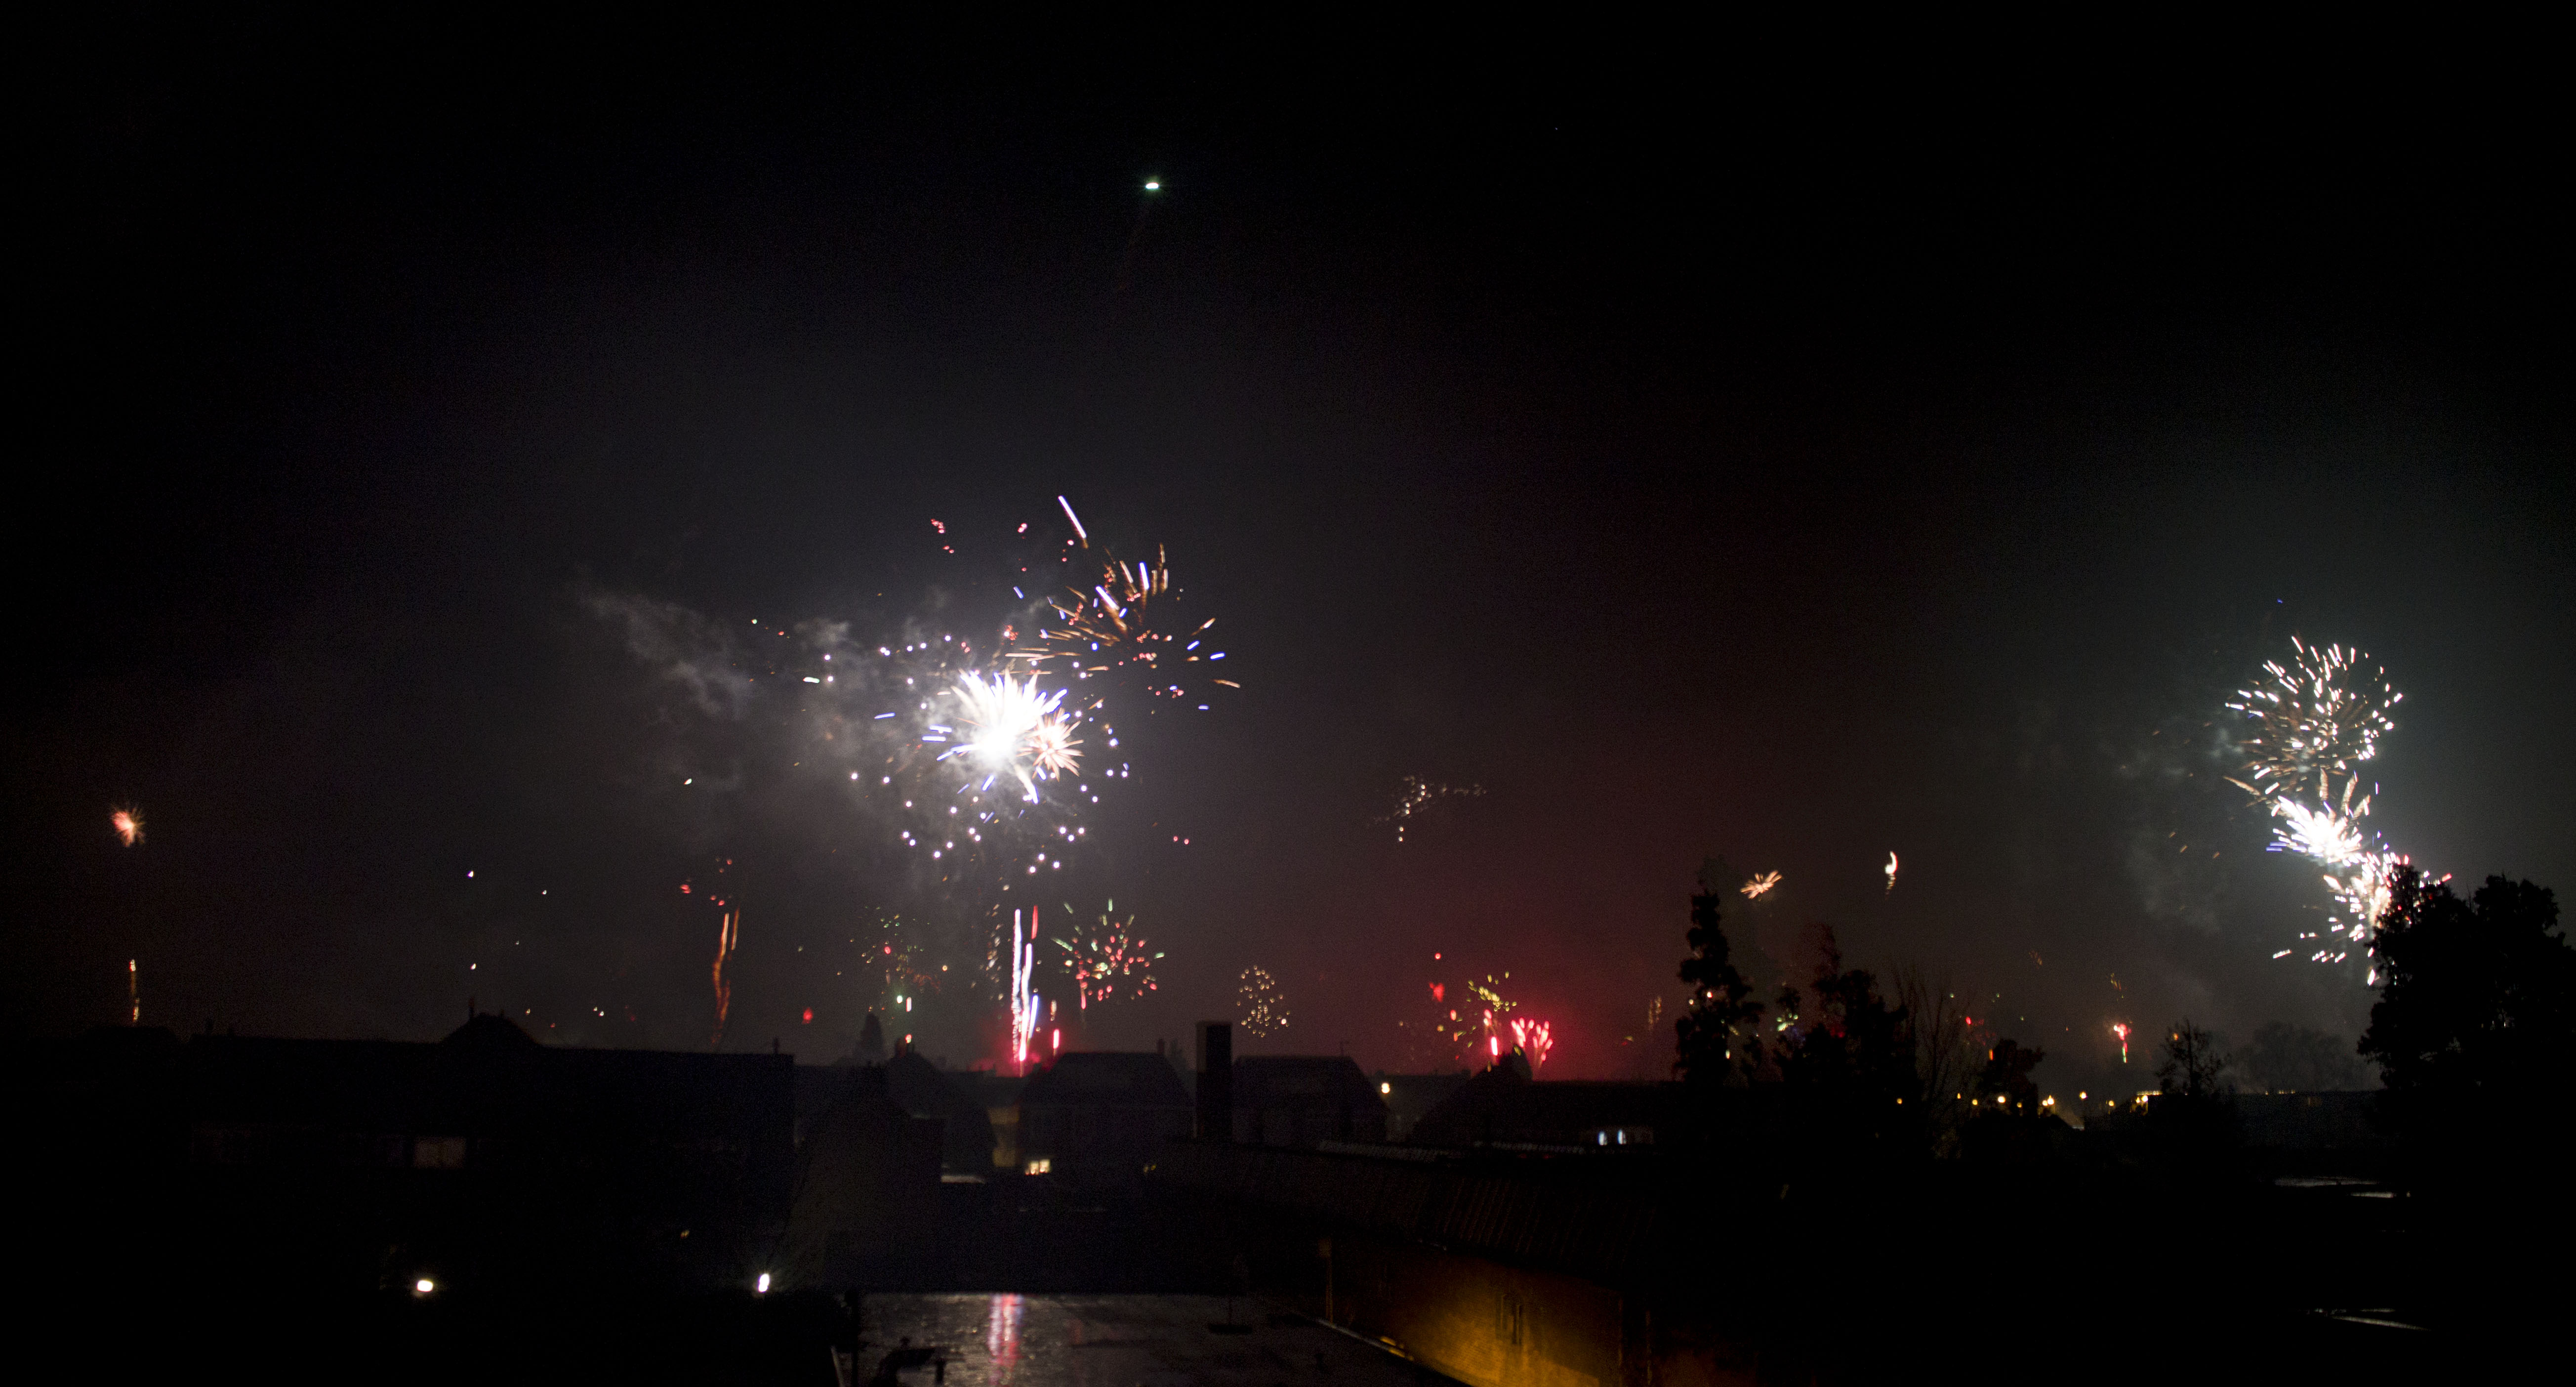
Fireworks over Enschede 1

Fireworks over Enschede 2

Fireworks over Enschede 3

Fireworks over Enschede 4
Fireworks over Enschede 5